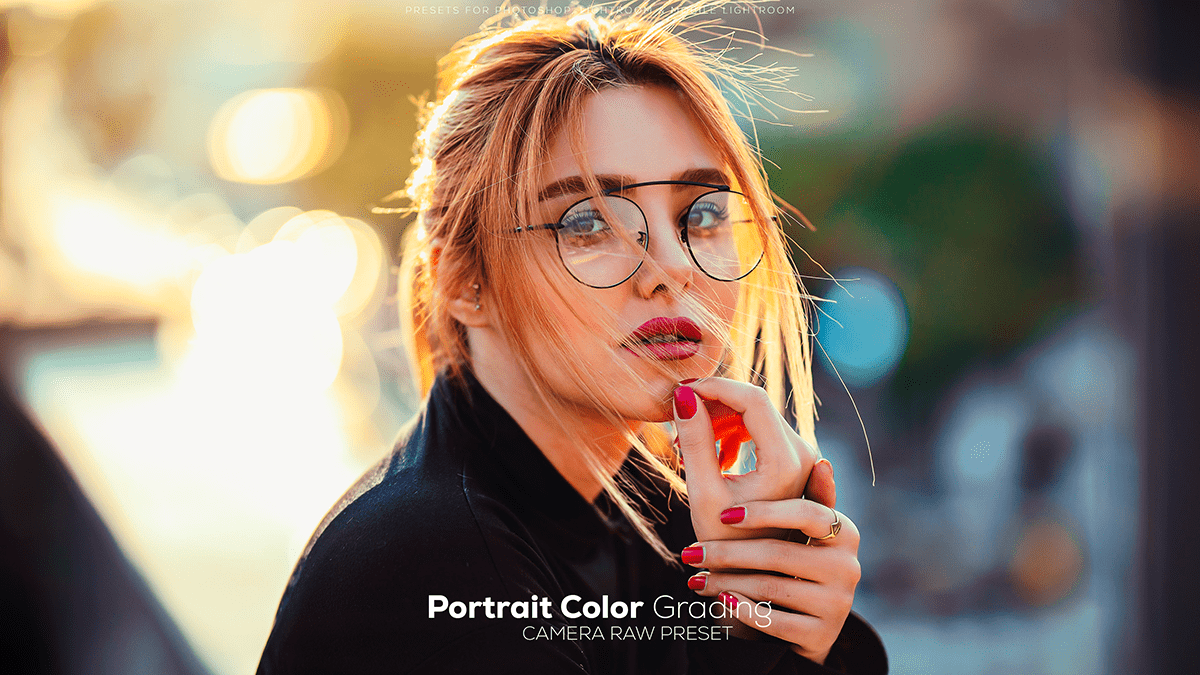
Portrait Photo Editing Photoshop For Beginners. In other words, How to Edit Portrait Photos in Adobe Photoshop. Portrait Color Grading in Photoshop Camera Raw Filter. Photoshop Presets Free Download.
Therefore, In this Photoshop tutorial, you learn, How to edit outdoor or indoor portrait photos in Photoshop.

Portrait Photo Editing Photoshop For Beginners,
To edit a portrait photo using Photoshop, follow these steps:
Open the portrait photo in Photoshop: Launch Adobe Photoshop and click on “File” in the top menu, then select “Open” and choose the portrait image you want to edit.
Duplicate the background layer: Click on the “Layer” option in the top menu, then select “Duplicate Layer.” This will create a copy of the background layer, allowing you to work on the portrait without affecting the original image.
Apply basic adjustments: Adjust the brightness, contrast, and color balance of the portrait by going to “Layer” > “New Adjustment Layer” > “Brightness/Contrast” or “Color Balance.” These adjustments can help enhance the overall look of the portrait.
Camera Raw Presets Free Download,
Remove blemishes and imperfections: Use the “Spot Healing Brush Tool” or the “Healing Brush Tool” to remove any blemishes, spots, or imperfections from the subject’s skin. For larger areas, use the “Clone Stamp Tool.”
Whiten teeth (if necessary): Select the “Elliptical Marquee Tool” and create a selection around the teeth. Go to “Edit” > “Fill” and choose “White” to whiten the teeth.
Enhance the eyes: Use the “Eye Dropper Tool” to select a color from the subject’s iris, then apply the “Dodge Tool” or “Burn Tool” to slightly lighten or darken the iris, making the eyes more prominent.

Professional Photo Editing For Beginners,
Apply makeup (if necessary): Use the “Brush Tool” with a soft edge and adjust the opacity to subtly add makeup, such as blush or lipstick, to the subject’s face.
Sharpen the image: Go to “Filter” > “Sharpen” > “Unsharp Mask” to apply a light sharpening effect to the portrait.
Save the final image: Click on “File” > “Save As” and choose the desired file format, such as JPEG or PNG. Make sure to save the edited portrait with a new name to avoid overwriting the original image.
Remember to always respect the subject’s privacy and only edit images with their consent.
