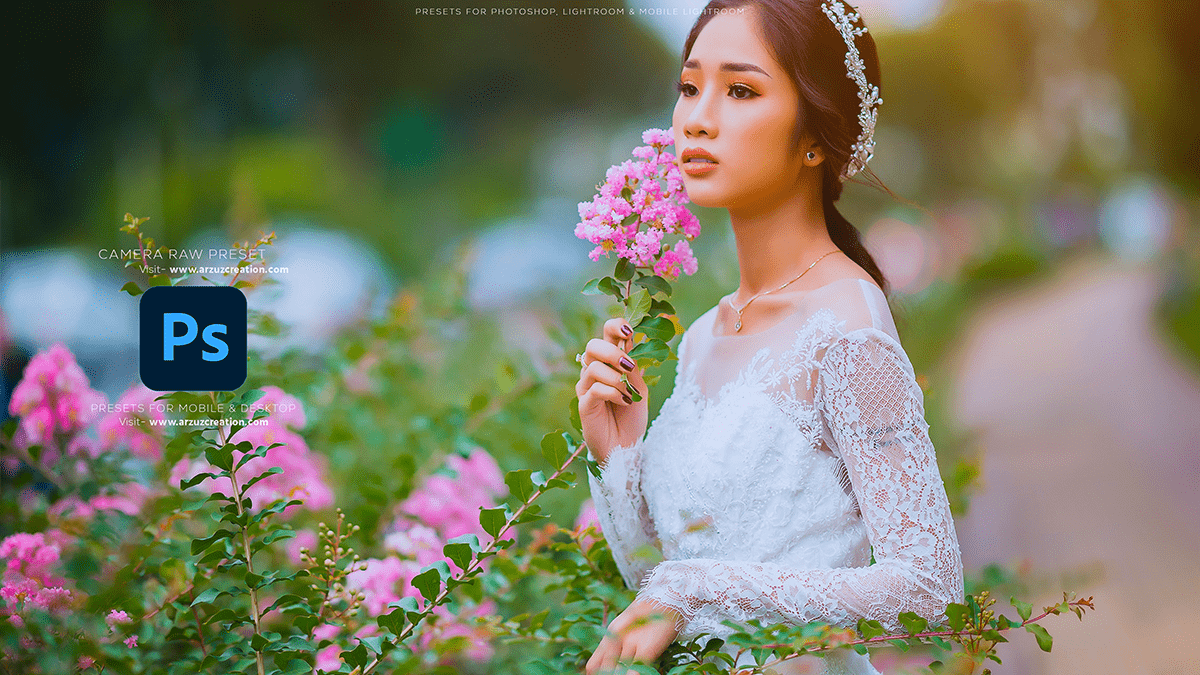
Colour Grading Adobe Photoshop 2024 Tutorial For Beginners. In other words, How to Edit Outdoor Portrait Professional Color Grading in Adobe Photoshop 2024. However, Color Grading Camera Raw Presets Free Download.
Therefore, In this Photoshop tutorial, you learn, How to edit outdoor portrait photos in Photoshop.

Colour Grading Adobe Photoshop 2024 Tutorial For Beginners,
Color grading in Adobe Photoshop refers to adjusting the colors, tones, and contrast of an image to achieve a desired aesthetic or mood. This technique is widely used in photography, filmmaking, and graphic design to enhance the visual appeal of an image. Here’s a step-by-step guide to color grading in Adobe Photoshop:
For instance, Open your image in Adobe Photoshop.
Duplicate the background layer by right-clicking the layer and selecting “Duplicate Layer.” Rename the new layer to something like “Color Grade.”
Above all, Convert the new layer into a smart object by right-clicking the layer and selecting “Convert to Smart Object.” This allows you to edit and adjust the color correction non-destructively.
Add a “Color Look” adjustment layer by going to the bottom of the Layers panel and clicking the half-black/half-white circle icon. Choose “Color Look” from the list.
In the “Color Look” panel, you’ll find various presets that can give your image a specific style or mood. Experiment with different presets to see how they affect your image. You can also adjust the intensity of the effect by moving the “Intensity” slider.
Adobe Photoshop Colour Grading,

You can create a custom color grade if you can’t find a preset that suits your needs. To do this, click on the color swatch in the “Color Look” panel and choose a color from the color picker. Then, adjust the “Luminance” and “Color Boost” sliders to control the intensity and saturation of the color.
To further refine your color grade, add additional adjustment layers like “Curves,” “Levels,” or “Hue/Saturation.” These tools will allow you to make more specific adjustments to your image’s colors, contrast, and brightness.
Once you’re happy with your color grade, you can flatten the image by right-clicking the background layer and selecting “Merge Visible.”
Adobe Photoshop Lightroom Photo Editing,
Remember, color grading is a subjective process, and it’s essential to trust your creative instincts. Experiment with different techniques and presets to find the style that best suits your image and the mood you want to convey.
