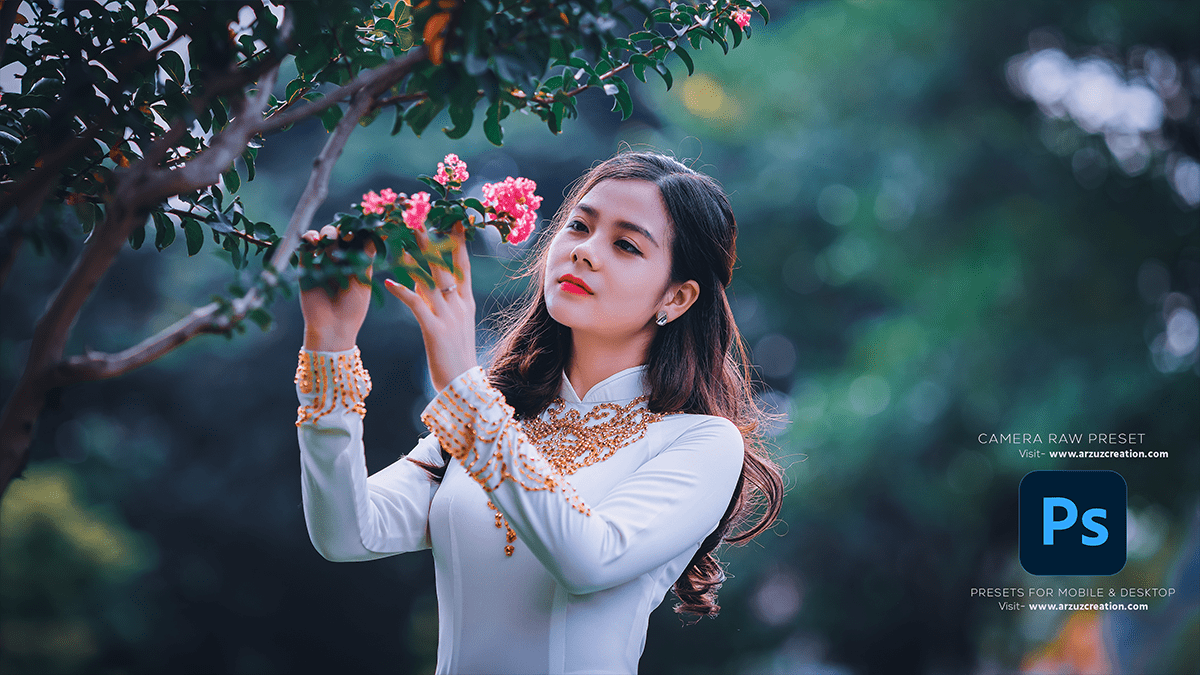
How to Color Grade in Camera Raw Filter. In other words, Photoshop Professional Photo Editing Using Adobe Camera Raw Filter. However, Easy Way Color Grading in Camera Raw Filter. For instance, Step By Step You Learn This Editing Work.
Therefore, In this Photoshop tutorial, you learn, How to edit outdoor portrait color grading in Adobe Photoshop 2024. Above all, Color grading camera raw presets are free to download. Photoshop presets are free to download.

How to Color Grade in Camera Raw Filter,
Color grading in Camera Raw Filter, which is part of Adobe Photoshop, allows you to adjust and enhance the colors and tones of your images. Here’s a general guide on how to color grade using Camera Raw Filter:
Open your image: Open your image in Adobe Photoshop.
Convert to Smart Object (optional): Right-click on the image layer in the Layers panel and choose “Convert to Smart Object.” This step is optional but recommended as it allows you to make non-destructive edits.
Apply Camera Raw Filter: Go to the Filter menu at the top of the screen, then select “Camera Raw Filter.” Alternatively, you can use the keyboard shortcut “Shift + Cmd/Ctrl + A“.
Basic Adjustments: In the Camera Raw interface, start with the Basic panel. Here, you can adjust settings like Exposure, Contrast, Highlights, Shadows, Whites, Blacks, Clarity, Vibrance, and Saturation to achieve the desired overall tonal and color balance.
Camera Raw Presets,
White Balance: Use the White Balance tool (eyedropper icon) to click on an area of the image that should be neutral gray or white. This will help correct any color cast in your image.
Tone Curve: Experiment with the Tone Curve panel to adjust the tonal range and contrast of your image. You can create points on the curve and drag them to adjust highlights, shadows, and midtones.
HSL/Grayscale: Use the HSL/Grayscale panel to adjust individual colors’ Hue, Saturation, and Luminance. This allows you to fine-tune specific colors in your image.
Split Toning (optional): If desired, use the Split Toning panel to add different tones to the highlights and shadows of your image. This can create a stylized effect.
Detail: Use the Detail panel to adjust sharpening and noise reduction settings. Be careful not to over-sharpen or over-smooth your image.
Lens Corrections (optional): In the Lens Corrections panel, you can apply automatic lens corrections to fix distortion, vignetting, and chromatic aberration.
Lightroom Presets Free Download,
Effects (optional): The Effects panel allows you to add vignettes and adjust grain settings to further stylize your image.
Presets and Snapshots: Consider using presets for quick adjustments or creating snapshots to save different versions of your edits.

Final adjustments: Once you’re satisfied with your color grading, click “OK” to apply the changes and exit the Camera Raw Filter.
Professional Editing Tutorial,
Fine-tuning in Photoshop (optional): After applying Camera Raw adjustments, you can further fine-tune your image using adjustment layers, masks, and other Photoshop tools.
Save your work: Finally, save your edited image in the desired file format.
Remember, color grading is a subjective process, and it may take some experimentation to achieve the desired look. Practice and experimentation will help you develop your skills in using Camera Raw Filter for color grading.
