Urban Moody Color Tone Photoshop Tutorial,
Therefore, Creating an urban moody color tone in Photoshop involves adjusting various elements like exposure, contrast, and color balance, and applying selective color adjustments to give the image a dramatic and cinematic feel. In other words, Here’s a step-by-step guide to achieve this effect:

Step-by-Step Guide:
- However, Open Your Image in Photoshop:
- Start by opening your urban photo in Photoshop.
- For instance, Duplicate the Background Layer:
- Above all, Right-click on the background layer in the Layers panel and select “Duplicate Layer.” This allows you to make adjustments without affecting the original image.
In addition, Adjust Exposure:
- Go to
Image>Adjustments>Exposure. - Lower the exposure slightly to give a darker, moodier feel.
After that, Add Contrast:
- Go to
Image>Adjustments>Brightness/Contrast. - Increase the contrast to make the darks darker and the lights lighter.
Adjust Color Balance:
- Go to
Image>Adjustments>Color Balance. - For shadows, increase the blue and cyan.
- For highlights, add a touch of yellow and red.
- This helps in creating a cool, moody tone with a hint of warmth.
Similarly, Curves Adjustment:
- Go to
Layer>New Adjustment Layer>Curves. - Create an S-curve by dragging the curve down in the shadows and up in the highlights.
- This enhances the contrast and depth.
Urban Moody Color Tone, Camera Raw Filter,

After that, Selective Color:
- Go to
Layer>New Adjustment Layer>Selective Color. - Adjust the colors individually, focusing on reducing the yellows and greens in the image.
- Increase the blacks in the neutral and black tones for more depth.
In addition, Add a Gradient Map:
- Go to
Layer>New Adjustment Layer>Gradient Map. - Choose a gradient that goes from a dark blue to a light orange. This adds a cool-to-warm transition.
- Set the blending mode of this layer
Soft Lightand adjust the opacity to around 20-30%.
Vignette Effect:
- Go to
Filter>Lens Correction. - Click on the
Customtab and underVignette, decrease the amount to darken the edges.
Final Touches:
- You can add a slight grain to the image by going to
Filter>Noise>Add Noise. - Set the amount to a low value (e.g., 2-5%) and choose
GaussianandMonochromatic.
Optional: Preset Adjustment
After that, If you find yourself using this effect often, you can save the adjustments as a preset:
- Once all adjustments are made, go to
Window>Actions. - Click on the
Create New Actionbutton, name your action, and hitRecord. - Apply all the adjustments step by step while the action is recorded.
- Click
Stoponce done. Now you can apply this action to any future images with a single click.
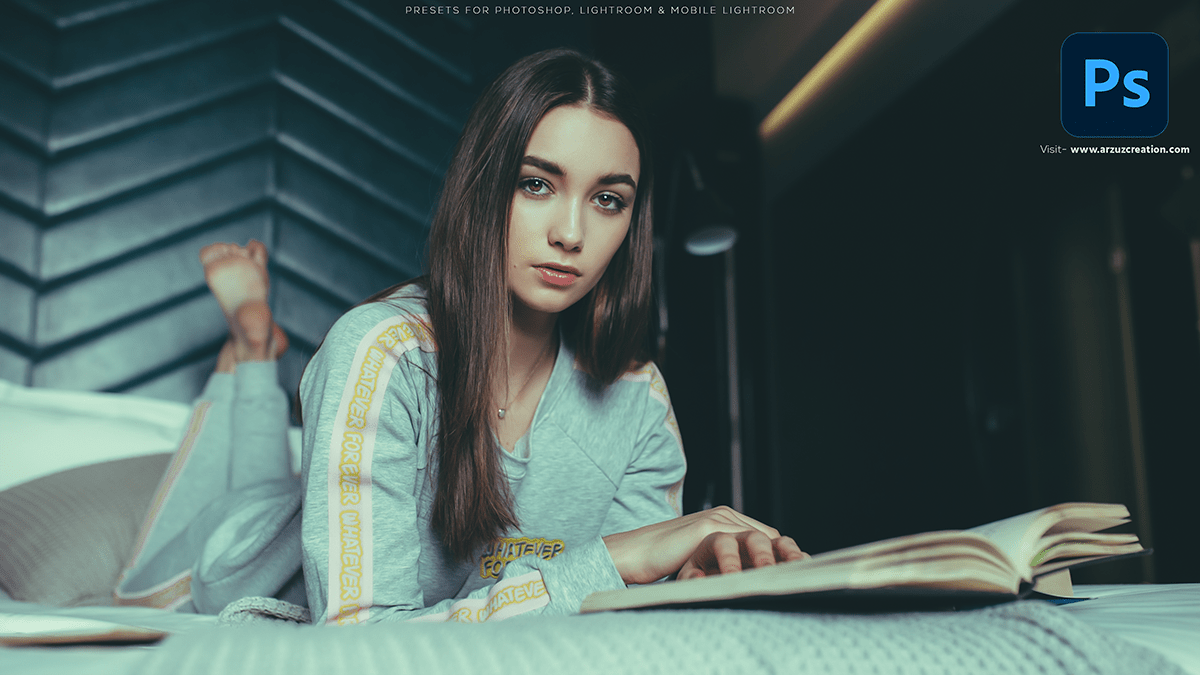
Example
Here’s a visual example using an urban image:
By following these steps, you can transform a regular urban photo into a dramatic, moody image that evokes a strong emotional response.