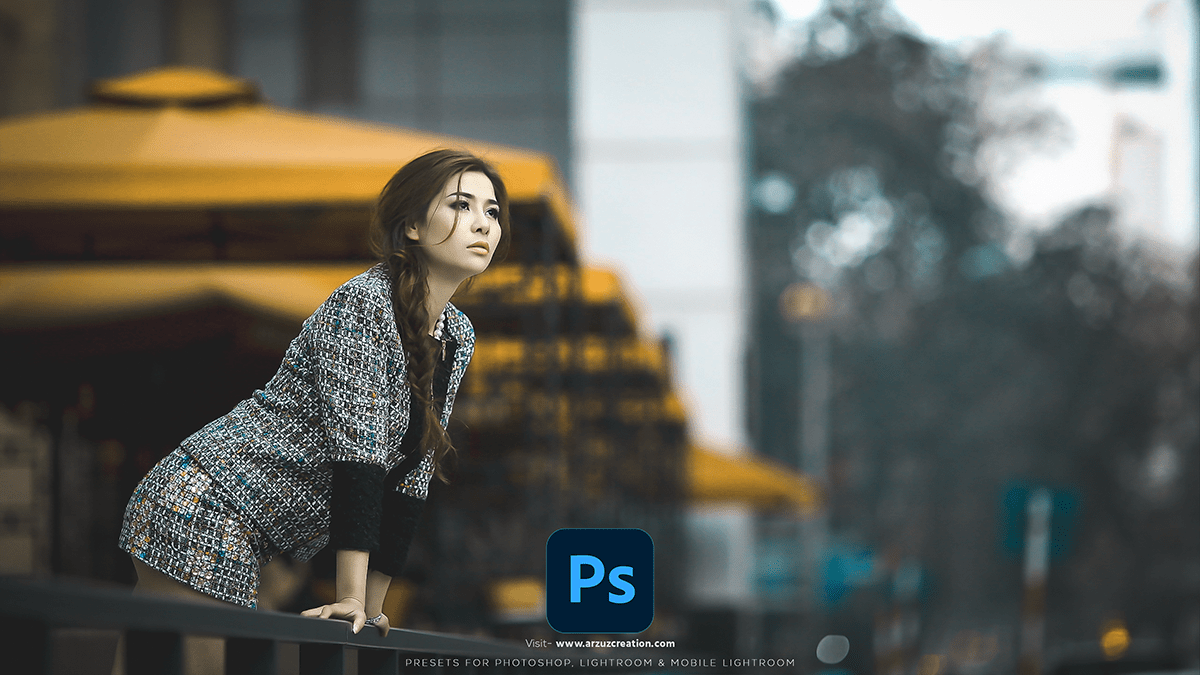
Yellow And Teal Photoshop Photo Editing 2024,
Therefore, Creating a yellow and teal color scheme in Photoshop can give your photos a vibrant, cinematic look. In other words, Here’s a step-by-step guide to achieve this effect:

Open Your Image:
- However, Open Photoshop.
- For instance, Load the image you want to edit by going to
File > Openand selecting the image.
Yellow And Teal Photoshop, Apply a Color Lookup Adjustment Layer:
- Above all, Go to
Layer > New Adjustment Layer > Color Lookup. - In addition, In the Properties panel, choose a LUT (Look-Up Table) that fits the yellow and teal aesthetic. Some good options to try are:
TealOrangePlusContrast.CUBE3Strip.CUBE
Yellow And Teal Photoshop Photo Editing 2024, Fine-Tune with Selective Color:
- After that, Go to
Layer > New Adjustment Layer > Selective Color. - Adjust the sliders for the following colors to enhance the yellow and teal tones:
- Reds: Increase Yellow, decrease Magenta.
- Yellows: Increase Yellow.
- Blues: Increase Cyan, increase Magenta.
- Cyans: Increase Cyan.
Apply a Gradient Map Adjustment Layer:
- Similarly, Go to
Layer > New Adjustment Layer > Gradient Map. - Therefore, Click on the gradient bar to open the Gradient Editor.
- In other words, Create a gradient that transitions from a dark teal to a light yellow. You can use the following color codes:
- Dark Teal: #005f6b
- Light Yellow: #ffd700
- Set the blending mode of the Gradient Map layer to
Soft Lightand adjust the opacity to your liking.
Add Curves Adjustment Layer for Contrast:

- Go to
Layer > New Adjustment Layer > Curves. - Adjust the curve to add contrast by creating a slight S-curve.
Final Adjustments:
- If needed, adjust the overall brightness and contrast by going to
Layer > New Adjustment Layer > Brightness/Contrast. - Make any additional tweaks to saturation or hue with
Layer > New Adjustment Layer > Hue/Saturation.
Save Your Work:
- Once you’re satisfied with the look, save your edited photo by going to
File > Save Asand choose your desired format.
This process can be customized based on the specific look you want to achieve. The key is to balance the colors to create that striking yellow and teal effect. Here’s a visual summary of the steps:
- Open Image: Load your photo.
- Color Lookup: Apply a LUT for basic color grading.
- Selective Color: Fine-tune specific colors.
- Gradient Map: Overlay a gradient for color enhancement.
- Curves: Adjust contrast.
- Final Adjustments: Fine-tune brightness, contrast, and saturation.
- Save: Export your edited photo.