Adobe Photoshop Portrait Editing Tutorial,
Guide to Photoshop Portrait Editing
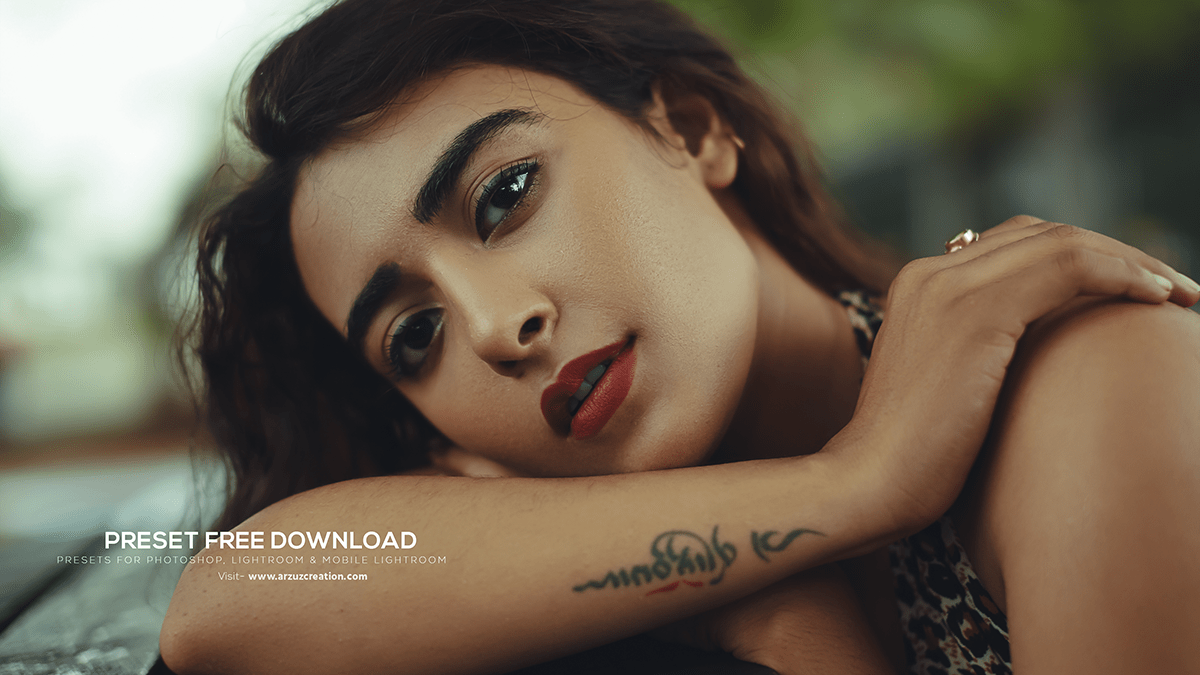
Portrait editing in Photoshop can transform a standard photo into a stunning image, highlighting the subject’s best features. Below is a step-by-step guide to help you achieve professional-quality edits.
Open the Image in Photoshop:
- Therefore, Launch Photoshop and open the portrait you want to edit.
- In other words, Duplicate the original layer (
Ctrl + JorCmd + Jon Mac) to preserve the original image.

Basic Adjustments:
- Crop and Straighten: However, Use the Crop tool (
C) to remove any unwanted edges and straighten the image. - Exposure and Contrast: For instance, Adjust the exposure, contrast, highlights, and shadows using
Image > Adjustments > Levels(Ctrl + LorCmd + L).
Skin Smoothing:
- Remove Blemishes: Above all, Use the Spot Healing Brush Tool (
J) to remove blemishes, spots, and other imperfections. - Frequency Separation: In addition, This technique helps separate the skin texture from the color. Create two copies of the image layer:
- Name the first copy “Low Frequency” and apply a Gaussian Blur (
Filter > Blur > Gaussian Blur) to blur out the fine details. - Name the second copy “High Frequency” and set the blending mode to Linear Light. Then, go to
Image > Apply Imageand select the “Low Frequency” layer with the blending mode set to Subtract. - Group these two layers and use masks and the Brush tool to smooth out the skin without losing texture.
Adobe Photoshop Portrait Editing Tutorial, Enhancing Features:
- Eyes: After that, Use the Dodge Tool (
O) to brighten the whites of the eyes and the Burn Tool (O) to add depth to the iris. Sharpen the eyes using the Sharpen Tool orFilter > Sharpen > Unsharp Mask. - Teeth Whitening: Select the teeth using the Lasso Tool (
L), then go toImage > Adjustments > Hue/Saturation(Ctrl + UorCmd + U). Reduce the Yellow saturation and increase the Lightness.
Adjusting Color and Tone:
- Color Correction: Similarly, Use
Image > Adjustments > Color Balance(Ctrl + BorCmd + B) to adjust the color tones. You can also useImage > Adjustments > Selective Colorit for more precise adjustments. - Overall Tone: Use Curves (
Ctrl + MorCmd + M) to adjust the overall tone of the image. This can help in enhancing the contrast and depth.

Final Touches:
- Hair: Therefore, Enhance the hair by adding shine and volume. Use the Dodge and Burn Tools to create highlights and shadows.
- Background: Blur or darken the background to make the subject stand out. Use
Filter > Blur > Gaussian Blurand apply a mask to keep the subject sharp. - Vignette: Create a vignette effect to draw attention to the center of the image. Use
Filter > Lens Correctionand select the Custom tab to adjust the vignette settings.
Save Your Image:
- Save your edited image in the desired format. For web use, save it as a JPEG with high quality. For printing, save it as a TIFF or PSD file.
Conclusion:
Portrait editing in Photoshop requires attention to detail and a good understanding of available tools. Following these steps can enhance your portraits and create professional-quality images. Practice regularly to improve your skills and discover new techniques.
