Adobe Photoshop Healing Brush Tool Tutorial,
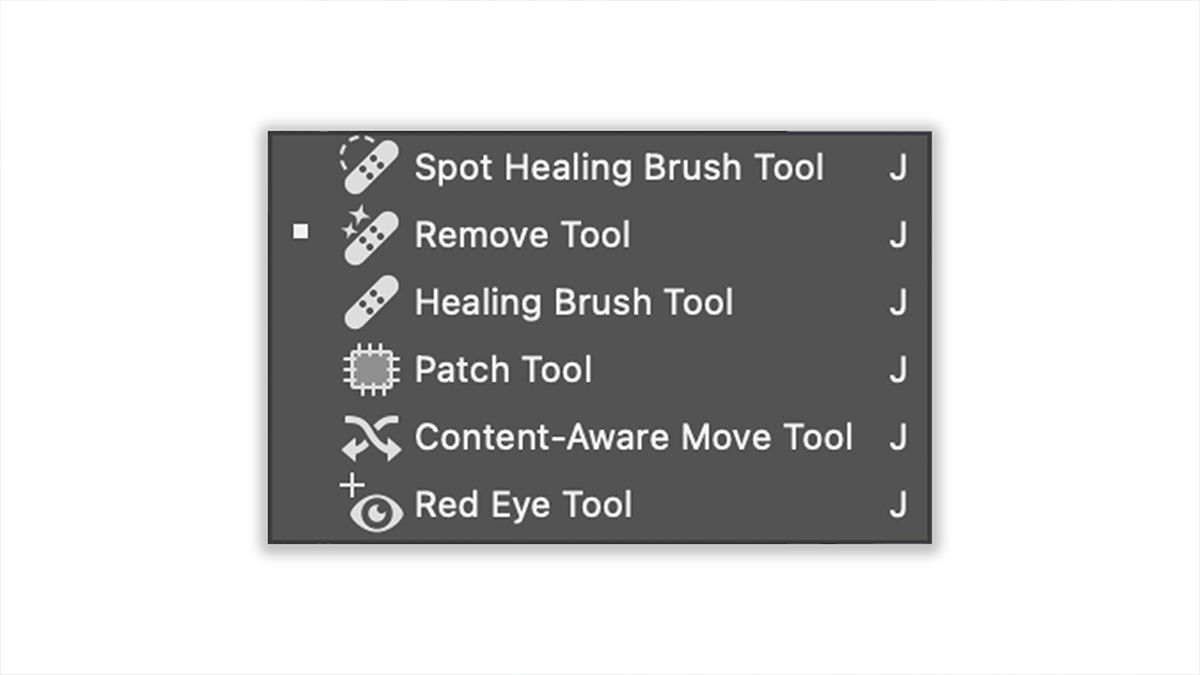
Therefore, The Healing Brush Tool in Adobe Photoshop is a powerful tool used for retouching and repairing images. It works by blending sampled pixels from a source area with the pixels in the area being repaired, effectively removing blemishes, imperfections, and other unwanted elements from a photo while preserving texture, lighting, and shading.
How to Use the Healing Brush Tool:
- In other words, Select the Healing Brush Tool:
- You can find the Healing Brush Tool in the toolbar, usually nested under the Spot Healing Brush Tool. You can also select it by pressing
Jon your keyboard and cycling through the tools.
- However, Set the Brush Size and Hardness:
- Adjust the size and hardness of the brush according to the area you want to heal. You can do this in the options bar at the top of the screen.
- For instance, Choose a Sample Source:
- Hold down the
Altkey (Windows) orOptionkey (Mac) and click on the area you want to use as the source for the healing. This should be an area that closely matches the texture and color of the area you’re trying to repair.
- Above all, Paint Over the Area to be Healed:
- Release the
AltorOptionkey and carefully paint over the area you want to fix. Photoshop will blend the sampled pixels with the pixels in the target area.
Tips for Using the Healing Brush Tool:
- Zoom In: In addition, For more precise control, zoom in on the area you are working on.
- Sample Continuously: After that, Depending on the complexity of the area, you might need to resample frequently to ensure the best match.
- Use Multiple Layers: Apply the Healing Brush Tool on a new layer to preserve the original image and allow for non-destructive editing. Create a new layer and ensure “Sample All Layers” is checked in the options bar.
- Adjust Brush Settings: Experiment with different brush sizes and hardness settings to see what works best for different parts of the image.
Adobe Photoshop Healing Brush Tool Tutorial,

Common Uses:
- Removing Blemishes: Perfect for fixing skin imperfections in portrait photography.
- Fixing Small Details: Great for repairing small areas in photos, such as scratches, dust spots, and minor damages.
- Blending Edges: Useful for seamlessly blending edges when compositing images or retouching photos.
Healing Brush Tool vs. Spot Healing Brush Tool:
- Healing Brush Tool: Requires you to manually choose a sample source. Provides more control and is better for more complex retouching tasks.
- Spot Healing Brush Tool: Automatically selects the source pixels from the surrounding area. It’s faster and easier for quick fixes but may not always yield the desired results in more intricate areas.
Adobe Photoshop Healing Brush Tool Tutorial, Example Workflow:
- Open your image in Photoshop.
- Select the Healing Brush Tool from the toolbar.
- Adjust the brush size and hardness in the options bar.
- Alt/Option- Click to sample an area near the imperfection you want to remove.
- Paint over the imperfection to blend it with the surrounding pixels.
- Repeat the process as needed for other imperfections.
By mastering the Healing Brush Tool, you can significantly enhance the quality of your photos, ensuring they look professional and polished.
