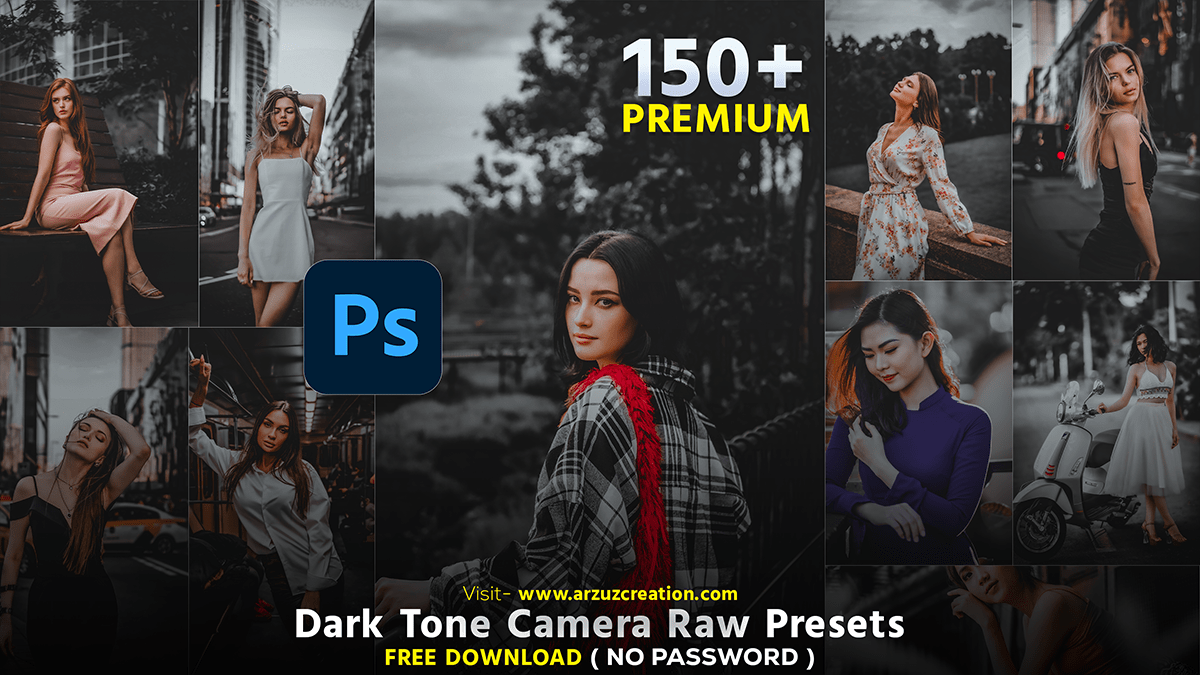
Top 150 Premium Dark Tone Photoshop Camera Raw Presets,

Therefore, Dark-tone color grading can add a dramatic and moody effect to your photos. You can achieve this using Photoshop’s Camera Raw Filter. In other words, Here’s a step-by-step guide:
However, Open Your Image:
- For instance, Open your image in Photoshop.
- Above all, Convert your layer to a smart object by right-clicking on the layer and selecting “Convert to Smart Object”. This allows you to make non-destructive edits.
In addition, Open Camera Raw Filter:
- After that, Go to
Filter>Camera Raw Filter.
Basic Adjustments:
- Similarly, In the Camera Raw panel, start with the Basic tab.
- Exposure: Therefore, Lower the exposure slightly to darken the image.
- Contrast: In other words, Increase the contrast to add more depth.
- Highlights: However, Reduce highlights to bring down the bright areas.
- Shadows: For instance, Increase shadows to bring out some details in the darker areas.
- Whites: Above all, Adjust whites to balance the highlights.
- Blacks: After that, Lower blacks to deepen the shadows.
Top 150 Plus Premium Dark Tone Photoshop Camera Raw Presets,

Tone Curve:
- Go to the Tone Curve panel.
- Adjust the curve to create an ‘S’ shape which increases contrast.
- Pull down the darks and shadows.
- Push up the lights and highlights.
HSL Adjustments:
- Go to the HSL Adjustments panel.
- In the Hue tab, you can shift the hues to create a more stylized look.
- In the Saturation tab, decrease the saturation of specific colors to create a desaturated, moody effect.
- In the Luminance tab, lower the luminance of specific colors to deepen their tones.
Split Toning:
- Go to the Split Toning panel.
- Add a slight color tint to the highlights and shadows. For dark, moody effects, you might use cooler tones (blues) in the shadows and warmer tones (yellows or oranges) in the highlights.
Detail:
- Go to the Detail panel.
- Adjust sharpening and noise reduction to enhance details without introducing too much grain.
Effects:
- Go to the Effects panel.
- Add a slight vignette to darken the edges of the photo and draw focus to the center.
Photoshop Camera Raw Presets Free Download,

Calibration:
- Go to the Calibration panel.
- Adjust the primary color sliders to fine-tune the overall color grading of the image.
Final Adjustments:
- Review your adjustments and make any final tweaks to exposure, contrast, or color balance.
After making these adjustments, click “OK” to apply the Camera Raw Filter. You can always go back and refine your edits by double-clicking on the Camera Raw Filter in the Layers panel if you have converted your layer to a smart object. This non-destructive approach allows for flexible adjustments to achieve the perfect dark tone look.