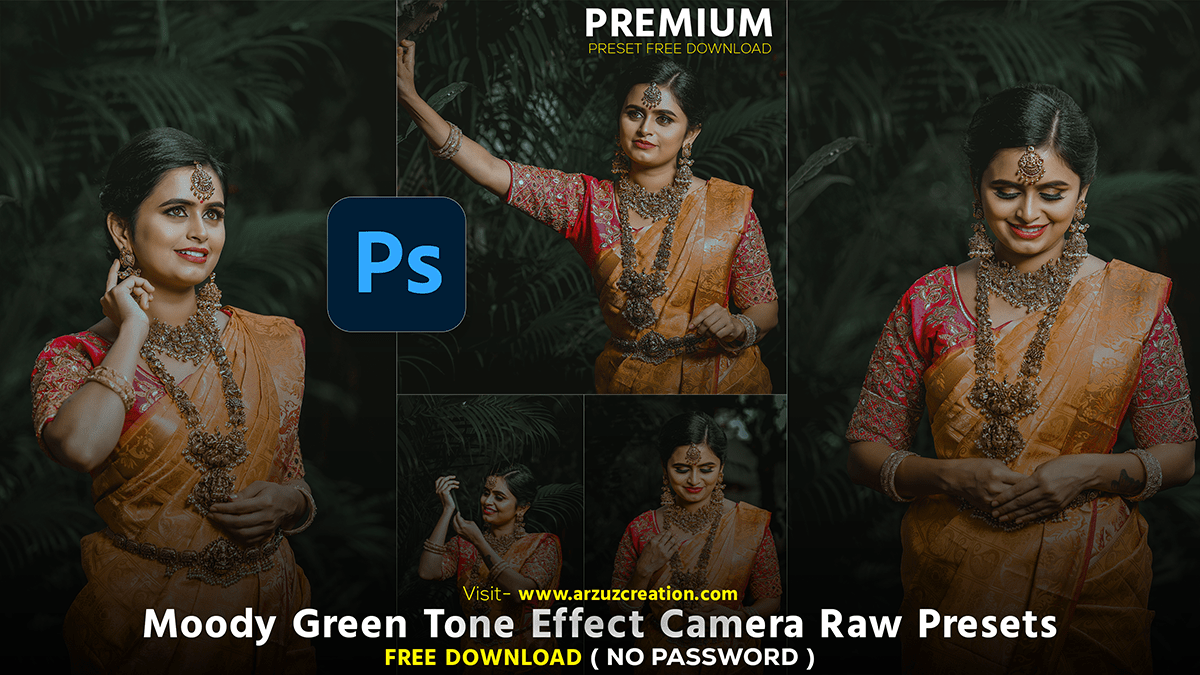
Wedding Portrait Moody Green Tone Effect,

Therefore, Moody green color grading can give your photos a unique and atmospheric look. In other words, Here are the steps to achieve this effect using the Camera Raw Filter in Photoshop:
Open Your Image in Photoshop:
- However, Open Photoshop and load the image you want to edit.
- For instance, Convert your image layer to a Smart Object (right-click the layer and select “Convert to Smart Object”) to allow non-destructive editing.
Open Camera Raw Filter:
- Above all, With your image layer selected, go to
Filter>Camera Raw Filter. This will open your image in the Camera Raw interface.
Wedding Portrait Moody Green Tone Effect,
Basic Adjustments:
- Exposure: In addition, Adjust to get the desired brightness.
- Contrast: Increase contrast to add depth to the image.
- Highlights: Lower the highlights to reduce overexposed areas.
- Shadows: After that, Lift the shadows to bring out more detail in darker areas.
- Whites and Blacks: Adjust these to balance the contrast and exposure further.
Tone Curve:
- Go to the
Tone Curvepanel. - Adjust the
Parametric Curveor switch to thePoint Curveand create an S-curve to enhance contrast. - In the
Point Curve, you can also manipulate the Red, Green, and Blue channels individually to create a moody tone.
Wedding Portrait Moody Green Tone Effect, HSL Adjustments:
- Go to the
HSL Adjustmentspanel. - Hue: Shift the Green hue slightly towards Aqua for a cooler green tone.
- Saturation: Reduce the overall saturation of colors except for Green and Aqua to emphasize the moody green look.
- Luminance: Lower the luminance of the Green and Aqua colors to deepen the moodiness.
Split Toning:
- Go to the
Color Gradingpanel (formerly Split Toning in older versions of Camera Raw). - Select a greenish hue for Shadows and adjust the saturation to your liking.
- You can choose a complementary color for Highlights, such as a warm tone, but keep the saturation low.
- Adjust the
BlendingandBalancesliders to fine-tune the mix between highlights and shadows.
Wedding Portrait Moody Green Tone Effect,
Calibration:
- Go to the
Calibrationpanel. - Adjust the shadow tint towards Green.
- Tweak the Red Primary, Green Primary, and Blue Primary sliders to further refine the color balance and mood of your image.
Photoshop Camera Raw Presets Free Download,
Final Adjustments:
- Go back to the
Basicpanel or any other panel to make final tweaks. - Ensure the image looks balanced and the moodiness is consistent across the image.
Wedding Portrait Moody Green, Apply and Save:
- Click
OKto apply the Camera Raw Filter adjustments. - Save your edited image.
Experiment with these settings to achieve the desired moody green effect. Each image is unique, so adjustments may vary.