Passport Size Photo Make in Adobe Photoshop,

Therefore, Creating a passport-size photo in Adobe Photoshop involves a few key steps. In other words, Here’s how you can do it:
Open the Photo in Photoshop:
- However, Open Adobe Photoshop and load the photo you want to resize by selecting File > Open and choosing your image.
Crop the Image:
- After that, Select the Crop Tool from the toolbar on the left or press C on your keyboard.
- For instance, In the options bar at the top, set the aspect ratio to 3.5 cm x 4.5 cm (or 1.38 in x 1.77 in).
- Above all, Position the crop box to frame the subject’s face and shoulders appropriately.
- In addition, Hit Enter to apply the crop.
Passport Size Photo Make, Adjust the Image Size:
- Similarly, Go to Image > Image Size.
- Therefore, Ensure that the Resample box is checked.
- In other words, Set the resolution to 300 pixels/inch (a standard for printing).
- However, Enter the width as 3.5 cm (or 1.38 inches) and the height as 4.5 cm (or 1.77 inches).
- For instance, Click OK to resize the image.
How to Create a Passport Size Photo in Adobe Photoshop,
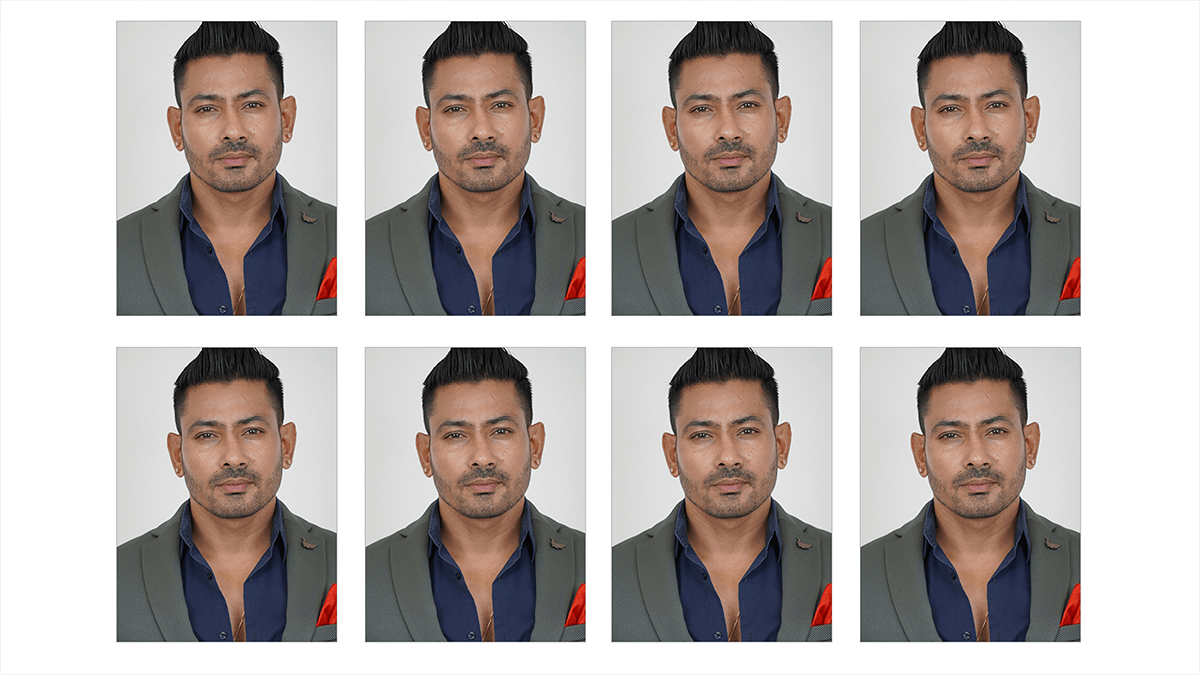
Create a New Document for Multiple Copies (Optional):
- If you want multiple passport photos on a single page, create a new document by going to File > New.
- In addition, Set the dimensions to 4×6 inches (a common photo paper size) with a resolution of 300 pixels/inch.
- Click OK to create the document.
Add the Resized Image to the New Document (Optional):
- Above all, Drag the resized image from the current document to the new document.
- After that, Use Ctrl+J (Windows) or Cmd+J (Mac) to duplicate the layer.
- Similarly, Position the copies on the document by using the Move Tool (V).
Save and Print:
- Once you’re satisfied with the arrangement, go to File > Save As to save your work.
- Choose the format (e.g., JPEG) and click Save.
- Print the image using File > Print.
Passport Size Photo Make, Additional Tips:
- Ensure the background is plain and neutral, as passport photo standards require.
- Use the Levels or Curves adjustments to correct the brightness and contrast.
- Avoid any filters or effects that may alter the natural appearance of the face.
This method will allow you to create a professional passport-size photo in Adobe Photoshop.
How to Create a Passport Size Photo in Microsoft Word,
Creating a passport-size photo in Microsoft Word is simple. Here’s a step-by-step guide:
Open Microsoft Word:
- Open a new blank document in Microsoft Word.
Insert the Photo:
- Go to the “Insert” tab.
- Click on “Pictures” and select “This Device” (or wherever your photo is stored).
- Choose the photo you want to resize and click “Insert.”
Passport Size Photo Make, Resize the Photo:
- Click on the inserted photo to select it.
- Go to the “Picture Format” tab at the top of the screen.
- In the “Size” group, you’ll see options to manually adjust the width and height.
- Set the width to 3.5 cm (or 1.38 inches) and the height to 4.5 cm (or 1.77 inches), which are standard passport photo dimensions.
How to Create a Passport Size Photo in Microsoft Word,
Crop the Photo (If Needed):
- If you need to crop the photo to fit the dimensions better, click on “Crop” in the “Picture Format” tab.
- Adjust the crop box to focus on the face and shoulders.
- Click “Crop” again to apply.
Duplicate the Photo (Optional):
- If you need multiple copies, right-click on the photo and select “Copy.”
- Then, right-click elsewhere in the document and select “Paste.”
- Arrange the duplicated photos as needed.
Print the Photo:
- Once you have arranged the photos, you can print them directly from Word.
- Go to “File” > “Print” and select your printer.
Additional Tips:
- Use high-resolution images to ensure the passport photo is clear.
- Make sure the background of the photo is plain and neutral, as required for most passport photos.
- Ensure that the photo adheres to your country’s passport photo guidelines.
This method works well for creating passport-sized photos quickly using just Microsoft Word.
