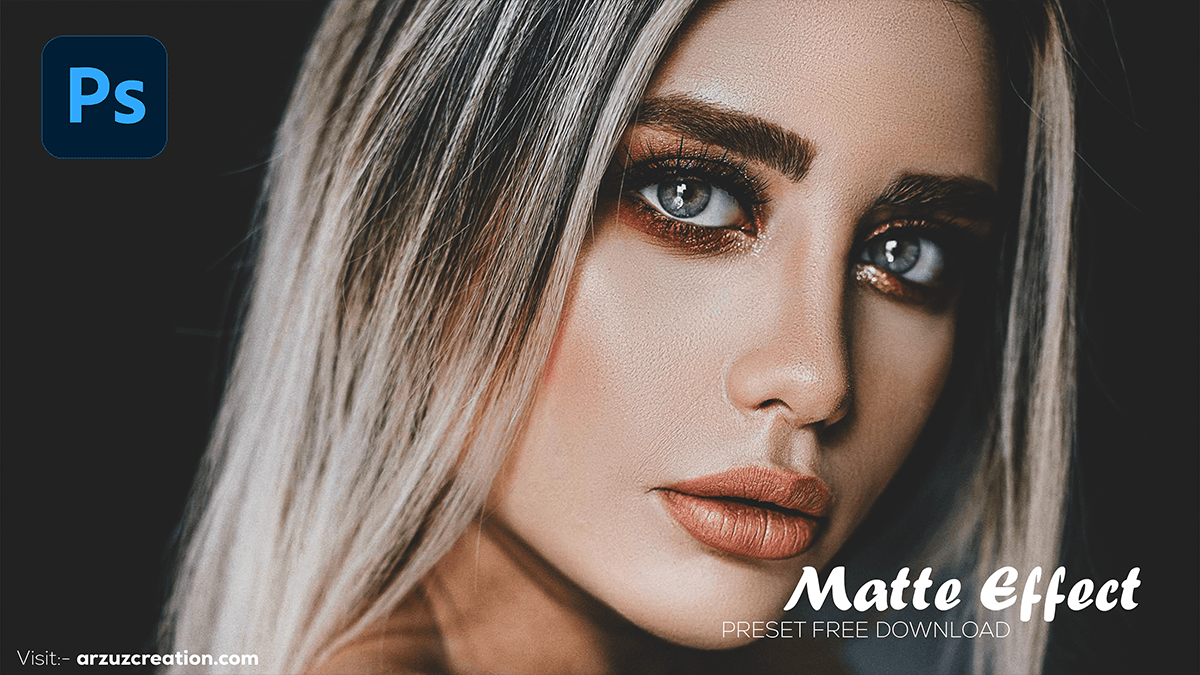
Matte Effect Photoshop Camera Raw Filter,

Therefore, Creating a matte effect in Adobe Photoshop can give your photos a soft, vintage look with reduced contrast and muted colors. Here’s a simple way to achieve this effect:
Matte Effect Photoshop, Open Your Image in Photoshop:
- In other words, Start by opening the image you want to edit in Photoshop.
Create a Curves Adjustment Layer:
- However, Go to the Layers panel.
- For instance, Click on the Adjustment Layer icon at the bottom (it looks like a half-filled circle).
- Above all, Select Curves from the list.
Matte Effect Photoshop, Adjust the Curves:
- In addition, In the Curves window, you’ll see a diagonal line representing the tonal range of your image.
- After that, To create the matte effect:
- Lift the Shadow Point: Similarly, Click on the bottom-left point of the curve (representing shadows) and drag it upward. This lifts the black point, making the darkest areas of the image less intense, creating a matte look.
- Flatten the Curve: To further enhance the matte effect, drag the curve slightly downward around the midtones area (the middle of the curve) and slightly upward near the highlights (top-right of the curve).
Fine-Tune the Effect:
- If the effect is too strong, you can reduce the opacity of the Curves adjustment layer in the Layers panel.
- Alternatively, you can adjust the curve to fine-tune the effect to your liking.
Matte Effect Photoshop Camera Raw Filter,

Add a Color Adjustment (Optional):
- To enhance the matte effect, consider adding a Hue/Saturation adjustment layer or a Color Balance adjustment layer.
- Desaturating the image slightly can help to achieve a more vintage look, or you can shift the colors slightly to add a tint.
Photoshop Presets Free Download,
Add Grain (Optional):
- For a more authentic matte look, you can add some grain to your image.
- Create a new layer and fill it with 50% gray.
- Go to Filter > Noise > Add Noise and adjust the amount to your preference.
- Set the layer’s blending mode to Overlay or Soft Light and reduce the opacity as needed.
Finalize the Image:
- Once you’re happy with the matte effect, save your work.
This technique is versatile and can be adjusted based on the specific look you want to achieve.