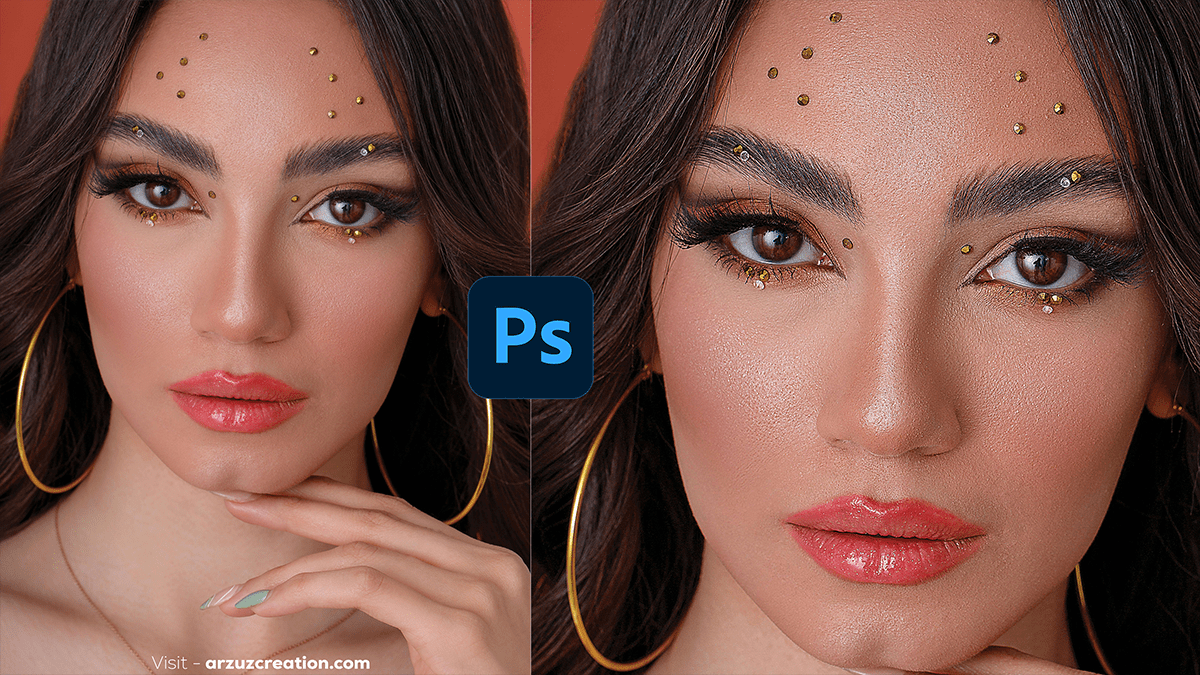
How to Create Skin Texture in Adobe Photoshop,

Therefore, Maintaining or enhancing skin texture in Photoshop is crucial for natural-looking retouching. In other words, Here’s how to work with skin texture effectively:
- Purpose: Separates the skin’s texture (high frequency) from the color/tone (low frequency) so you can edit them independently.
- Steps:
- Duplicate Layers: However, Duplicate your image layer twice. Name the first duplicate “Low Frequency” and the second “High Frequency.”
- Blur the Low-Frequency Layer: Select the Low-Frequency layer, then go to
Filter > Blur > Gaussian Blur. Apply a blur just enough to remove the skin texture but retain the shapes and tones. - Apply Image on High-Frequency Layer: For instance, Select the High-Frequency layer, go to, and choose the Low-Frequency layer. Set the blending mode to
Subtract, Scale to 2, and Offset to 128. - Change Blending Mode: Set the High-Frequency layer’s blending mode to Linear Light. Now you can edit the Low-Frequency layer for tones without affecting the texture, and the High-Frequency layer for texture without affecting tones.
- Edit: Use the Healing Brush Tool on the High-Frequency layer to fix any texture issues. Use the Lasso Tool with a feathered selection on the Low-Frequency layer to smooth out blotchy skin tones.
Healing Brush Tool and Clone Stamp Tool:
- Purpose: Fix minor imperfections while preserving skin texture.
- Steps:
- Above all, Select the Healing Brush Tool or Clone Stamp Tool.
- In addition, Set a small brush size and sample a clean area of skin near the problem spot (Alt-click or Option-click).
- Gently paint over the imperfection, making sure the brush’s hardness and opacity are adjusted to blend naturally.
How to Create Skin Texture, Texture-Enhancing Techniques:
- Noise Filter: Add a slight amount of noise (
Filter > Noise > Add Noise) after retouching to reintroduce some texture if the skin looks too smooth. - High Pass Filter: Apply a High Pass filter (
Filter > Other > High Pass) on a duplicate layer, then set the layer’s blending mode to Overlay or Soft Light. This can enhance the skin texture if it appears too flat.
Dodge and Burn:
- Purpose: Enhance natural highlights and shadows while maintaining texture.
- Steps:
- Create a new layer and set it to Soft Light or Overlay.
- Use the Dodge Tool to lighten areas and the Burn Tool to darken areas, emphasizing contours and depth.
- Work with low-exposure settings (5-10%) to build up the effect gradually without losing texture.
How to Create Skin Texture in Adobe Photoshop, Texture Replacement:

- Purpose: Replace lost texture in heavily retouched areas.
- Steps:
- If an area has lost too much texture, you can sample skin texture from another part of the image using the Clone Stamp Tool or by creating a new texture layer using the High Pass Filter.
- Apply the texture over the problem area using a soft brush and adjust the opacity for a natural blend.
- Purpose: Sharpen skin texture after retouching.
- Steps:
- Go to
Filter > Sharpen > Smart Sharpen. - Use low Amount and Radius settings to subtly sharpen the texture without overdoing it.
- Go to
These techniques ensure you maintain or enhance natural skin texture, giving your retouched images a professional and realistic finish.
