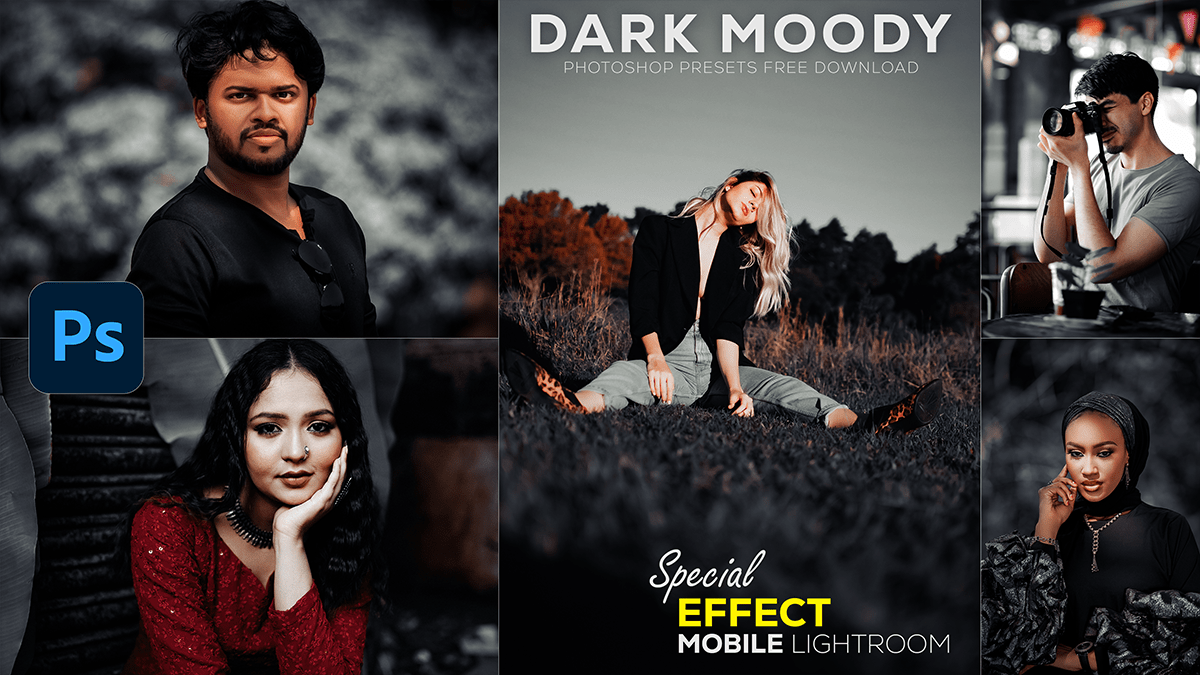
Moody Dark Effects Photoshop Presets Free Download 2024,

Dark Moody Color Tone Preset,
Therefore, Creating a dark, moody effect using the Camera Raw filter in Photoshop can give your photos a dramatic and atmospheric look. In other words, Here’s a step-by-step guide to achieving this effect:
Open Your Image in Photoshop:
- However, Open Photoshop and load the image you want to edit.
Moody Dark Color Grading, Open Camera Raw Filter:
- Convert your image to a Smart Object (optional but recommended for non-destructive editing): Right-click on the layer and select Convert to Smart Object.
- For instance, Go to Filter > Camera Raw Filter.
Moody Dark Effects, Adjust Basic Settings:
- Exposure: Decrease the exposure slightly to darken the overall image.
- Contrast: Increase the contrast to add depth to the shadows and highlights.
- Highlights: After that, Lower the highlights to recover details in the bright areas.
- Shadows: In addition, Lift the shadows to reveal more details in the dark areas.
- Whites: Above all, Adjust to control the bright areas without clipping.
- Blacks: For instance, Lower the blacks to deepen the darkest parts of the image.
Dark Effects Photoshop, Adjust Tone Curve:
- In addition, Go to the Tone Curve panel.
- After that, Use the Point Curve to create an S-curve, which will increase contrast. Drag the curve downward in the shadows and upward in the highlights.
Moody Dark Effects Photoshop Presets Free Download 2024,

Moody Dark Color Grading, Adjust Colors:
- Similarly, Go to the HSL Adjustments panel.
- Hue: Therefore, Slightly adjust the hues to achieve the desired mood.
- Saturation: However, Decrease the saturation for a more muted, moody look.
- Luminance: In other words, Adjust the luminance of individual colors to control their brightness.
Add Split Toning:
- Similarly, Go to the Color Grading panel (previously called Split Toning in older versions).
- Add a slight blue or green tint to the shadows.
- Add a warm color (yellow or orange) to the highlights.
- Adjust the blending balance to get the desired effect.
Dark Effects Photoshop, Add Vignette:
- Therefore, Go to the Effects panel.
- In other words, Add a slight vignette to darken the edges of the image and draw focus to the center.
Moody Dark Effects, Sharpening, and Noise Reduction
- However, Go to the Detail panel.
- For instance, Increase sharpening to bring out details.
- Apply noise reduction if necessary to smooth out any grain or noise.
Dark Effects Photoshop, Final Adjustments:
- In addition, Go back to the Basic panel and make any final adjustments to exposure, contrast, and other settings.
Moody Dark Color Grading, Apply the Changes:
- Click OK to apply the Camera Raw filter adjustments to your image.
Experiment with these settings to achieve the perfect dark, moody effect for your specific photo.
Second Method Create This Effect,
Moody Dark Effects Photoshop Presets Free Download 2024,

Creating a dark, moody effect in Photoshop involves a few key steps to adjust the colors, contrast, and overall mood of the image. Here’s a step-by-step guide:
Open Your Image:
- Open Photoshop.
- Load the image you want to edit.
Moody Dark Color Grading, Adjust the Basic Settings:
- Convert to Smart Object (optional but recommended): Right-click on the image layer and select “Convert to Smart Object.” This allows for non-destructive editing.
- Duplicate the Layer: Press
Ctrl+J(Windows) orCmd+J(Mac) to duplicate your background layer. Work on the duplicate to preserve the original.
Apply a Gradient Map:
- Go to the Adjustments Panel and select Gradient Map.
- Choose a gradient that shifts from dark to light tones (e.g., dark blue to light blue, or dark green to a muted green). You can create a custom gradient if needed.
- Change the Blending Mode of the Gradient Map layer to Soft Light and adjust the Opacity to your liking.
Moody Dark Effects, Adjust Curves:
- Go to Layer > New Adjustment Layer > Curves.
- In the Curves adjustment, create an S-curve to enhance contrast. This typically involves pulling down the shadows and lifting the highlights slightly.
Moody Dark Color Grading, Add a Vignette:
- Create a new layer by pressing
Shift+Ctrl+N(Windows) orShift+Cmd+N(Mac). - Fill this layer with black by pressing
Shift+F5and selecting Black. - Go to Filter > Lens Correction. In the Lens Correction window, go to the Custom tab and adjust the Vignette settings.
- Change the Blending Mode of this layer to Overlay and adjust the Opacity to achieve the desired effect.
Photoshop Presets Free Download,
Moody Dark Color Grading, Color Grading:
- Go to Layer > New Adjustment Layer > Color Lookup.
- Choose a 3DLUT File that enhances the dark, moody effect. Some good options are “NightFromDay.CUBE” or “FoggyNight.CUBE”.
- Adjust the Opacity if the effect is too strong.
Fine-tuning:
- You can further enhance the mood by using Selective Color adjustments. Go to Layer > New Adjustment Layer > Selective Color.
- Adjust the colors in different channels (Reds, Yellows, Greens, Cyans, Blues, Magentas, Whites, Neutrals, and Blacks) to fine-tune the look.
Moody Dark Effects, Sharpen the Image:
- Create a merged copy of all the layers by pressing
Ctrl+Alt+Shift+E(Windows) orCmd+Option+Shift+E(Mac). - Go to Filter > Other > High Pass. Set the radius to around 1-2 pixels.
- Change the Blending Mode of this layer to Overlay.
Final Adjustments:
- Make any final adjustments to brightness, contrast, and color balance as needed.
- Save your image.
By following these steps, you can create a dramatic, dark, and moody effect in your photos using Photoshop.