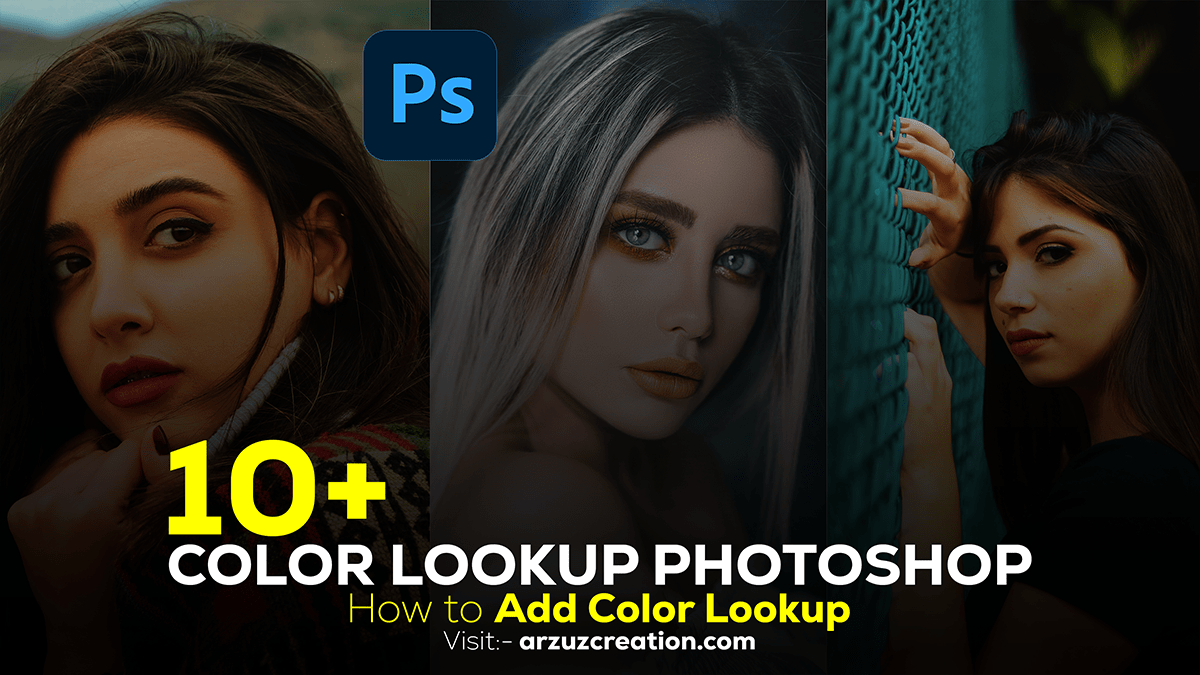
Color Lookup Adjustment Layer Photo Editing in Adobe Photoshop,
Therefore, Using Photoshop’s Color Lookup adjustments is a quick and easy way to apply cinematic or stylized color grading to your photos. In other words, Here’s a simple guide on how to use it effectively:

Steps to Use Color Lookup in Photoshop:
Open Your Image:
However, Start by opening your image in Photoshop.
Add a Color Lookup Adjustment Layer:
For instance, Go to the Layers panel.
- Above all, Click on the Adjustment Layer icon at the bottom (it looks like a half-filled circle).
- In addition, From the list, select Color Lookup.
Choose a 3D LUT File:
- After that, In the Properties panel, you will see three dropdown menus: 3DLUT File, Abstract, and Device Link.
- Above all, Click on the 3DLUT File dropdown.
- In addition, Select from the pre-installed LUTs (Look-Up Tables) such as Crisp_Warm, Candlelight, Filmstock, etc.
Experiment with LUTs:
- In addition, Each LUT has a different effect on your image, offering unique color tones and contrasts.
- After that, Try out different LUTs until you find one that enhances your photo as desired.
Adjust the Opacity:
- Similarly, If the effect is too strong, reduce the opacity of the Color Lookup layer.
- Therefore, This will blend the effect more subtly into the original image.
Color Lookup Adjustment Layer Photo Editing in Adobe Photoshop,
Refine with Masking (Optional):
- Similarly, If you want the effect only on a part of the image, use the mask attached to the adjustment layer.
- Therefore, Paint the mask with black to hide the effect in areas where you don’t want it.
Save Your Work:
- In addition, Once you’re happy with the result, save your image in the desired format.
Color Lookup Adjustment Layer, Quick Tip:
If you want a custom LUT or something different from the default options, you can download LUTs online and import them into Photoshop via the Load 3D LUT option.
By following these steps, you can quickly enhance the mood and tone of your images with just a few clicks!
How to install color lookup presets in Adobe Photoshop
Installing custom Color Lookup presets (LUTs) in Adobe Photoshop is a straightforward process. Once installed, you can easily access them through the Color Lookup adjustment layer. Here’s how to do it:

Steps to Install Color Lookup Presets (LUTs) in Photoshop:
Download the LUTs:
After that, Find and download the LUT files (commonly in .CUBE, .3DL, or .LOOK formats) from websites that offer free or paid LUTs.
Locate Photoshop’s LUT Folder:
Therefore, Please navigate to the folder where Photoshop stores its built-in LUTs. You’ll be placing your downloaded LUTs in this folder.
In other words, The location of this folder varies depending on your operating system:
- Windows:
C:\Program Files\Adobe\Adobe Photoshop [Version]\Presets\3DLUTs - MacOS:
/Applications/Adobe Photoshop [Version]/Presets/3DLUTs
Color Lookup Adjustment Layer Photo Editing in Adobe Photoshop,
Copy the LUT Files:
However, Once you’ve located the 3DLUTs folder, copy the downloaded LUT files into this directory.
Restart Photoshop:
For instance, If Photoshop was open while you installed the LUTs, you need to close and restart the application for the new LUTs to appear.
Photoshop 3DLuts Free Download 2024,
Access Your LUTs in Photoshop:
- Above all, After restarting Photoshop, open your image.
- In addition, Add a Color Lookup adjustment layer by going to the Layers panel and selecting Color Lookup from the Adjustment Layer options.
- After that, In the Properties panel, under the 3DLUT File dropdown, your custom LUTs should now appear in the list, along with the default LUTs.
Apply the LUT:
Similarly, Select your newly installed LUT from the list, which will instantly apply to your image.
Managing and Organizing LUTs:
Similarly, If you install many LUTs, it’s a good idea to organize them into folders within the 3DLUTs directory. That way, they’ll be grouped by categories or types when you access them in Photoshop.
By following these steps, you can expand your creative options with new color grading presets and quickly apply professional looks to your photos.