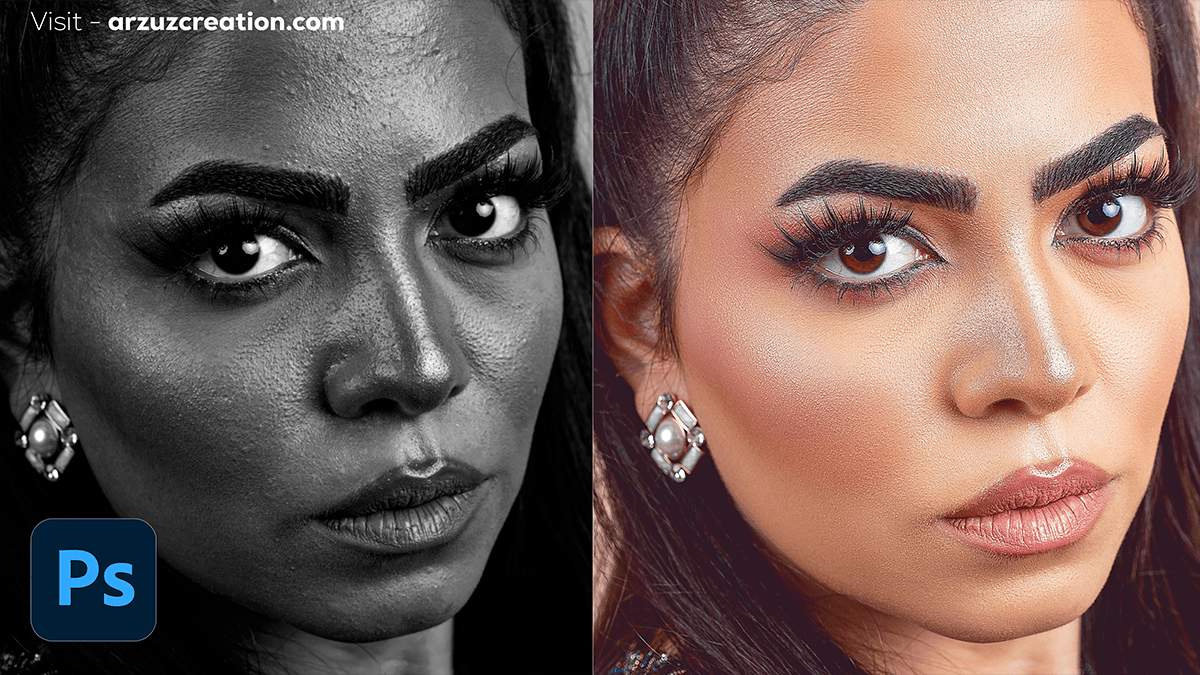
High-End Skin Retouch Adobe Photoshop 2024,

Therefore, High-end skin retouching in Adobe Photoshop 2024 focuses on enhancing the skin texture while maintaining a natural look. In other words, Here’s a detailed guide:
Frequency Separation:
However, Frequency separation allows you to work on texture and color/tone separately, which is essential for advanced retouching.
Steps:
Duplicate Layers: Duplicate the image twice. Name the first one “Low Frequency” (for color/tone) and the second “High Frequency” (for texture).
Low Frequency (Blur): Select the “Low Frequency” layer, go to Filter > Blur > Gaussian Blur. Adjust the blur radius until the skin texture disappears but the overall form remains.
High Frequency (Texture): Hide the “Low Frequency” layer, select the “High Frequency” layer, go to Image > Apply Image. Choose the “Low Frequency” layer, set Blending: Subtract, Scale: 2, and Offset: 128 (for 16-bit images, choose Blending: Add, Scale: 2, Offset: 0). Set the “High Frequency” layer’s blend mode to Linear Light.
Retouching: Work on the low-frequency layer for color and tonal issues with a soft brush or healing tools. Use the clone stamp or healing brush on the high-frequency layer for fine texture adjustments.
Dodge & Burn:
For instance, Dodge and Burn techniques help adjust highlights and shadows to refine skin tone and shape.
Steps:
For instance, Create two curve adjustment layers—one for dodging (brighten) and one for burning (darken).
Above all, Invert the layer masks (Ctrl/Cmd + I) so the effect is hidden.
In addition, Use a soft brush (low flow, around 2-5%) to paint on the masks, revealing the dodge/burn effect in areas that need lightening or darkening.
High-End Skin Retouch Adobe Photoshop 2024,

Healing Tools:
Above all, Use tools like the Spot Healing Brush Tool and Clone Stamp for smaller blemishes.
Steps:
- Therefore, Select the Spot Healing Brush Tool (
J) and choose “Sample All Layers.” - Above all, Paint over blemishes, imperfections, or small details on the skin.
- Therefore, Use the Clone Stamp Tool for areas with more complex textures.
Color Correction:
Subtle color corrections can enhance the overall skin tone.
Steps:
- Above all, Create a
Selective Coloradjustment layer. - Similarly, Adjust the reds and yellows (main skin tones) to balance out any uneven color distribution.
- In other words, Use an
Hue/Saturationadjustment layer to fine-tune skin tones further if needed.
Skin Retouch, Smoothing:
For a final polish, light smoothing can be applied.
Steps:
- After that, Duplicate your frequency separation layers.
- Similarly, Apply a very light blur (e.g., Gaussian Blur at around 2-3 pixels) to the Low-Frequency layer to smooth transitions.
- In other words, Adjust opacity to blend the effect subtly with the original texture.
High-End Skin Retouch Adobe Photoshop 2024,
Sharpening:
Sharpen the final image while preserving the skin’s smoothness.
Steps:
- However, Merge all layers into a new one (Ctrl/Cmd + Alt + Shift + E).
- After that, Apply
Filter > Sharpen > Smart Sharpen. - However, Focus on eyes, lips, and any details while keeping skin sharpening minimal.
Final Touches:
In conclusion, Add a global color grade or slight vignette to direct attention.
With these techniques, you’ll achieve natural and clean skin retouching while preserving detail and texture. Let me know if you’d like more advanced tricks or detailed steps!