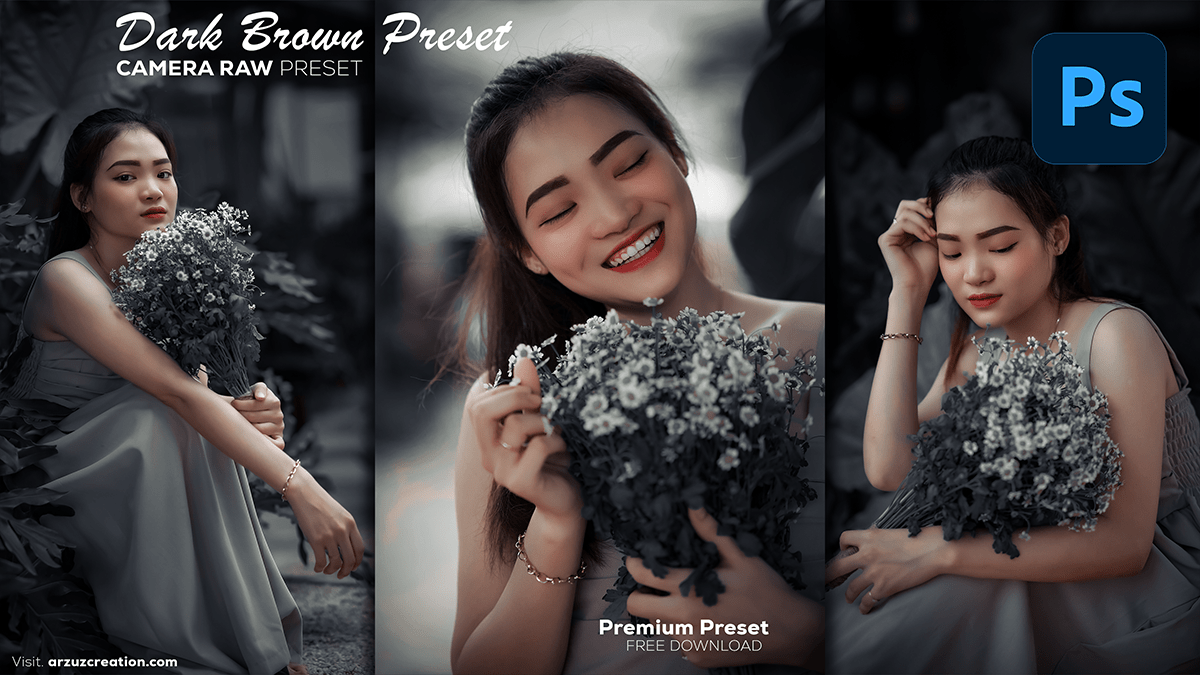
Adobe Photoshop: Dark Brown Color Grading in Camera Raw Filter

Therefore, To create a dark brown color grading in Photoshop, you can follow these steps for a subtle, moody, and warm effect. In other words, This technique works great for portrait or outdoor photography to add a vintage or cinematic feel.
Steps to Apply Dark Brown Color Grading:
Open Your Image in Photoshop:
- Therefore, Start by opening the image you want to color grade.
Create a Curves Adjustment Layer:
- Therefore, Go to the Layers Panel, click the “Adjustment Layer” icon, and select Curves.
- However, In the Curves panel, you’ll see separate channels (RGB, Red, Green, and Blue).
- Red Channel: Slightly raise the shadows (left side of the curve) to add warmth and lower the highlights (right side) to keep the reds subtle.
- Green Channel: Pull down the shadows and increase the highlights to reduce green, creating a more brownish tone.
- Blue Channel: Lower the shadows to add yellow and slightly raise the highlights for balance.

Selective Color Adjustment:
- However, Add a Selective Color adjustment layer.
- After that, Go to the Neutrals and reduce Cyan slightly, increasing Yellow to warm up the mid-tones.
- However, For the Blacks, decrease the Cyan slightly and add more Yellow to deepen the shadows.
Adobe Photoshop: Dark Brown Color Grading in Camera Raw Filter,

Hue/Saturation Layer (Optional):
- For instance, Add a Hue/Saturation adjustment layer.
- Above all, Lower the saturation slightly for a more muted, desaturated brown tone, or leave the saturation intact for a more vibrant look.
Color Balance (Optional):
- For instance, If you want more control over shadows, midtones, and highlights, add a Color Balance adjustment layer.
- In addition, For Shadows, increase Red and Yellow.
- After that, For Midtones, shift toward Red and Yellow as well.
- Above all, For Highlights, adjust to taste, but keep a balance to avoid overdoing it.
Vignette Effect (Optional):
- For instance, Add a vignette to enhance the dark and moody feel.
- Above all, Go to Filter > Lens Correction, then under the Custom tab, use the Vignette slider to darken the edges.
Adobe Photoshop: Dark Brown Color Grading, Presets Free Download 2024,

Final Touches:
- In addition, Review the image. You may want to go back and adjust individual layers (Curves, Selective Color, etc.) to perfect the look.
Saving the Image:
- Similarly, Once satisfied with the grading, save your file by going to File > Save As and choosing the desired format (JPEG, PNG, etc.).
This method creates a sophisticated dark brown look that is versatile across different types of photography. Let me know if you want further adjustments or need help with specific photos!
