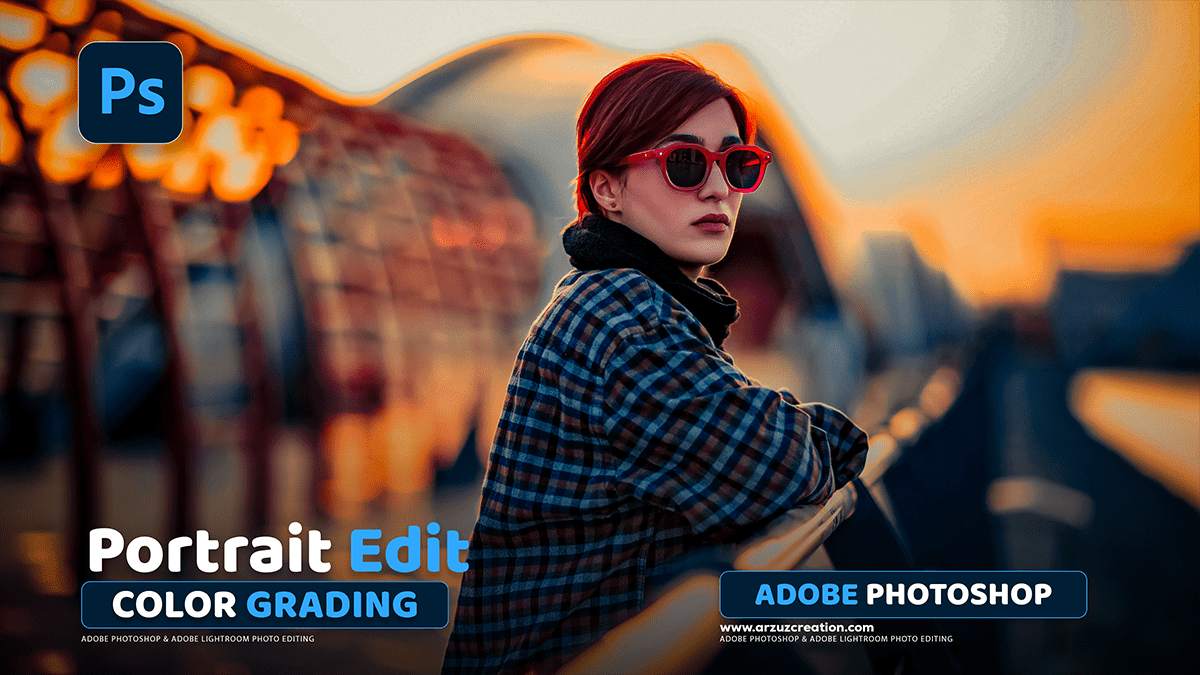
Portrait Photo Colour Grading in Adobe Photoshop 2025,
Therefore, Color grading a portrait in Adobe Photoshop can drastically change the mood and style of the image. Here are some of the most common and effective methods, often used in combination:

Portrait Photo Colour Grading in Adobe Photoshop 2025,
1. Camera Raw Filter (For overall adjustments)
- Access: Go to Filter > Camera Raw Filter (or use it before opening a RAW file).
- Color Grading Panel: This tool (similar to the one in Lightroom) gives you three color wheels to adjust the Hue and Saturation of the:
- Shadows: Often used to add a cool (blue/cyan) tone for a cinematic or dramatic look, especially in portraits.
- Midtones: Therefore, used for more subtle shifts or to help balance the overall color, often to keep skin tones looking natural.
- Highlights: Often used to add a warm (yellow/orange) tone to complement the cool shadows (Orange and Teal look).
- Luminance Slider: Below each wheel, you can adjust the brightness of that tonal range.
- Blending and Balance: Fine-tune how the colors transition and which areas are most affected.
Portrait Photo Colour Grading in Adobe Photoshop 2025,

2. Adjustment Layers (Non-destructive and versatile)
Therefore, the key is to use adjustment layers so you can easily change or remove the effect later. Some popular ones include:
- Curves:
- Contrast: Plot an “S” curve on the main RGB channel to increase contrast and “pop.”
- Color Shifts: Switch to the Red, Green, or Blue channels to selectively tint shadows and highlights. For example, lower the bottom point on the Blue channel (adds yellow to shadows) and raise the top point (adds blue to highlights) for a popular color split.
- Selective Color:
- Therefore, allows for precise adjustments to existing color ranges (Reds, Yellows, Neutrals, etc.). This is excellent for skin tones (targeting Reds/Yellows) or for adding a specific color to the shadows/highlights (targeting Neutrals or Blacks/Whites).
Portrait Photo Colour Grading in Adobe Photoshop 2025,
- Color Balance:
- A simple, intuitive way to push the colors in the Shadows, Midtones, or Highlights towards a specific complementary color pair (Cyan/Red, Magenta/Green, Yellow/Blue).
- Gradient Map:
- Therefore, this is a more advanced technique where you map two or more colors to the light and dark areas of your image. You often set a dark color for shadows and a light color for highlights, then reduce the layer’s Opacity and/or change the Blend Mode (e.g., Soft Light, Color, or Overlay) for a stylized effect.
- Color Lookup (LUTs):
- Therefore, applies a pre-made color profile (called a LUT) to your image, which can instantly give you a specific look (e.g., cinematic, vintage film). You can find many free and commercial LUTs online.
Portrait Photo Colour Grading in Adobe Photoshop 2025,

3. Focusing on Portrait-Specific Touches:
Therefore, when color grading a portrait, you usually want to keep the skin tones looking healthy and natural:
- Protect Skin Tones: Use adjustment layers like Selective Color or the Camera Raw HSL/Color Mixer tool to specifically target and slightly de-saturate, or slightly shift the hue/luminance of the Red and Orange (or Yellow) channels, which make up the bulk of skin color.
- Vibrance vs. Saturation: Use the Vibrance adjustment for a global color boost, as it intelligently protects already saturated colors (like skin) and targets the less saturated ones, making the colors “pop” without making the subject look unnatural.
Camera Raw Presets Free Download,
Pro-Tip: Always work with Adjustment Layers so that your edits are non-destructive. You can always go back and change the settings, use a Layer Mask to apply the color grade to only specific parts of the image (e.g., the background, but not the subject’s face), or adjust the layer’s Opacity to dial back the intensity of the effect.
