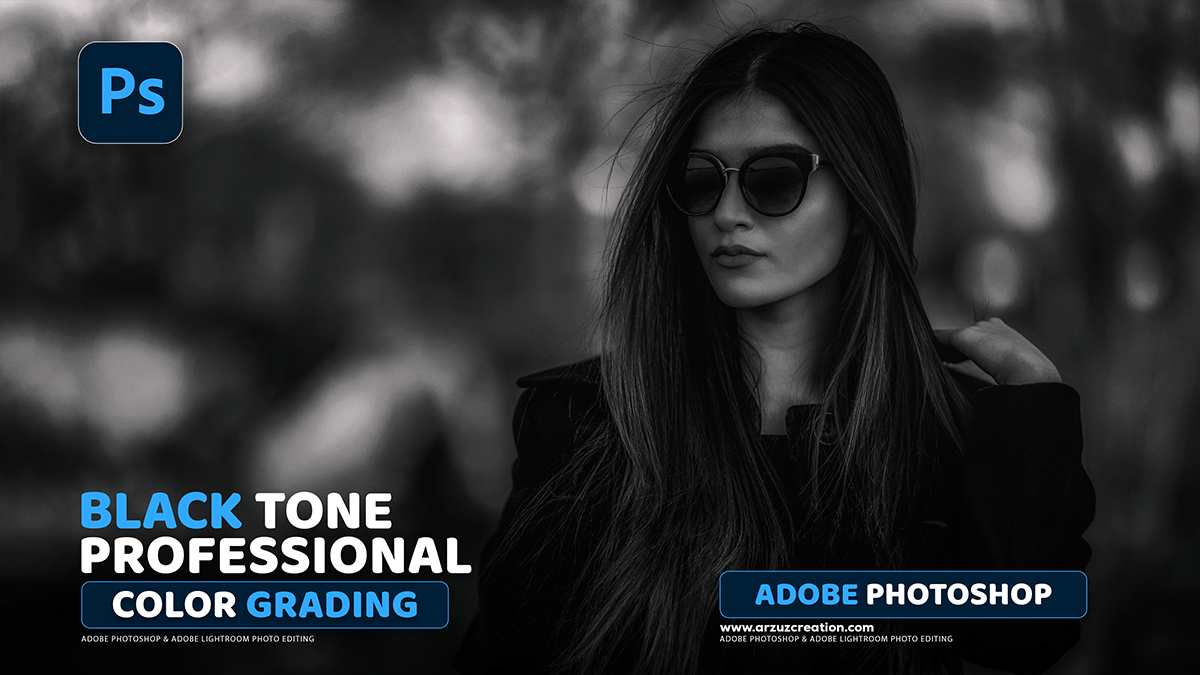
Professional Black Color Grading Outdoor Portrait in Photoshop,
A professional green color grade for an outdoor portrait in Adobe Photoshop typically involves manipulating the colors to emphasize rich, often moody, green tones while maintaining natural-looking skin tones.

Professional Black Color Grading Outdoor Portrait in Photoshop,
Here is a general workflow using Adjustment Layers, which are non-destructive:
1. Initial Adjustments (in Camera Raw Filter or similar)
Before color grading, ensure your photo has good exposure and basic contrast. If you’re starting with a RAW file, use Camera Raw Filter (Filter > Camera Raw Filter) first.
- Basic Panel: Adjust Exposure, Contrast, Highlights, Shadows, Whites, and Blacks for a balanced image.
- White Balance: Ensure skin tones look neutral or as intended, as the green grade will be applied creatively later.
2. Enhancing Greens and Creating Mood
Method A: Using the Color Mixer (HSL/Grayscale) in Camera Raw/Lightroom
- Open Camera Raw Filter (Filter > Camera Raw Filter).
- Go to the Color Mixer panel (the circles icon).
- Select Saturation and reduce the saturation of Yellows and Greens slightly to give them a more subdued, cinematic look.
- Select Luminance and darken the Greens to create a deeper, moodier backdrop.
- Select Hue and shift the Greens towards Cyan (left) or Yellow (right), depending on the desired tint. Shifting towards Cyan often creates a “teal and orange” or cinematic look, while shifting towards Yellow can create a warmer, desaturated forest feel.
Professional Black Color Grading Outdoor Portrait in Photoshop,
Method B: Using Selective Color Adjustment Layer
This offers great control over specific color channels.
- Add a Selective Color Adjustment Layer (
).
- Greens Channel:
- Cyan: Increase to move towards a blue/teal green, or decrease (move to Magenta) to make the greens warmer/more yellowish. Increasing Cyan is a common technique for this look.
- Yellow: Increase to make the greens brighter/more lime, or decrease to make them darker/desaturated.
- Black: Increase to deepen the shadows within the green areas.
- Yellows Channel:
- Cyan: Decrease (move to Magenta) to warm up the yellows (which often affect the lighter green areas and some skin tones).
- Black: Increase to deepen yellow/green foliage further.
- Blacks Channel (for a subtle all-over tint):
- Slightly increase Cyan and Green to subtly push a cool tint into the darkest shadows.
Professional Black Color Grading Outdoor Portrait in Photoshop,
3. Tonal Grading with Color Balance or Split Toning
Use an adjustment layer to tint the shadows and highlights for a complementary color scheme.
Option A: Color Balance
- Add a Color Balance Adjustment Layer.
- Select Shadows: Add a small amount of Cyan or Blue to cool down the dark areas (e.g., -5 Cyan, +2 Blue).
- Select Highlights: Add a small amount of Red or Yellow to warm up the light areas, creating a subtle contrast (e.g., +5 Red, -5 Blue).
Option B: Color Grading (Split Toning) in Camera Raw
- Open Camera Raw Filter.
- Go to the Color Grading panel (the three color wheels).
- In the Shadows wheel, drag the point into the blue/cyan or green area to add a subtle cool tint to the shadows. Use the Luminance slider to adjust brightness.
- In the Highlights wheel, keep it neutral or add a very small amount of yellow/orange to keep skin tones and light areas warm.
Camera Raw Filter Color Grading Tutorial,
4. Protecting/Refining Skin Tones (Crucial Step)
The above steps can sometimes apply an unwanted green cast to the model’s skin.
- Group: Put all your color grading adjustment layers into a Group
or
.
- Mask the Group: Add a Layer Mask to the Group.
- Refine Skin Tones:
- Use the Quick Selection Tool or the Select Subject feature to make a selection of your model (or just the skin areas).
- Fill the selection with Black on the Group’s mask to hide the green color grade effect from the skin.
- Use a soft-edged Brush Tool with Black foreground color and low opacity/flow to selectively paint out the effect on any remaining green-tinted skin.
- Use the Feather slider in the Mask Properties to soften the edges of the mask.
Professional Black Color Grading Outdoor Portrait in Photoshop,
5. Final Contrast and Look (Curves)
- Add a Curves Adjustment Layer.
- S-Curve: Create a subtle S-curve (pull shadows down, pull highlights up) to re-introduce contrast and make the image “pop.”
- Faded Film Look: To add a slight matte/faded film look, grab the bottom-left point of the curve and drag it slightly up. This “crushes the blacks” and prevents true black in the image.
Pro-Tip: Adjust the Opacity of each adjustment layer to fine-tune the intensity of the green grade.
