How to Save Presets in Adobe Photoshop Camera Raw Filter 17.5,

Therefore, saving Camera Raw presets in Adobe Photoshop allows you to apply a consistent look to multiple images quickly. This is done within the Adobe Camera Raw (ACR) dialog box.
However, Here are the steps to save a new preset:
How to Save Presets in Adobe Photoshop Camera Raw Filter 17.5,
1. Apply Adjustments in Camera Raw
- Open an image in Adobe Camera Raw (ACR). This usually happens automatically when you open a RAW file in Photoshop, or you can go to Filter > Camera Raw Filter for a JPEG or TIFF.
- Therefore, make all the editing adjustments you want to save as a preset (e.g., exposure, contrast, color, tone curves, detail settings, etc.).
2. Create the New Preset
- Therefore, click the Presets icon (usually two overlapping circles, or a stack of sliders/lines) on the right-hand panel in the ACR dialog box.
- However, Click the “Create Preset” button, located at the top right of the Presets panel, which resembles a plus sign (+).
How to Save Presets in Adobe Photoshop Camera Raw Filter 17.5,
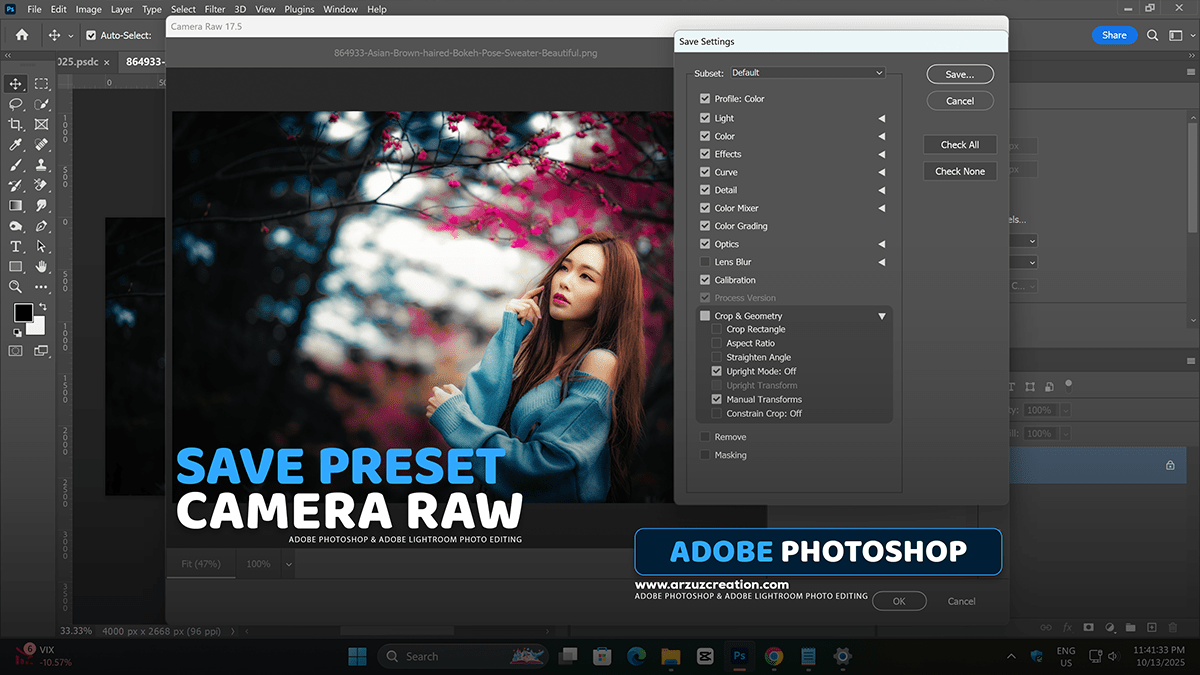
3. Configure and Save the Preset
In other words, the Create Preset dialog box will appear:
- Name the preset in the Name field (e.g., “My Vintage Look”).
- In other words, select a Group to save it to. You can choose an existing group or select New Group to create a custom folder for your presets.
- However, in the Settings section, check the boxes next to the specific adjustments you want to include in the preset.
- Tip: If you only want to save, for example, the color grading and effects, uncheck basic adjustments like White Balance and Exposure so the preset doesn’t override those on other images. You can also use the Subset dropdown to quickly select groups of settings.
- In other words, click OK to save the preset.
However, the new preset will now appear under the group you selected in the Presets panel and is ready to be applied to other images.
