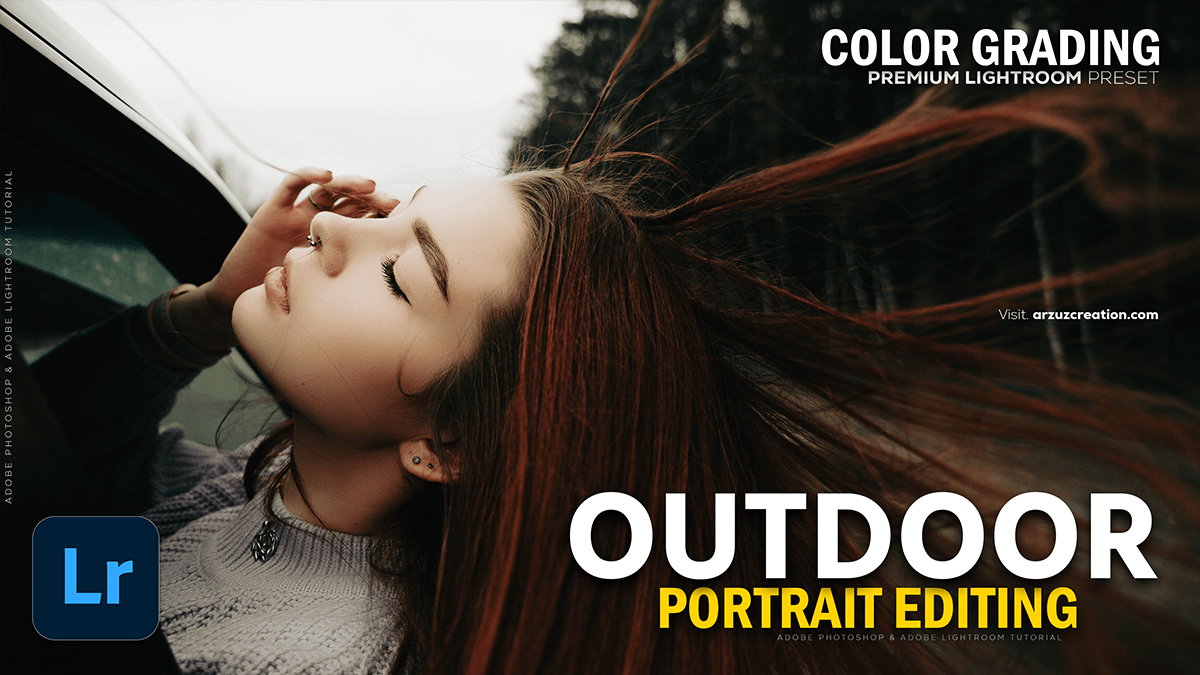
Adobe Lightroom: Outdoor Portrait Color Grading Tutorial,
Therefore, Color grading is what separates a “good snapshot” from a “professional portrait.” For outdoor portraits, the main challenge is balancing natural chaos (greens, changing light) with flattering skin tones.
In addition, here is a step-by-step workflow for color grading outdoor portraits in Lightroom, including specific recipes for popular styles.
Adobe Lightroom: Outdoor Portrait Color Grading Tutorial,

Phase 1: The Foundation (Do This First)
Before creative grading, you must normalize the image. If you grade on a bad foundation, skin tones will look muddy.
- White Balance: Therefore, for outdoor portraits, Auto is often too cool. Manually warm it up (Temperature slider to the right) and adjust Tint slightly toward Magenta (+5 to +10) to counteract green reflections from nature.
- Tone Curve (The S-Curve):
- Therefore, go to the Tone Curve panel.
- In other words, click 3 points on the line: Shadows, Midtones, Highlights.
- Therefore, pull the Shadows down slightly and highlight up slightly. This creates contrast and “pop” essential for outdoor light.
Adobe Lightroom: Outdoor Portrait Color Grading Tutorial,
Method 2: The “Secret Weapon” (Calibration Panel)
Most beginners skip this, but pros start here. Scroll to the very bottom of the Calibration panel. This adjusts how Lightroom interprets “pure” colors.
- Blue Primary: In other words, Increase Saturation to roughly +50 to +70.
- Why? It adds a rich “pop” to the entire image and surprisingly makes skin tones look more natural and bronzed without turning them orange.
- Red Primary: In other words, Shift Hue slightly right (+10 to +15).
- Why? It fixes redness in the skin, making it look golden.
Phase 3: Choose Your Style (3 Common Recipes)

Here are settings to achieve three specific “looks” for outdoor portraits.
Adobe Lightroom: Outdoor Portrait Color Grading Tutorial,
Style A: Golden Hour / Warm & Dreamy
Best for: Sunsets, fields, beach shoots.
- Basic Panel: Increase Temp (warmth). Lift Shadows moderately.
- HSL (Greens): Nature’s greens often look neon.
- Hue: Shift Green toward Yellow (-20).
- Saturation: Desaturate Greens (-30).
- Luminance: Darken Greens (-15).
- Color Grading (Split Toning):
- Highlights: Add Orange/Yellow (Saturation 10-20).
- Shadows: Add Teal/Blue (Saturation 5-10). This color contrast makes the warm skin pop against the background.
Style B: Moody & Cinematic
Adobe Lightroom: Outdoor Portrait Color Grading Tutorial,

Best for: Overcast days, forests, urban streets.
- Tone Curve: Lift the furthest left point (Blacks) slightly. This creates a “matte” or “faded” film look.
- HSL: Desaturate almost everything except Orange and Red (Skin tones).
- In other words, bring Green, Blue, and Yellow saturation down to -40 or -50.
- Color Grading:
- Shadows: Add Cool Blue/Cyan (Saturation 15).
- Midtones: Add slight Warmth/Orange (Saturation 10).
Style C: Bright & Airy
Best for: Weddings, spring, open shade.
- Basic Panel: Increase Exposure (+0.5 to +1.0). Lift Shadows significantly (+40).
- Contrast: Lower the Contrast slider (-10) but keep the S-Curve.
- HSL (Greens):
- Hue: Shift Green toward Blue/Mint (+20).
- Luminance: Brighten Greens (+30). This makes foliage look light and pastel rather than dark and heavy.
Method 4: Troubleshooting Outdoor Issues

Problem: The “Shrek Effect” (Green cast on skin)
In other words, in forests or on grass, light bounces off the green and hits your subject’s jaw/neck.
- Global Fix: Move the Tint slider toward Magenta (+).
- Local Fix (Best):
- However, select the Masking Tool -> Select People -> Face Skin (or body skin).
- For instance, in the mask settings, reduce Saturation slightly.
- However, push the Tint slider specifically for the mask toward Magenta.
Problem: Harsh Sunlight / Raccoon Eyes
- However, use a Mask to select the subject’s face.
- For instance, Increase Shadows and reduce Contrast only on the face.
- However, slightly reduce Clarity (-10) on the face to soften the harsh texture caused by hard light.
Phase 5: Final Polish
- Subject Pop: In addition, use the Radial Gradient tool. Draw a large circle around your subject. Invert it (so it affects the outside). Lower the Exposure by -0.3. This subtle vignette draws the eye to the subject.
- Grain: In addition, for an organic outdoor feel, add a small amount of Grain (Amount: 15-20, Size: 25) in the Effects panel.
Next Step:
In conclusion, would you like me to explain how to save these settings as a Preset so you can apply them to a whole photoshoot in one click?
