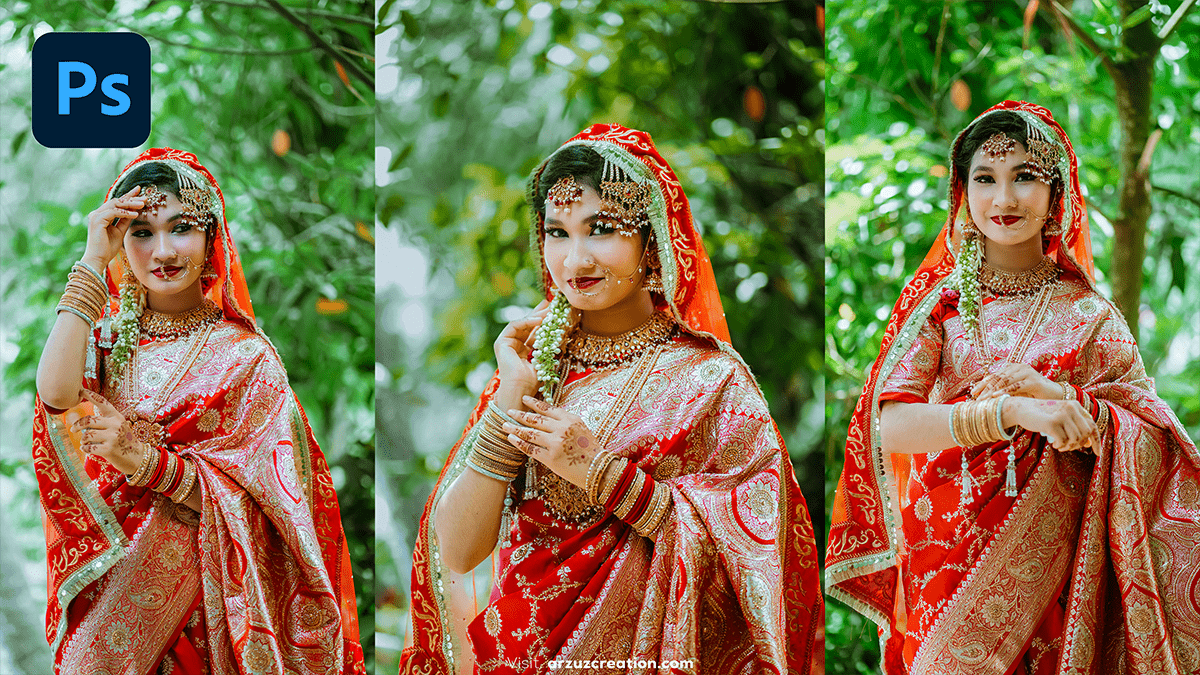
Wedding Photo Editing with Photoshop Presets 2024,
Therefore, Editing wedding photos with Photoshop presets in 2024 is a powerful way to streamline the workflow and achieve consistent, professional results. In other words, Here’s a guide on how to do it:

Choose or Install Presets:
- Find the right presets: However, Many photographers create or purchase wedding-specific presets that enhance skin tones, adjust lighting, and create soft, romantic looks. Look for presets designed for weddings to match the style you’re after (vintage, boho, light & airy, or moody).
- Install the presets:
- However, Open Photoshop and go to Camera Raw Filter by clicking Filter > Camera Raw Filter.
- For instance, Click the Presets tab on the right sidebar in the Camera Raw workspace.
- Above all, Downloaded presets can be installed by clicking the three-dot icon in the Presets panel and selecting Import Profiles & Presets.
- However, Choose your downloaded .xmp or .lrtemplate files and click Open.
Wedding Photo Editing, Apply Presets:
- Above all, Open your wedding photo in Photoshop.
- Above all, Apply the preset via Camera Raw Filter:
- In addition, Go to Filter > Camera Raw Filter.
- After that, Select your preset from the Presets panel.
- In addition, Adjust the Amount slider to tweak how intensely the preset is applied.
- After that, Click OK to apply the preset to your photo.
Wedding Photo Editing, Fine-tune the Edits:
For instance, Presets often need small adjustments to fit specific lighting conditions or skin tones. Here are the key adjustments you might want to make:
- Exposure: Tweak this based on the lighting in your photo.
- Temperature: Adjust the warmth or coolness to suit the mood of the wedding.
- Shadows/Highlights: Fine-tune these to balance light and dark areas.
- Vibrance/Saturation: Slightly adjust the color intensity for a natural look. After making these adjustments, check for color consistency across the album to maintain a cohesive look.
Wedding Photo Editing Photoshop Presets 2024,

Batch Editing (Optional):
Similarly, If you’re editing multiple wedding photos:
- Therefore, Apply the preset to one photo and adjust the settings as needed.
- Above all, To batch edit, you can sync these settings across multiple images.
- After that, In Camera Raw, open multiple images, select them and click the Sync Settings button to apply the preset to all selected photos.
- Similarly, Use Spot Healing or Clone Stamp Tool to remove distractions like blemishes or unwanted background objects.
- Therefore, Use Dodge and Burn to enhance facial features or add depth to portraits.
- Similarly, You can add vignetting for a softer, focused look around the subjects.
Would you like suggestions on some popular presets or resources to find them?
