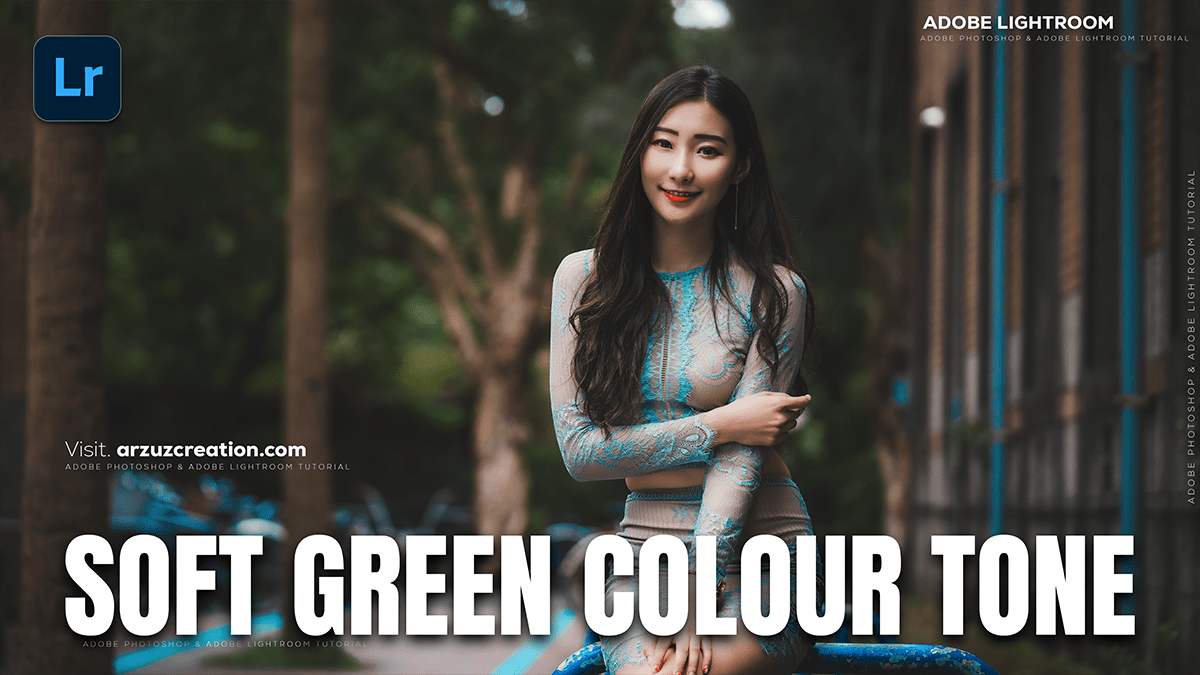
Soft Green Color Tone Adobe Lightroom CC 2025,

Therefore, that’s a beautiful aesthetic! Achieving a soft green color tone for outdoor portraits in Lightroom usually involves adjusting the green channel and making overall tonal and softness adjustments.
In other words, here’s a step-by-step guide focusing on the key areas:
Soft Green Color Tone Adobe Lightroom CC 2025,
🌿 Creating the Soft Green Look:
Therefore, the main tool for this is the HSL / Color Mixer panel (specifically the Green and Yellow sliders) and the Color Grading panel.
1. Adjusting Green Hues (HSL / Color Mixer)
- Hue: Therefore, shift the Green Hue slider towards the left (more yellow/earthy) or slightly to the right (more teal/cooler), depending on the desired soft tone. A subtle shift towards yellow (-10 to -30) often creates a more vintage/muted feel, while a shift toward teal (+10 to +30) can give a soft, emerald/cinematic look.
- Saturation: Reduce the Green Saturation significantly (-20 to -60) to achieve a soft, muted look.
- Luminance: In other words, increase or decrease the Green Luminance to control the brightness of the foliage. Decreasing it – (-10 to -30) can create a moody, deep green, while increasing it can soften and brighten the greens.
- Yellows: Therefore, Greens are often tied to the Yellow channel, so adjust the Yellow Hue slightly towards green or orange and reduce its Saturation too, especially if there’s yellow-green foliage.
Soft Green Color Tone Adobe Lightroom CC 2025,
2. Tone Curve for Softness and Contrast:
Therefore, A soft, faded look is achieved by modifying the Tone Curve:
- Shadows Lift (Fade): In the RGB or Luminance curve, lift the bottom-left point (the black point) upwards. This ensures the darkest areas of your photo are not pure black, giving it a faded or matte appearance.
- Slight S-Curve: In other words, A very gentle “S” shape can add back a subtle amount of contrast without being harsh. Keep the curve relatively shallow for softness.
3. Basic Panel Adjustments (Overall Softness)
- Clarity: In other words, Decrease Clarity slightly (e.g., -5 to -15). This softens mid-tone contrast and can give the image a gentle, dreamy quality.
- Contrast: Reduce Contrast slightly if the image is too punchy.
- Highlights / Shadows / Whites / Blacks: Adjust these to recover detail and control the overall light. You may want to slightly decrease Highlights and increase Shadows for a softer, balanced look.
Soft Green Color Tone Adobe Lightroom CC 2025,
4. Color Grading / Split Toning:
- Shadows: In other words, add a subtle cool tone (e.g., a blue-green or cyan hue) to the shadows to reinforce the soft green aesthetic. Choose a cool hue (e.g., Hue: 200-240) and keep the saturation very low (e.g., 5-10).
- Highlights: You might leave this neutral, or add a slight warm tone (yellow/orange) to highlights to create a pleasing contrast with the cool shadows, especially on skin tones.
5. Skin Tone Preservation:
However, since you are editing a portrait, it’s crucial to protect the subject’s skin tone:
- However, in the HSL / Color Mixer panel, focus on the Orange and Red sliders.
- Slightly increase Orange Luminance (e.g., +5 to +15) to brighten the skin.
- Slightly adjust the Orange Hue to prevent the skin from looking too yellow or too red.
- Be cautious with Orange Saturation—a small increase might help, but too much can look unnatural.
Soft Green Color Tone Adobe Lightroom CC 2025,
⭐ Pro Tip: Using Masks for Precision:
However, use the Masking tool in Lightroom to specifically target the foliage/background and leave the subject’s skin alone.
- In addition, create a Background or Brush mask to select only the green elements.
- Similarly, apply the HSL adjustments (Hue shift, Saturation reduction) only to that masked area.
- In addition, if needed, create a Select Subject mask and ensure the Orange/Red HSL adjustments (for skin) are only applied there.
Would you like me to find a specific video tutorial showing these steps in action for an outdoor portrait?