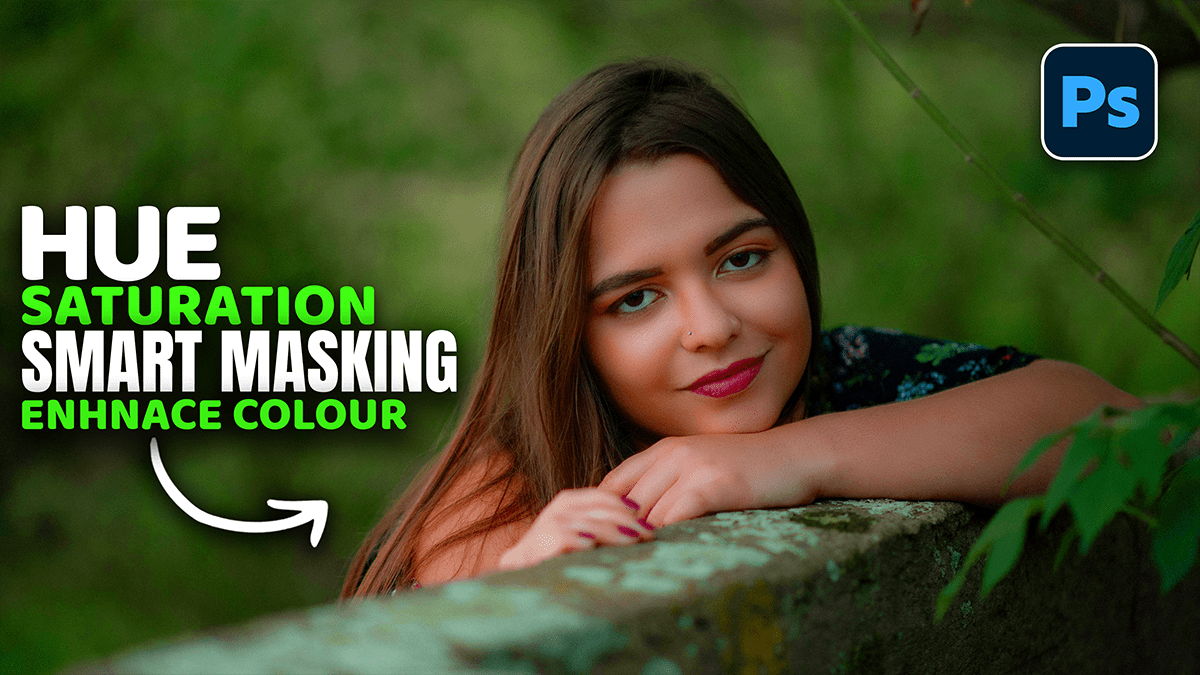
Adobe Photoshop 2026 Hue Saturation Enhance Colours Tutorial,

Therefore, the Hue/Saturation adjustment is one of the most versatile tools in Photoshop for enhancing color, whether you want to boost the overall vibrancy or surgically target a single shade.
Adobe Photoshop 2026: Hue Saturation Enhance Colours Tutorial,
In other words, here is how to use it effectively for professional-grade color enhancement.
1. Using the Targeted Adjustment Tool:
Therefore, instead of guessing which slider moves which color, use the Targeted Adjustment Tool (the little hand icon) to pick colors directly from your image.
In other words, go to Layer > New Adjustment Layer > Hue/Saturation.
Therefore, in the Properties panel, click the Hand Icon.
In other words, click and drag to the right on a specific color in your image to increase its saturation. Drag to the left to desaturate.
Therefore, this automatically switches the “Master” dropdown to the specific color channel (e.g., Cyans or Magentas).
Adobe Photoshop 2026: Hue Saturation Enhance Colours Tutorial,
2. Creating “Deep” Saturation:
However, A common mistake is simply cranking up the “Master” Saturation slider, which often leads to “clipping” (losing detail in bright colors). For a richer look:
Switch to a specific channel: Change “Master” to “Reds” or “Blues.”
Adjust Lightness: Dropping the Lightness slider slightly while increasing Saturation creates a deeper, more “expensive” looking color.
The Range Sliders: However, at the bottom of the Properties panel, you’ll see two gray bars. You can slide the inner and outer markers to fine-tune exactly which spectrum of color is being affected, preventing harsh edges between adjusted and unadjusted areas.
Adobe Photoshop 2026: Hue Saturation Enhance Colours Tutorial,
3. The “Colorize” Method:
However, if you want to apply a uniform tint or “wash” (common for neon or monochromatic styles):
Above all, check the Colorize box in the Hue/Saturation panel.
In addition, set the saturation to around 25-50%.
Above all, slide the Hue bar to find your desired base color.
In addition, this is particularly effective for turning white or grey objects into specific colored lights.
4. Pro Tip: Saturation vs. Vibrance:
Similarly, while Hue/Saturation is powerful, it treats every pixel the same. If you find that your skin tones are becoming too orange or “fried,” try using a Vibrance adjustment layer first. Vibrance is “smart”—it boosts the least saturated colors more than the already saturated ones and protects skin tones.
Would you like me to walk through how to use Hue/Saturation specifically for creating glowing neon text effects?
