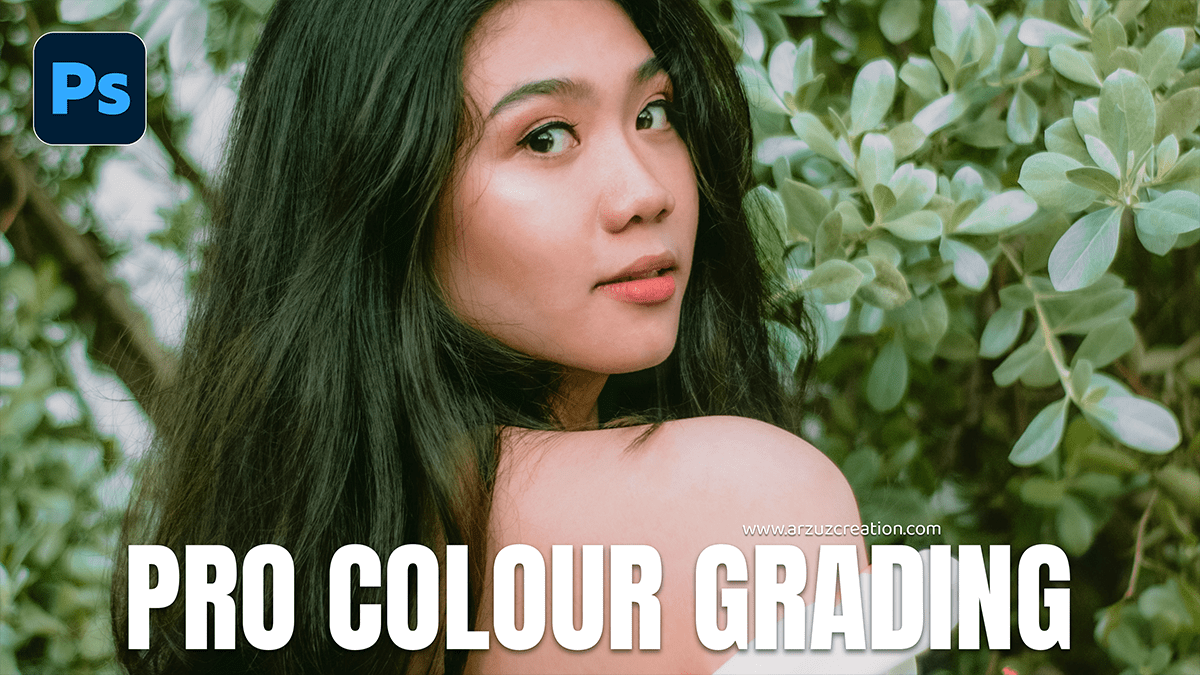
Pro Colour Grading: Adobe Photoshop Camera Raw Filter 2026,

Therefore, Color grading an outdoor portrait in Camera Raw is all about balancing the natural light with the mood you want to create. Whether you’re going for a warm “Golden Hour” look or a moody, cool cinematic vibe, here is a professional workflow to get it done.
Pro Colour Grading: Adobe Photoshop Camera Raw Filter 2026,
1. The Foundation: Basic Panel:
Therefore, before adding “color,” you need to fix the light.
White Balance: Therefore, for outdoor shots, slightly increase the Temp (yellow) for warmth or decrease it for a clean, modern look.
Contrast & Highlights: In other words, Pull Highlights down to recover detail in the sky or bright skin spots. Push Shadows up slightly to see detail in the hair.
Texture & Clarity: Therefore, add a touch of Texture (+10) for skin detail, but be careful with Clarity, as too much can make skin look harsh.
2. The Secret Sauce: Color Mixer (HSL)
Above all, this is where you control individual colors.
Skin Tones: Focus on Oranges. Boost Luminance to make the skin “glow” and adjust Hue to the right to remove unwanted redness.
The Greens: In other words, Outdoor foliage often looks “neon” and distracting. Go to Hue and push Greens toward Yellow (for a fall look) or Yellows toward Green (for a lush look). Pro tip: Drop the Saturation of Greens/Yellows to make the subject pop.
Pro Colour Grading: Adobe Photoshop Camera Raw Filter 2026,

3. Stylizing with Color Grading (Wheels)
In other words, this is where the “art” happens. Use the three-way wheels:
Midtones: Push slightly toward Orange/Peach to keep skin healthy.
Shadows: Push toward Teal or Blue to create a cinematic contrast against the warm skin.
Highlights: Add a hint of Gold or Cream to mimic sunlight.
4. Final Polish: Calibration Panel:
In other words, Many pros skip this, but it’s the key to high-end looks.
Blue Primary: Increasing the Saturation here makes all colors in the image feel deeper and more “expensive.”
Red Primary: Adjust the Hue slightly to the right to fix stubborn redness in the skin.
Pro Colour Grading: Adobe Photoshop Camera Raw Filter 2026,
Comparison of Popular Styles:
| Style | Temp | Highlights/Shadows | Key Color Move |
| Cinematic | Cool | High Contrast | Similarly, Teal shadows / Orange midtones |
| Light & Airy | Warm | Similarly, High Shadows / Low Contrast | Desaturate Greens & Yellows |
| Moody/Earthbound | Neutral | Similarly, Low Exposure / High Texture | Similarly, Shift Greens toward Brown/Orange |
Quick Pro Tips:
Use Masks: In other words, Hit ‘M’ to select the Subject. Apply a slight exposure boost and sharpness only to the person so they stand out from the background.
Check Your Blacks: However, in the Curves panel, lift the bottom-left point slightly to give the shadows a “matte” or “faded” film look.
In conclusion, would you like me to walk you through how to create a specific “Dark & Moody” or “Golden Hour” preset using these settings?