Adobe Photoshop Vibrance Professional Photo Editing Tutorial,
Therefore, Vibrance is often the “secret sauce” in Photoshop for making photos pop without making people look like they have a bad spray tan. While Saturation is a blunt instrument that boosts every color equally, Vibrance is a smart tool that targets muted colors while protecting skin tones.

Adobe Photoshop Vibrance Professional Photo Editing Tutorial,
In other words, here is a guide on how to use it like a pro.
1. The Pro Workflow: Adjustment Layers:
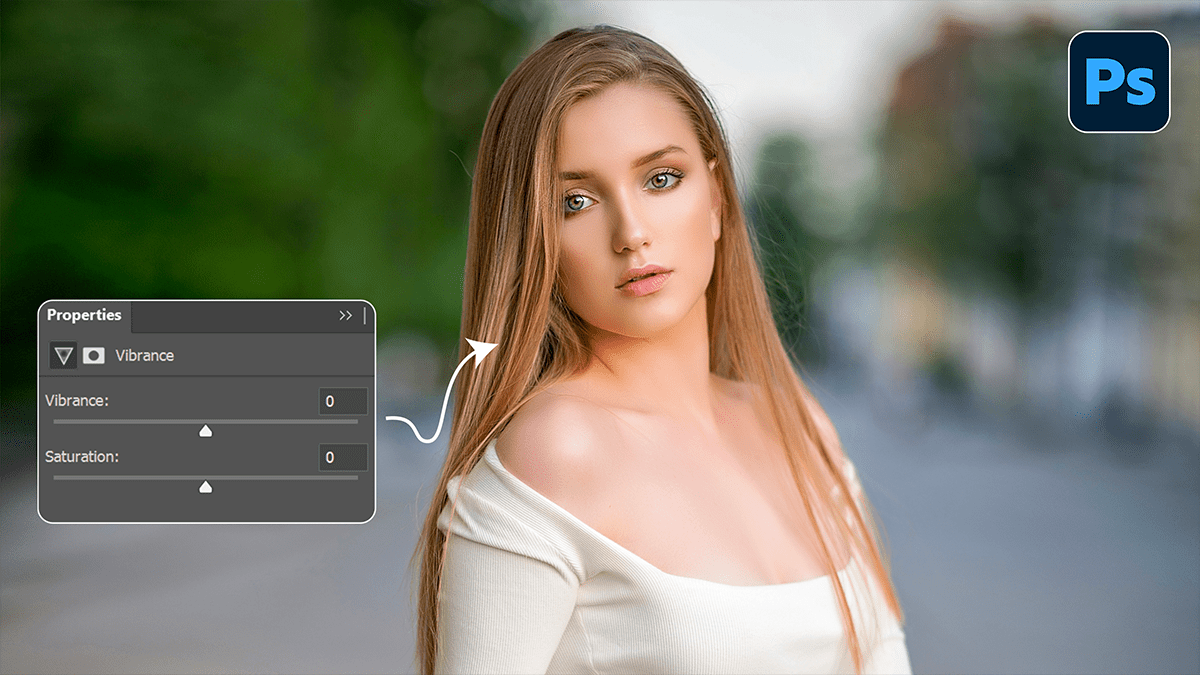
Therefore, never apply Vibrance directly to your image layer (Image > Adjustments). If you do, you’re “baking” the pixels and can’t go back easily.
- Step 1: Open your Properties panel.
- Step 2: Click the Vibrance icon in the Adjustments panel (it looks like a triangle with a gradient).
- Step 3: Therefore, this creates a non-destructive Adjustment Layer. You can now toggle the eye icon to see the before/after or lower the Opacity if the effect feels too strong later.
2. Vibrance vs. Saturation:
In other words, understanding the difference is the hallmark of a professional editor:
| Feature | Vibrance | Saturation |
| Logic | Increases the intensity of all pixels equally. | Increases intensity of all pixels equally. |
| Skin Tones | Prevents oranges/reds from becoming “clipped” or neon. | Often turns skin tones unnaturally orange. |
| Best For | Portraits, nature with lots of blue/green, and subtle enhancements. | Stylized graphics or correcting very dull, gray RAW files. |
Adobe Photoshop Vibrance Professional Photo Editing Tutorial,
3. Expert Techniques:
The “Push and Pull” Method:
Therefore, Professional colorists often use both sliders in tandem to create a balanced, high-end look:
Lower the Saturation slightly (around -5 to -15). This pulls back the overbearing “flat” colors.
Raise the Vibrance significantly (+30 to +50). This brings the life back into the mid-tones and specific hues without making the image look “deep-fried.”
Targeted Masking:
In other words, since Vibrance comes with a built-in Layer Mask:
In other words, select the Brush Tool (B).
However, set your foreground color to Black.
Above all, Paint over areas you want to remain natural (like a vibrant red dress that is already bright enough) while letting the Vibrance boost the background.
Adobe Photoshop Vibrance Professional Photo Editing Tutorial,
Landscape Pop:
However, for outdoor photography, the Vibrance slider is specifically tuned to enhance blues and greens. If your sky looks a bit washed out, pushing Vibrance will deepen the blue of the atmosphere without making the grass look like radioactive neon.
Pro Tip: Above all, Always check your Histogram. While Vibrance is “smarter” than Saturation, pushing it too far can still cause color clipping in the highlights.
Would you like me to walk you through how to combine Vibrance with Selective Color for more advanced color grading?
