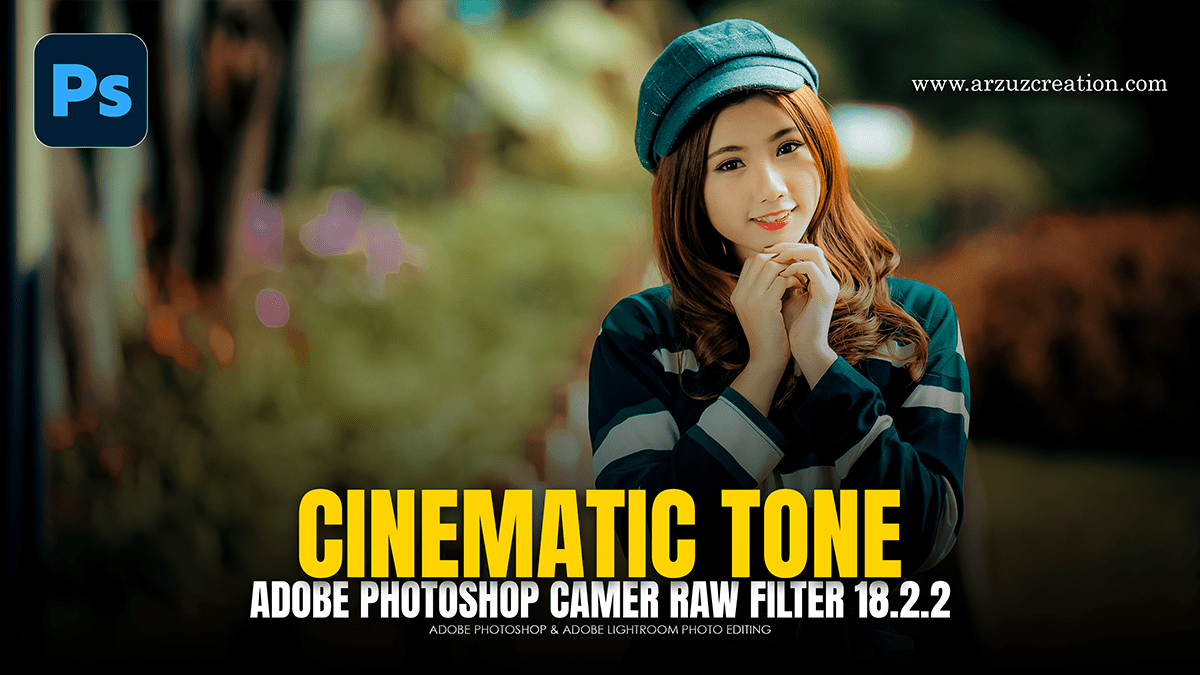
Cinematic Look in Adobe Photoshop Camera Raw Filter 18.2.2,

Therefore, to achieve a cinematic look in Adobe Photoshop using the Camera Raw Filter (CRF), you need to manipulate contrast, color separation, and texture. In other words, Cinematic grading often moves away from “perfect” digital clarity toward a more stylized, atmospheric aesthetic.
In other words, here is a step-by-step workflow to get that look:
Cinematic Look in Adobe Photoshop Camera Raw Filter 18.2.2
1. Basic Panel: Setting the Foundation:
Therefore, start by slightly flattening the image to mimic the high dynamic range of film.
Contrast: Decrease the contrast slightly to recover shadow detail.
Highlights & Shadows: Pull Highlights down and push Shadows up.
Texture & Clarity: Lowering Clarity slightly (around -10) can create a “dreamy” film glow, while a touch of Dehaze adds depth.
2. Color Grading Panel: The “Teal and Orange” Effect:
Therefore, this is the core of the cinematic look. It uses complementary colors to make subjects pop.
Shadows: Apply a cool tone (Teal/Cyan). Keep the saturation low (10–20%).
Midtones: Introduce a neutral or slightly warm tone to bridge the gap.
Highlights: Therefore, apply a warm tone (Orange/Yellow). This mimics natural skin tones and sunlight.
Blending/Balance: Adjust the sliders to ensure the cool shadows don’t wash out the warm skin tones.
Cinematic Look in Adobe Photoshop Camera Raw Filter 18.2.2,
3. Tone Curve: Adding “Fade.”
In other words, Cinema film rarely has a “true” pitch black.
However, create a “Matte” look by going to the Point Curve.
In other words, lift the bottom-left point (Blacks) slightly upward.
However, drop the top-right point (Whites) slightly downward to prevent harsh clipping.
Above all, create a subtle S-Curve in the middle to maintain punchy midtones.
4. Calibration: The Secret Weapon:
However, found at the bottom of the CRF panels, this adjusts how the sensor interprets the primary colors.
Blue Primary: Push the Saturation up and shift the Hue toward Teal. This often fixes skin tones instantly and creates that “filmic” blue in the shadows.
Red Primary: Shift the Hue slightly toward Orange/Yellow.
Cinematic Look in Adobe Photoshop Camera Raw Filter 18.2.2,
5. Effects: Finishing Touches:
Grain: However, Digital photos are too clean. Add a small amount of Grain (Roughness: 50, Size: 25) to simulate film stock.
Vignetting: Above all, A subtle post-crop vignette draws the eye toward the center of the frame, a common technique in cinematography.
Pro Tip: Use Smart Objects:
Before opening the Camera Raw Filter, right-click your layer in Photoshop and select “Convert to Smart Object.” This allows you to go back and tweak your grading at any time without destroying the original pixels.
