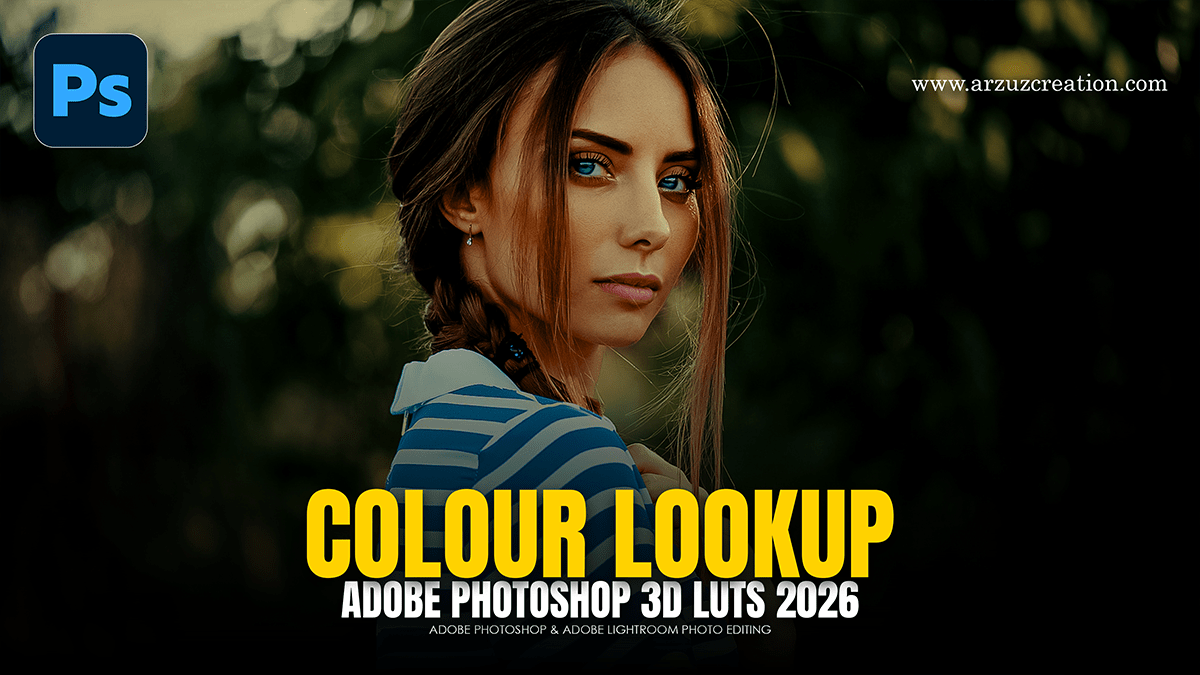
Colour Lookup Photoshop Using Outdoor Portrait Photo Editing

Therefore, using the Color Lookup adjustment layer in Photoshop is one of the most efficient ways to apply a cinematic or stylistic “grade” to an outdoor portrait. Because outdoor lighting can vary from harsh sunlight to soft overcast, Color Lookup Tables (LUTs) help unify the tones across the image instantly.
In other words, here is a workflow to achieve a professional result:
Colour Lookup Photoshop Using Outdoor Portrait Photo Editing
1. Initial Setup and Prep:
Therefore, before applying a grade, ensure your base exposure and skin tones are balanced.
Create a Stamp Visible Layer: Press Ctrl + Alt + Shift + E (Windows) or Cmd + Option + Shift + E (Mac) to merge your current work onto a new layer.
Convert for Smart Filters: Right-click the new layer and select Convert to Smart Object. This allows you to go back and adjust your settings later without losing quality.
2. Applying the Color Lookup:
Therefore, go to the Adjustments Panel and click the Color Lookup icon (it looks like a grid).
However, in the Properties Panel, ensure the 3DLUT File option is selected.
Therefore, click the dropdown menu to browse the built-in LUTs.
Colour Lookup Photoshop Using Outdoor Portrait Photo Editing
Recommended LUTs for Outdoor Portraits:
| LUT Name | Effect | Best For… |
| Crisp_Warm.look | Boosts contrast and adds a golden hue. | Golden hour or sunset shots. |
| FoggyNight.3DL | Cools down shadows and mutes highlights. | Moody, overcast, or forest portraits. |
| LateSunset.3DL | Enhances magentas and oranges. | Adding warmth to flat lighting. |
| TealOrangePlusContrast | The classic cinematic “Hollywood” look. | Making the subject pop against greenery. |
Colour Lookup Photoshop Using Outdoor Portrait Photo Editing
3. Refinement Techniques:
In other words, applying a LUT at 100% can often look “heavy” or artificial. Use these steps to blend it naturally:
Adjust Opacity: However, lower the layer opacity to somewhere between 30% and 60%. This retains the original skin tones while adopting the color profile of the LUT.
Change Blend Modes:
Soft Light: However, Increases contrast significantly while applying the color.
Color: However, Applies the hue of the LUT without affecting the brightness/luminance of your subject.
Mask the Skin: In other words, if the LUT makes the skin look too orange or blue, select the Layer Mask on the Color Lookup layer. Use a soft black brush at low opacity (approx. 20%) to gently paint over the subject’s face to restore natural skin tones.
Colour Lookup Photoshop Using Outdoor Portrait Photo Editing
4. Final Polish:
Above all, to make the portrait truly stand out, add a Curves adjustment layer beneath the Color Lookup.
In addition, create a slight S-Curve to add depth.
Above all, if the outdoor background is too distracting, use a slight Gaussian Blur on a masked layer or a Vignette to draw the eye back to the subject.
Tip: In addition, you can load your own custom .CUBE or .3DL files by selecting Load 3D LUT… from the top of the dropdown menu in the Properties panel.
