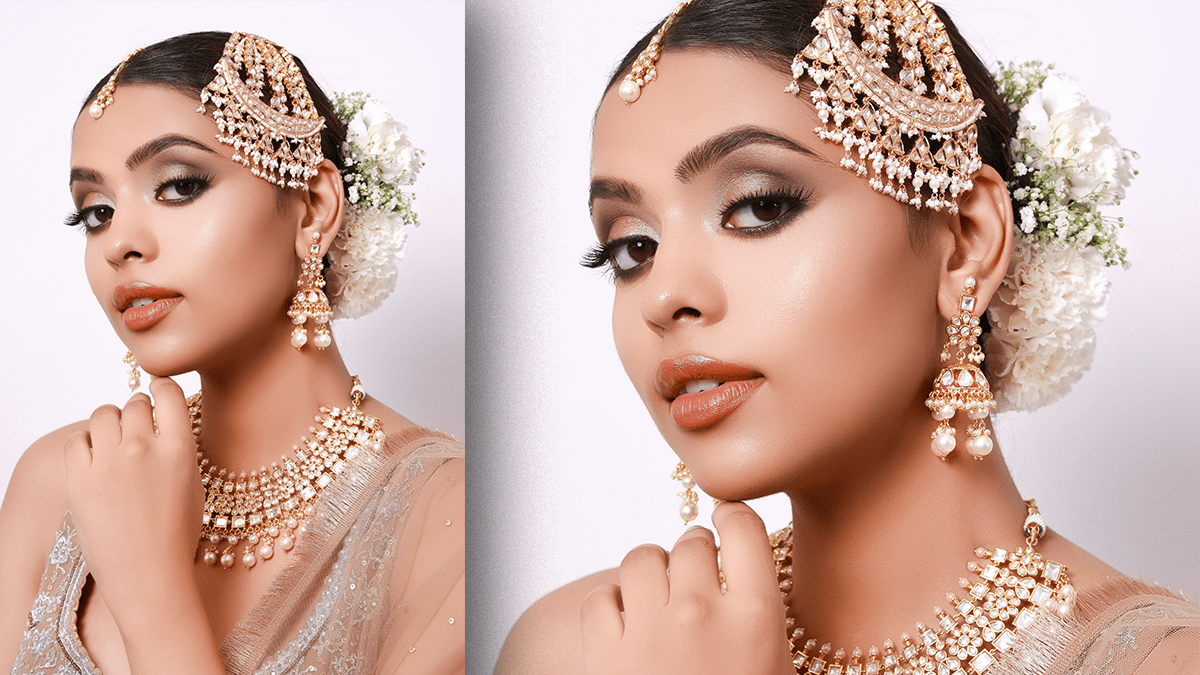
Frequency Separation Best Method in Adobe Photoshop 2026

Therefore, the most precise and “best” method for Frequency Separation in Adobe Photoshop remains the mathematical Apply Image approach. However, the modern workflow utilizes AI-powered tools like the Remove Tool on the texture layer to yield pristine, professional results in a fraction of the time.
In other words, below is the definitive step-by-step method to build and execute the highest quality frequency separation stack, optimized for 8-bit or 16-bit color spaces.
Frequency Separation Best Method in Adobe Photoshop 2026
Part 1: Setting Up the Perfect Stack:
Therefore, open your portrait, duplicate your background layer twice using Ctrl+J (Windows) or Cmd+J (Mac), and organize them into a group named “Frequency Separation”.
1. The Low-Frequency Layer (Color & Tone)
- Rename the lower duplicate to
Low Frequency.- Hide the top duplicate for a moment.
- Therefore, Go to Filter > Blur > Gaussian Blur.
- The Golden Rule for Radius: Adjust the slider until the fine details and texture (pores, blemishes) just disappear, but the structural colors and shapes remain recognizable.
- Close-up/Macro: 6–9 pixels
- Medium Portrait: 3–5 pixels
- Full Body: 1–3 pixels
2. The High-Frequency Layer (Texture & Detail)
- Unhide and select the top duplicate layer.
- Rename it to
High Frequency.- Therefore, go to Image > Apply Image and input the exact mathematical formulas below based on your image type:
Frequency Separation Best Method in Adobe Photoshop 2026
| Image Bit-Depth | Layer | Blending | Scale | Offset | Invert |
| 8-Bit Image | Low Frequency | Subtract | 2 | 128 | Unchecked |
| 16-Bit Image | Low Frequency | Add | 2 | 0 | Checked |
- In other words, click OK. The layer will turn into a flat, gray, line-drawing style appearance.
- However, change the Layer Blend Mode of the
High Frequencylayer from Normal to Linear Light.
Note: If done correctly, your image will now look entirely normal, identical to the raw file. You have successfully split texture from color.
Part 2: The Modern 2026 Retouching Workflow:
In other words, once your stack is built, the “best method” lies in how you manipulate the separated data. For seamless results, always work non-destructively by adding a blank layer directly above each frequency layer and checking “Sample All Layers” (or “Current & Below”).
Retouching Texture (High Frequency)
However, instead of relying solely on the old Patch Tool or Clone Stamp, which can leave muddy artifacts, take advantage of modern advancements:
- Above all, Select the Remove Tool or Healing Brush Tool.
- However, ensure the tool options are set to Current & Below.
- Above all, Zoom in to 100% and paint directly over isolated pimples, deep wrinkles, scars, or stray hairs. Because the color is locked to the layer below, you will perfectly erase the texture flaw without creating dark smudges or altering the light patterns.
Frequency Separation Best Method in Adobe Photoshop 2026
Retouching Color & Transitions (Low Frequency)
In addition, to fix blotchy skin tones, uneven lighting, or harsh shadows:
- In addition, select the Lasso Tool and set a soft Feather of about 15 to 25 pixels in the top menu to prevent hard edges.
- After that, draw a selection around a zone of uneven tone (e.g., the forehead or cheekbone), making sure to stay away from structural boundaries like the edge of the nose or jawline.
- In addition, go to Filter > Blur > Gaussian Blur and bump the radius up until the colors blend smoothly.
- After that, Pro-Tip: Alternatively, use a Mixer Brush Tool (set to “Dry, Heavy Mix”) with 10% flow to softly paint and transition the color gradients manually.
Efficiency Tip: Record an Action:
In conclusion, because the layer setup requires the same mathematical properties every single time, open the Window > Actions panel before you begin, click Create New Action, hit record, and follow the setup steps once. In the future, you can build this flawless structure with a single click.
