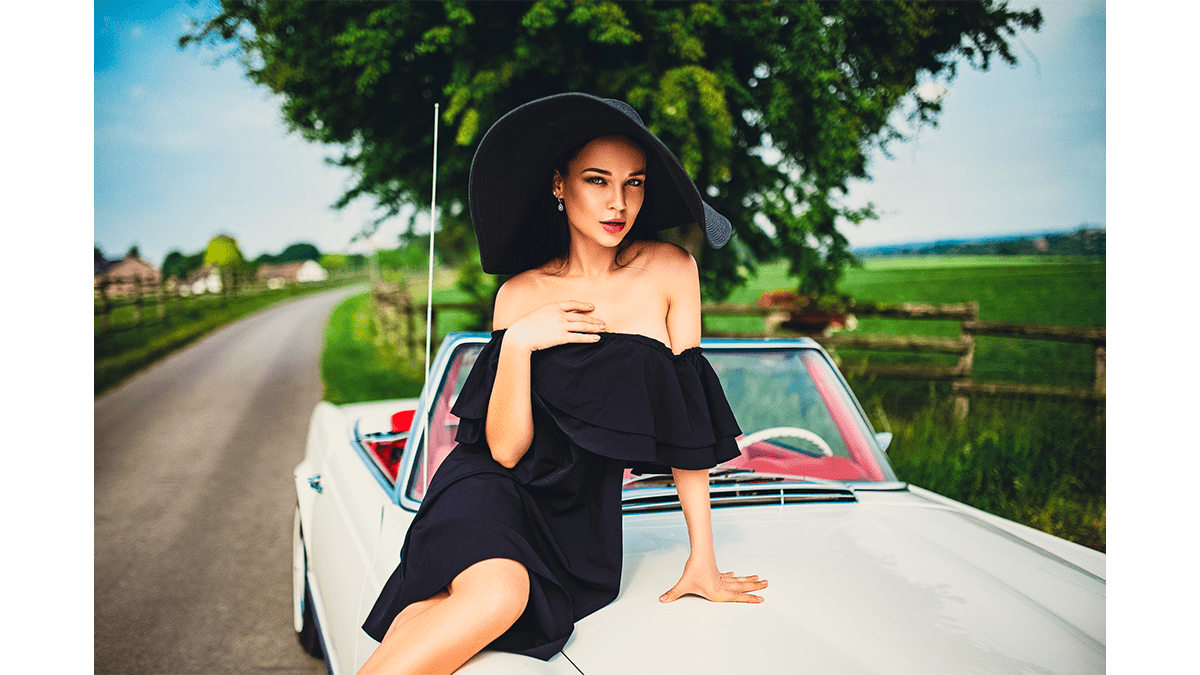
Adobe Photoshop 2026 Advanced Colour Grading Method,

Therefore, in Photoshop, advanced color grading has evolved significantly with the integration of AI-driven masking and streamlined adjustment layers.
In other words, the most powerful, professional workflow for advanced color grading combines precise luminance/chrominance targeting with non-destructive adjustments.
Adobe Photoshop 2026 Advanced Colour Grading Method,
Method 1: The New “Color and Vibrance” Adjustment Layer:
Therefore, introduced in recent versions, this tool bakes professional grading workflows—which used to require complex solid-color fills and blend modes—into a single interface. It uses a high-fidelity blend style (akin to Vivid Light mechanics) under the hood.
- Apply the Layer: Therefore, Go to the Adjustments panel and select the new Color and Vibrance adjustment layer.
- Target Your Tones: Use the built-in properties to shift the temperature or tint.
- Refine with Fill: In other words, Instead of just dropping the layer opacity, drop the Fill percentage down to 5% – 15%. This allows the color grading to blend deeply into the pixels without making the image look washed out or overly filtered.
Method 2: High-End Cinematic Gradient Maps:
Therefore, this is the gold standard for creating a unified “film” or stylistic look across an image by mapping specific colors to the shadows, midtones, and highlights.
[Blacks/Shadows] ───► Teal / Deep Navy
[Midtones]       ───► Muted Amber / Neutral Earth
[Whites/Highlights] ──► Warm Cream / Soft Gold
- Therefore, Create a Gradient Map adjustment layer.
- In other words, Click the gradient bar to open the editor.
- However, Map your colors:
- Left Stop (Shadows): Choose a deep, cool tone (e.g., deep navy or teal).
- Middle Stop (Midtones): Choose a neutral or warm skin-tone friendly color (e.g., soft amber).
- Right Stop (Highlights): Choose a bright, warm tint (e.g., soft cream or pale yellow).
- In other words, Change the layer Blend Mode to Soft Light or Color.
- However, Drop the layer Opacity to 10% – 25% to seamlessly embed the grade.
Adobe Photoshop 2026 Advanced Colour Grading Method,
Method 3: Camera Raw Filter with Luminance Masking:
However, for the absolute highest level of control, treating your layer as a Smart Object and taking it into Camera Raw yields unmatched precision.
Step 1: Prep the Layer:
Above all, right-click your image layer and select Convert to Smart Object. Go to Filter > Camera Raw Filter.
Step 2: Utilize the Color Grading Panel:
For instance, navigate to the dedicated Color Grading section. You will see three distinct color wheels: Shadows, Midtones, and Highlights.
- Complementary Split: Drag the Shadows wheel toward a cool hue (like Teal) and the Highlights wheel toward a warm hue (like Orange).
- Balance and Blending: Above all, Use the Blending slider to determine how much the wheels overlap, and the Balance slider to favor either the highlight or shadow adjustments.
Adobe Photoshop 2026 Advanced Colour Grading Method,
Step 3: Advanced Isolation with Masking:
Above all, to ensure your color grade doesn’t destroy skin tones or specific backgrounds:
- For instance, Click the Masking tool (shortcut
M).- Above all, Select Color Range or Luminance Range.
- For instance, Click on the specific tone you want to protect or target (e.g., highlighting just the background to inject blues, leaving the subject untouched).
- Above all, Apply localized temperature, tint, and saturation adjustments strictly within that mask.
Pro-Tip: Fast Multi-Layer Masking:
However, if you are combining multiple adjustment layers (e.g., a Curves layer for contrast and a Color and Vibrance layer for tone) and you’ve spent time crafting a perfect selection mask on one:
Above all, hold Alt (Windows) or Option (Mac) and click-and-drag the layer mask from the first adjustment layer directly onto the second one. This perfectly duplicates your complex isolation mask instantly.
In conclusion, which specific aesthetic (e.g., moody, warm cinematic, clean commercial) are you trying to achieve with your current project?
