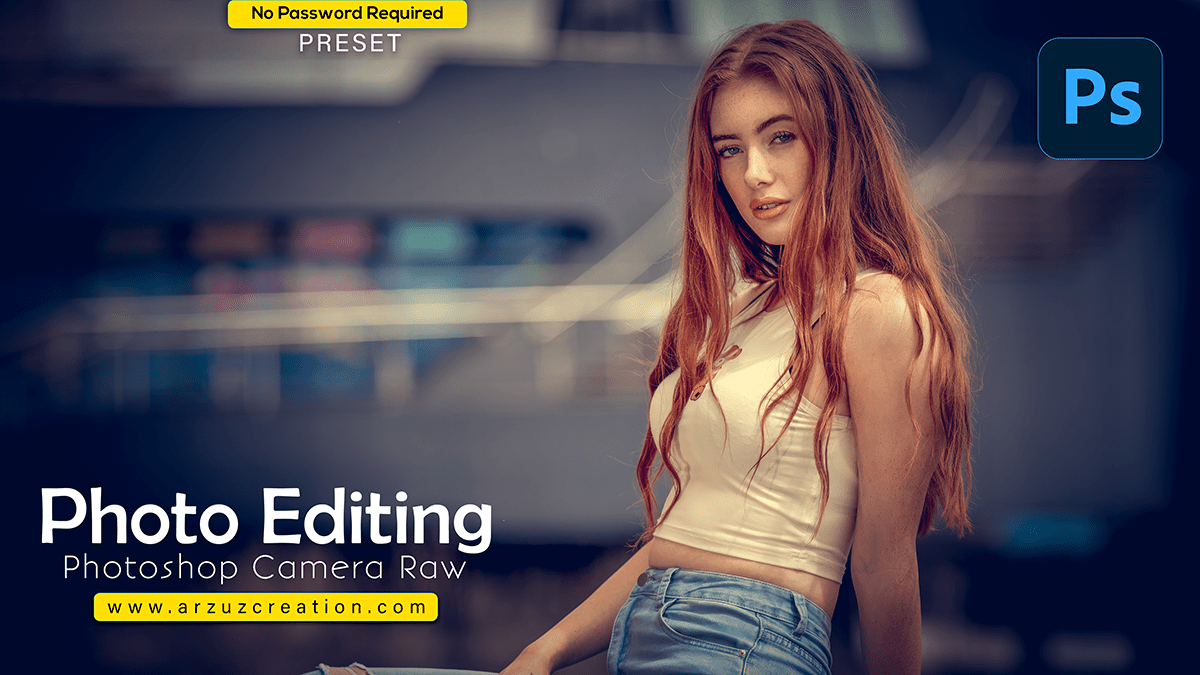
Photo Editing in Photoshop Camera Raw, a Professional photo editing tutorial for beginners.

Hello everyone,
In this Photoshop tutorial, you learn, How to do Photo editing in Photoshop camera raw filter. I will tell you, How to use camera raw preset using professional photo editing in Adobe Photoshop.
Color grading in Photoshop is the process of adjusting the color, tone, and mood of an image to achieve a desired look or feel. Here’s a basic guide to get you started:
For instance, Open your image in Photoshop and duplicate the layer by pressing Ctrl/Cmd + J (Windows/Mac). This will create a new layer with the same contents as the original.
Select the duplicate layer and go to Layer > New Adjustment Layer > Color Lookup. This will open the Color Lookup dialog box.
Click the presets button below to download the Photoshop preset file 📂
Therefore, In the Color Lookup dialog box, select a 3D LUT (Look Up Table) file from your computer or download one online. 3D LUTs are pre-made color grading presets that can be applied to your image to achieve different looks.
In addition, Click OK to apply the Color Lookup adjustment layer to your image. After that, You can adjust the opacity of this layer to control the intensity of the color grading effect.
Now watch this video 📹 tutorial and click on the video tutorial button to learn the work,
To further refine your color grading, you can use other adjustment layers such as Curves, Levels, and Hue/Saturation to fine-tune specific colors and tones in your image.
Similarly, To make your color grading more cohesive, you can use layer masks to selectively apply these adjustments to specific areas of your image. For example, you can create a layer mask for the Curves adjustment layer and paint black on it to hide the effect in certain areas.
However, Finally, save your image in a high-quality format such as TIFF or PSD for further editing or export it as a JPEG for web or print use.
