Create a cinematic look in Photoshop camera raw, Adobe Photoshop Tutorial For Beginners.

Hello everyone,
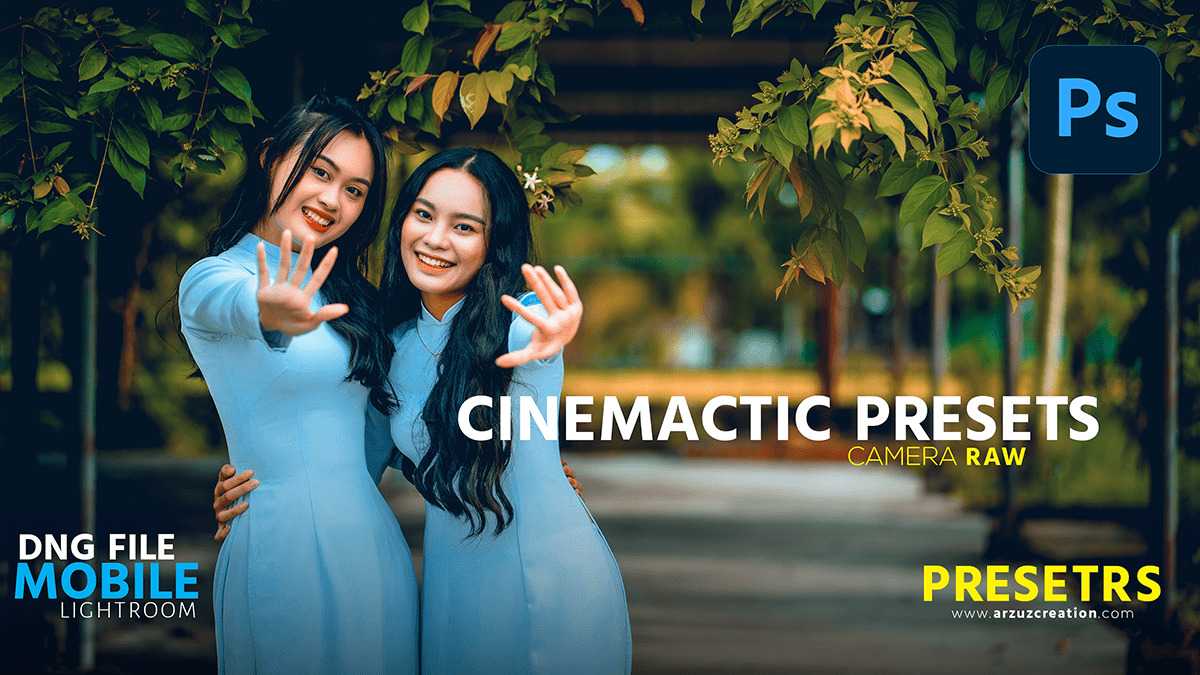
In this Photoshop tutorial, You learn, How to edit Cinematic Color Effects in Adobe Photoshop. This cinematic color effect is created using an Adobe Photoshop camera raw filter. I also create a Camera Raw Presets file in this effect.
Cinematic photo editing in Photoshop involves techniques that mimic the look and feel of movies, such as adding depth of field, color grading, and motion blur. Here are some steps to create a cinematic look in your photos using Photoshop:
In other words, Duplicate your original photo layer and name it “Background”.
Add a new adjustment layer by clicking on the “Adjustment Layer” icon at the bottom of the Layers panel. Select “Color Lookup” and choose a preset that gives your image a cinematic feel.
Click the presets button below to download the Photoshop preset file 📂
Add a new layer and name it “Depth of Field“. Select the Elliptical Marquee Tool and create a circular selection in the center of your image. Press Shift + F5 to open the Lens Blur dialog box. Choose “Radial” as the Blur Method, select “OK”, and then click on the “Depth of Field” layer to apply the effect.
Add a new layer and name it “Motion Blur“. Select the Brush Tool and paint over any moving objects in your image to apply motion blur. Choose Filter > Blur > Motion Blur to apply the effect, and then adjust the angle and distance to achieve the desired motion blur effect.
Now watch this video 📹 tutorial and click on the video tutorial button to learn the work,
Add a new layer and name it “Color Grading“. Use adjustment layers such as Curves, Levels, or Hue/Saturation to adjust the color balance, contrast, and saturation of your image to achieve a cinematic look.
For instance, Use layer masks to refine your edits by hiding or revealing parts of each layer as needed.
Finally, flatten your image by selecting all layers (Ctrl + A) and then merging them (Ctrl + E). Save your image in a high-quality format such as TIFF or PSD for future editing or print purposes.
