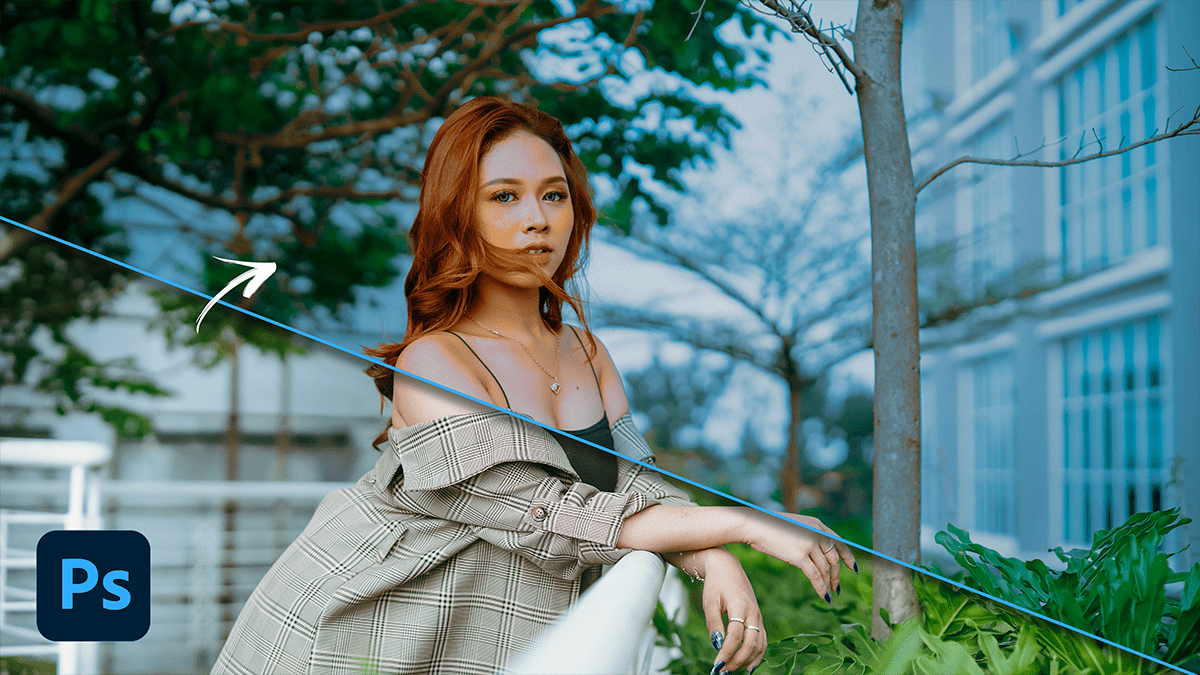
Best color grading for cinematic look, Professional photo editing camera raw presets free.

Therefore, In this Photoshop tutorial, you learn, How to create the Best Cinematic Color Grading For Look in Photoshop. I create this cinematic color look using the Adobe Photoshop camera raw filter plugin.
This color grading look I also create this preset. I will share with you this color grading camera raw preset file. If you manually learn this photo editing work please visit my YouTube channel and learn this cinematic color look.
In other words, Cinematic color grading enhances and manipulates the colors in a video to achieve a specific mood, atmosphere, or style. In Photoshop, you can simulate this process by using adjustment layers and layer masks to apply color corrections to specific areas of an image selectively.
Here’s a basic workflow for cinematic color grading in Photoshop:
However, Open your image in Photoshop and duplicate the background layer.
Best Color Grading For Cinematic Look,
Add a Color Balance adjustment layer to the duplicated layer. This will allow you to adjust the overall color balance of the image.
Use a layer mask to hide the adjustment layer from areas you don’t want to affect, such as skin tones or bright highlights.
Click This Button To Download The Preset File,
Add a Curves adjustment layer to control the contrast and tonality of the image. Use a layer mask to selectively apply the adjustment to specific areas.
Add a Hue/Saturation adjustment layer to adjust the saturation and hue of specific colors in the image. Use a layer mask to selectively apply the adjustment to specific areas.
Click This Button To Watch This Video Tutorial,
Add a Vibrance adjustment layer to enhance or reduce vibrancy in specific areas of the image. Use a layer mask to selectively apply the adjustment.
Add a Selective Color adjustment layer to fine-tune specific colors in the image, such as reds, greens, or yellows. Use a layer mask to selectively apply the adjustment.
For instance, Adjust the opacity and blending mode of each adjustment layer as needed to achieve your desired effect.
Save your image in a format that supports alpha channels, such as PSD or TIFF, so that you can continue editing and refining your color grading in other applications if needed.
Remember that cinematic color grading is an art form, so don’t be afraid to experiment with different techniques and settings until you achieve the look you want!
