HDR cinematic color grading presets Photoshop, Professional photo editing tutorial for beginners.

In this Photoshop tutorial, you learn, How to create cinematic color grading using Adobe Photoshop camera raw filter plugin. I will create this cinematic color grading preset file & I also share this preset with you.
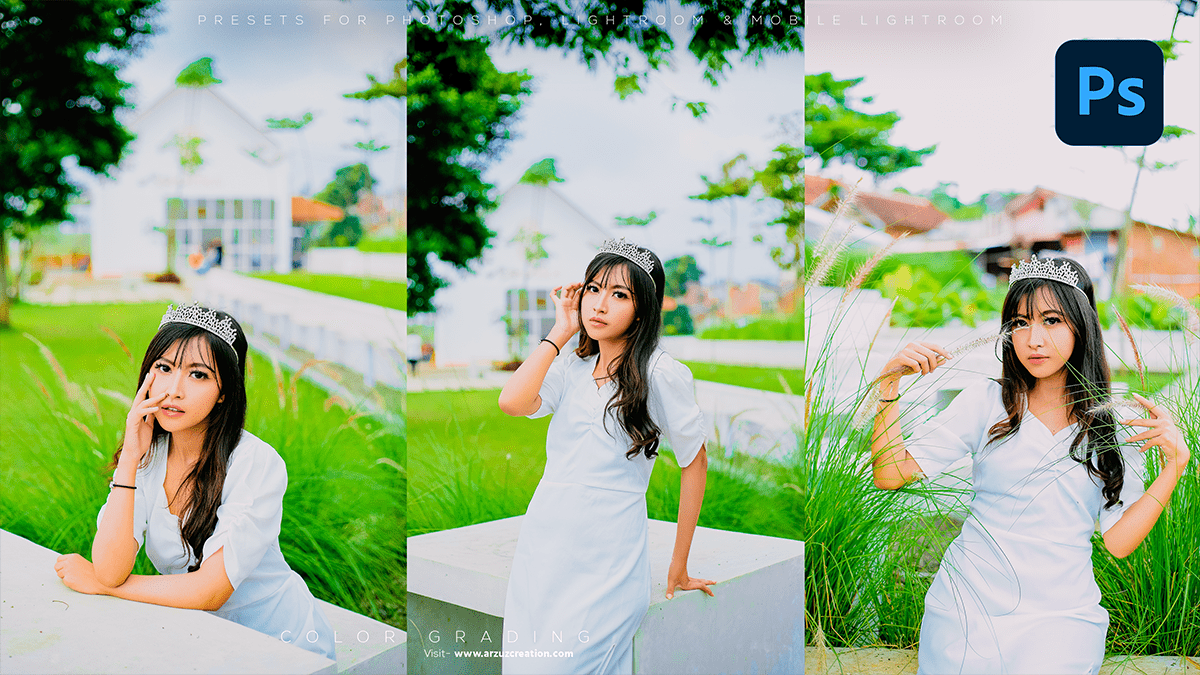
HDR Cinematic Color Grading Presets Photoshop,
Therefore, You learn this Photoshop photo editing effect please visit my YouTube channel & watch the full tutorial video. I also have guidelines for this Photoshop tutorial video if you learn easily.
The HDR (High Dynamic Range) effect in Photoshop allows you to create images with a wider range of tonal values than what is possible with a single exposure.

This can result in more detailed and vivid images, especially in scenes with high contrast, such as sunsets, landscapes, and interiors with strong light sources.
In other words, To apply the HDR effect in Photoshop, follow these steps:
Open your image in Photoshop.
However, Go to Window > Automate > Merge to HDR Pro.

For instance, In the Merge to HDR Pro dialog box, select your source images. You can merge multiple exposures taken at different EV values for better results. Click OK.
Click This Button To Download The Preset File,
01. In the Merge to HDR Pro dialog box, adjust the following settings:
– Align Source Images: This option aligns the images based on their content, which is useful if you have moved the camera between shots.
– Attempt to Automatically Align Source Images: This option automatically aligns the images based on their content, which is useful if you have not moved the camera between shots.
– Show Settings: This option displays advanced settings for fine-tuning the HDR effect.
Adobe Photoshop Photo Editing,
After that, Click Merge to apply the HDR effect and create a new document with the merged image.
Click This Button To Watch This Video Tutorial,
02. In the new document, you can further adjust the HDR effect using the following tools and settings:
– Adjustment Layers: Use Adjustment Layers to adjust brightness, contrast, saturation, and other parameters of the merged image without affecting the original pixels.
– Luminosity Masks: Use Luminosity Masks to selectively adjust specific tonal ranges of the merged image based on their luminosity values.
– Brush Tool: Use the Brush Tool to paint over specific areas of the merged image to adjust their brightness and contrast manually.
Save your final image in your preferred format and resolution.
