Dramatic color grading Photoshop 2024, Professional dramatic color grading photo editing tutorial.

In this Photoshop tutorial, you learn, How to create Dramatic color grading using Adobe Photoshop camera raw filter plugin. I will show you, step by step, how I create this color grading. I also creating this color grading camera raw preset file & I will share this preset file with you.
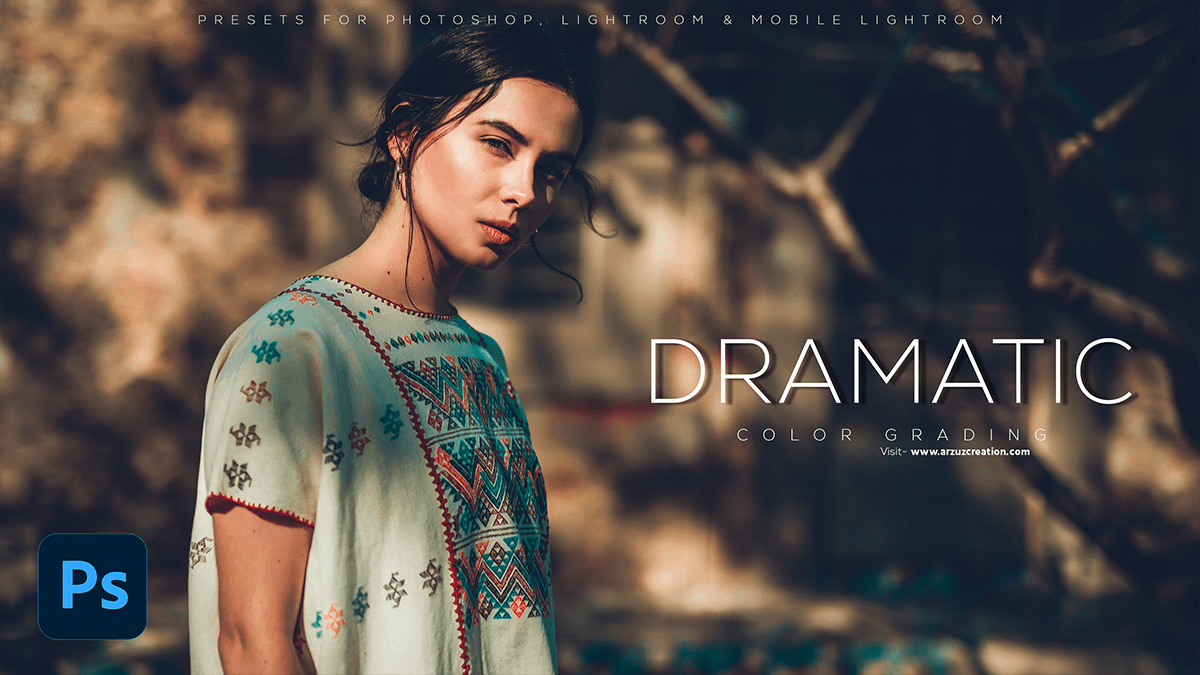
Dramatic color grading in Photoshop involves adjusting an image’s color, contrast, and saturation to create a more intense and emotional impact. Here’s a step-by-step guide on how to achieve this effect:
Open your image in Photoshop and duplicate the layer by pressing Ctrl + J (Windows) or Command + J (Mac).
Dramatic Color Grading Photoshop 2024,
Rename the duplicate layer to “Color Grading” or something similar.
Click on the “Color Grading” layer to select it, and then go to Layer > New Adjustment Layer > Curves. This will open the Curves dialog box.
Click here to download this preset file,
In the Curves dialog box, click on the “RGB” curve to select it, and then adjust the curve to create a dramatic effect. You can do this by dragging the curve up or down to increase or decrease contrast, respectively. You can also add points to the curve to create specific tonal adjustments.
Once you’re happy with your Curves adjustment, click OK to apply it to your image.
Next, go to Layer > New Adjustment Layer > Hue/Saturation. This will open the Hue/Saturation dialog box.
Click here to watch this video tutorial,
In the Hue/Saturation dialog box, select “Master” from the drop-down menu at the top of the dialog box. Then, adjust the sliders for Hue, Saturation, and Lightness to create a dramatic effect. You can also use the “Colorize” option at the bottom of the dialog box to add a specific color cast to your image.
Once you’re happy with your Hue/Saturation adjustment, click OK to apply it to your image.
Finally, you may want to make additional adjustments to your image using other tools in Photoshop, such as Brightness/Contrast or Levels. Be careful not to overdo it, as too many adjustments can result in losing image quality.
When you’re finished making adjustments, save your image in a format that supports color grading, such as TIFF or PSD (Photoshop Document). This will allow you to make further adjustments in the future without losing any of your color grading work.
