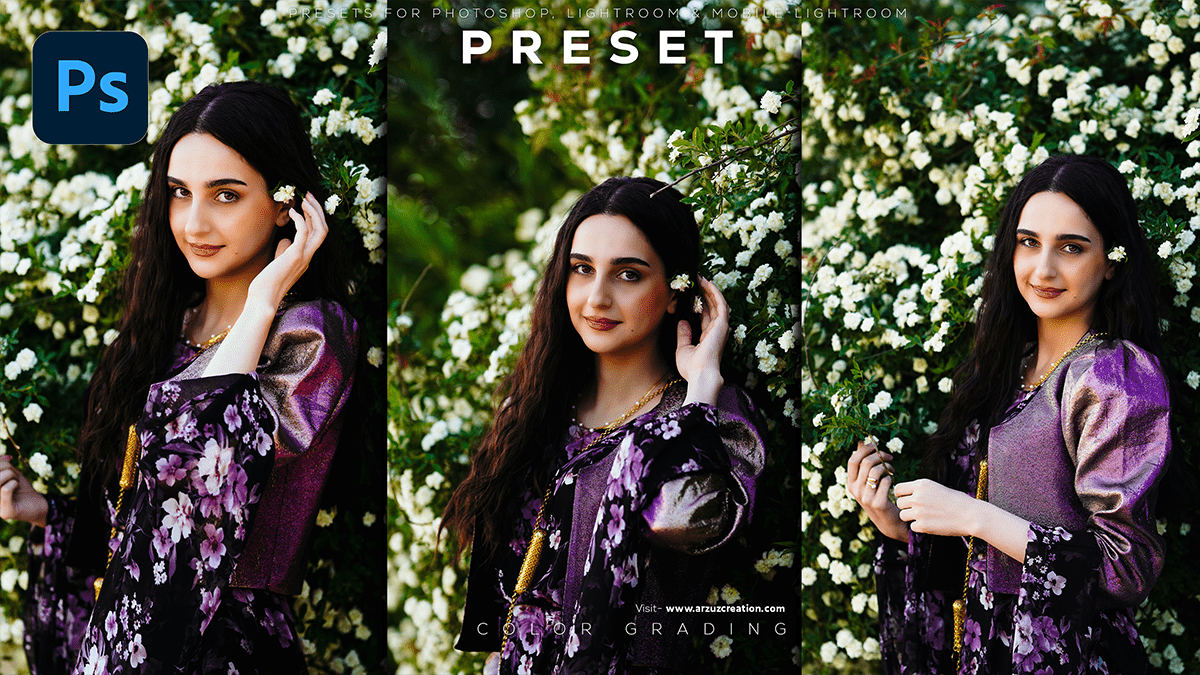
Outdoor Portrait Photography Preset 2024, Professional photo editing tutorial for beginners.

Therefore, In this Photoshop tutorial, you learn, How to use Outdoor Portrait Photography Preset. Outdoor Photo Editing Camera Raw Presets 2024. Outdoor Portrait Photography Preset.
Preset Free Download. Premium Presets For Photoshop using Camera Raw Filter. Outdoor Photo Editing Camera Raw Presets. Colour Outdoor Photo Editing in Photoshop. Camera Raw Filter.
In other words, Outdoor photo editing in Photoshop involves a range of techniques to enhance the natural beauty of outdoor scenes and make them more visually appealing. Here are some tips for editing outdoor photos in Photoshop:
Outdoor Portrait Photography Preset 2024,
However, Adjust exposure and contrast: Use the Levels or Curves tool to adjust the exposure and contrast of your image. This will help to bring out details in the shadows and highlights and create a more balanced image.
For instance, Adjust white balance: Use the White Balance tool to adjust the color temperature of your image. This will help to make the colors look more natural and accurate.
Click here to download this preset file,
Remove unwanted objects: Use the Clone Stamp tool to remove any unwanted objects, such as people or signs, from your image. This will help to create a cleaner, more natural-looking scene.
Above all, Enhance colors: Use the Hue/Saturation tool to adjust the colors in your image. This will help to make the greens of trees and grasses look more vibrant and enhance the blues of skies and water.
In addition, Add texture: Use layer masks and filters to add texture to your image. This will help to create a more realistic, three-dimensional look that brings your scene to life.
Click here to watch this video tutorial,
Blur backgrounds: Use the Gaussian Blur tool to blur the background of your image, making your subject stand out more prominently. This is especially useful for portrait shots taken outdoors.
Sharpen images: Use the Unsharp Mask tool to sharpen your image, making it look more detailed and crisp. This is especially useful for images taken in low light conditions or with a wide-angle lens, where details may be lost due to diffraction or softness.
Remember, always aim for a natural-looking result when editing outdoor photos in Photoshop, rather than over-editing or making unrealistic changes that could detract from the original scene’s beauty and authenticity.
