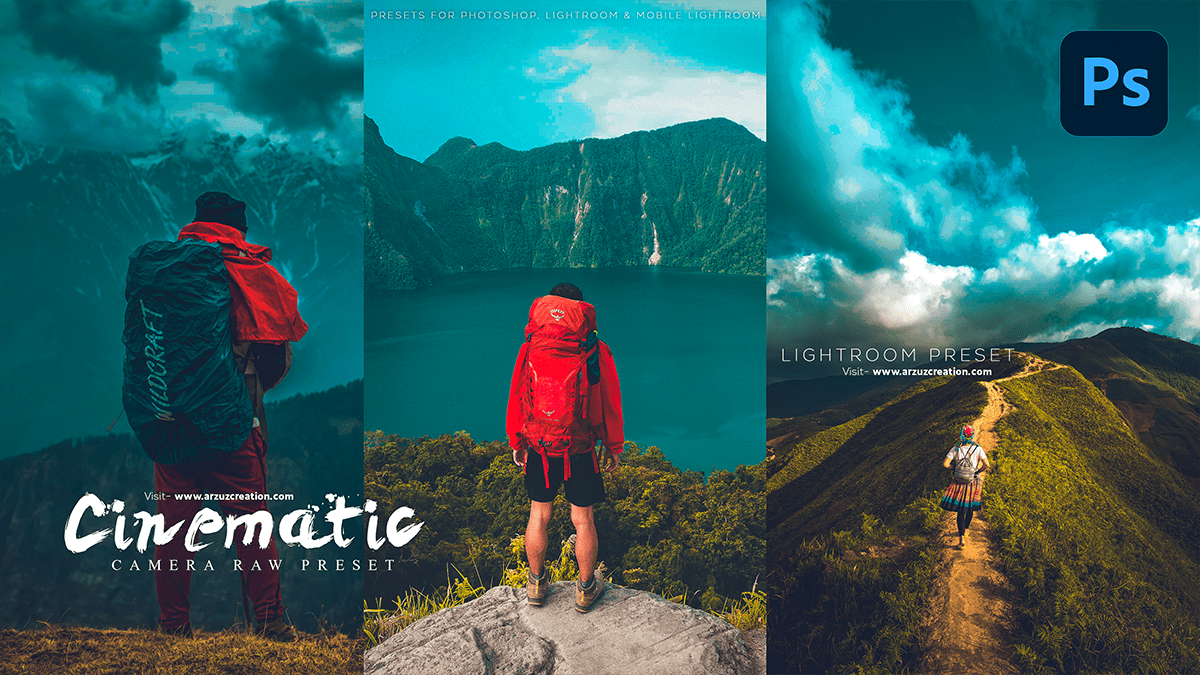
Cinematic editing Photoshop 2024 is a professional photo editing tutorial for beginners.

Therefore, In this Photoshop tutorial, you learn, How to Cinematic Look in Photoshop Editing Using Adobe Camera Raw Filter. Cinematic presets for Photoshop 2024. Premium color grading presets for Photoshop using a camera raw filter. Outdoor photo editing camera raw presets. Color outdoor photo editing in Photoshop.
Cinematic Editing Photoshop 2024,
Cinematic photo editing in Photoshop involves techniques that give your images a movie-like or cinematic feel. This can include adding depth of field, color grading, and motion blur effects. Here’s a basic guide to get you started:
Add depth of field: This is achieved by blurring the background of your image while keeping the subject in focus. To do this, select the area you want in focus using the Lasso tool or Quick Selection tool, and then go to Filter > Blur > Lens Blur. Adjust the settings to achieve the desired effect.

Color grading: This involves adjusting the color and tone of your image to give it a specific mood or atmosphere. To achieve this, you can use adjustment layers such as Curves, Levels, and Hue/Saturation. Experiment with different color palettes and lighting effects to create a cinematic look.
Click here to download this preset file,
Motion blur: This adds a sense of movement to your image, making it look more dynamic and cinematic. To add motion blur, duplicate your layer and then go to Filter > Blur > Radial Blur. Adjust the settings to achieve the desired effect, and then blend the motion blur layer with the original using a layer mask or blending modes.
Add vignetting: This technique darkens the edges of your image, giving it a cinematic feel. To add vignetting, create a new layer and fill it with black using the Paint Bucket tool. Then, use a soft-edged brush to paint over the areas you want to vignette (usually the corners). Adjust the opacity of this layer until you achieve the desired effect.
Click here to watch this video tutorial,
Use film grain: This adds texture and depth to your image, making it look more film-like. You can use plugins such as Topaz DeNoise AI or Nik Collection‘s Analog Efex Pro to add film grain to your images. Alternatively, you can use the Noise filter in Photoshop to add grain manually.
After that, Remember, cinematic photo editing is all about creating a specific mood or atmosphere in your images. Don’t be afraid to experiment with different techniques and settings until you achieve the desired effect!
