Camera Raw Filter 16. Adobe Photoshop Camera Raw Filter Photo Editing Tutorial.
Where is the Camera Raw filter in Photoshop?
Therefore, In Photoshop, the Camera Raw filter is not a traditional filter like Gaussian Blur or Sharpen. Instead, it is a special editing feature that allows you to adjust the color, tone, and other properties of raw image files (such as those captured by certain digital cameras) before they are opened in Photoshop.
In other words, To access Camera Raw in Photoshop:
However, Open your image in Photoshop.
Go to the menu bar at the top of the screen and select “Filter” > “Camera Raw.

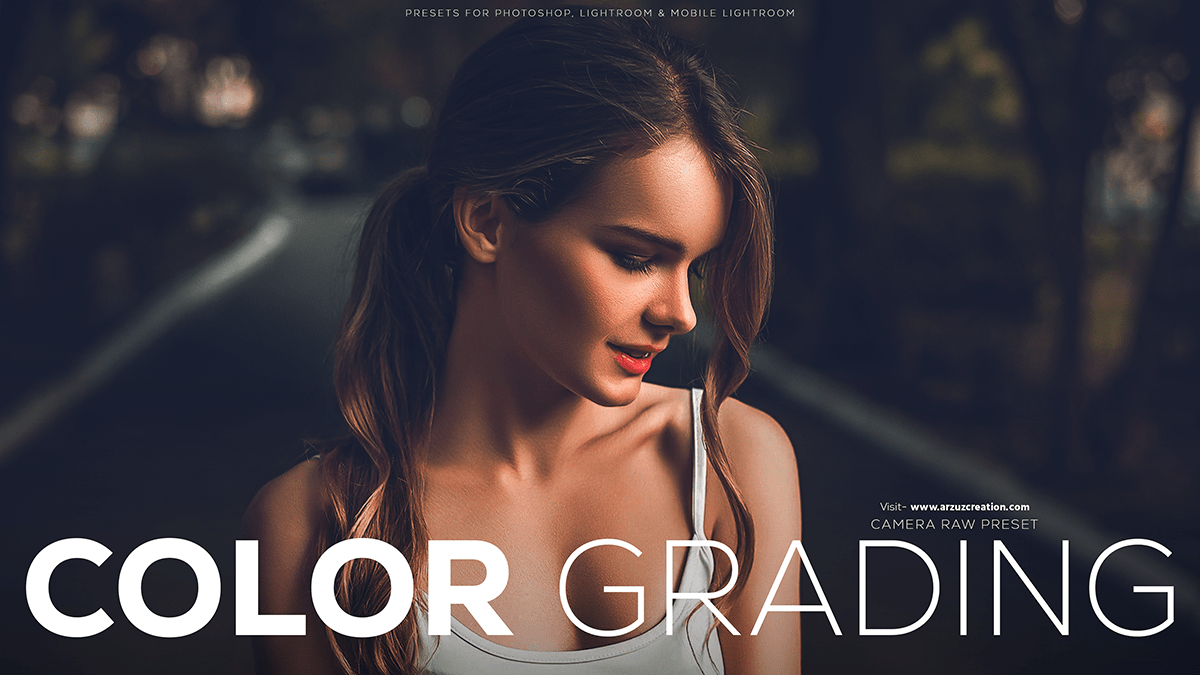
For instance, In this Photoshop tutorial, you learn, How to Create Color Grading in Photoshop Camera Raw 16. Photoshop Portrait Color Grading in Photoshop 2024. Color Grading Photoshop Camera Raw Filter. Camera Raw Filter Color Grading Tutorial.
Camera Raw Filter 16, Professional Photo Editing,

Preset Photo Editing Photoshop. Cinematic Presets For Photoshop 2024. Premium Presets For Photoshop using Camera Raw Filter. Above all, Outdoor Photo Editing Camera Raw Presets. Colour Outdoor Photo Editing in Photoshop.
Click here to download this preset file
Color grading is the process of adjusting an image’s color, tone, and mood to achieve a desired aesthetic or creative effect.
While color grading is typically done in video editing software, it’s also possible to perform basic color grading in Adobe Photoshop using its adjustment layers and tools.
Click here to watch this video tutorial
In Photoshop CC, Camera Raw is also accessible as a Smart Object, allowing you to apply Camera Raw adjustments to multiple layers simultaneously.

In addition, To do this, select the layers you want to apply Camera Raw to, right-click (Windows), or Ctrl-click (Mac) one of the selected layers, and choose “Convert to Smart Object.” Then, go to the Layers panel menu (three dots in the upper right corner) and select “Camera Raw.”
Learn More, Professional Photo Editing,
This will launch Camera Raw, where you can make adjustments and click “Done” or “Open Image” to apply your changes and return to Photoshop CC. The Camera Raw adjustments will be applied to all the selected Smart Objects.
