Color grading Photoshop 2024, How to color grading in Adobe Photoshop camera raw filter. Photoshop presets. Photoshop presets free Download.
Therefore, In this Photoshop tutorial, you learn, How to create color grading in Photoshop camera raw 16. However, Camera Raw filters have new features! In other words, Photoshop portrait color grading in Photoshop 2024.
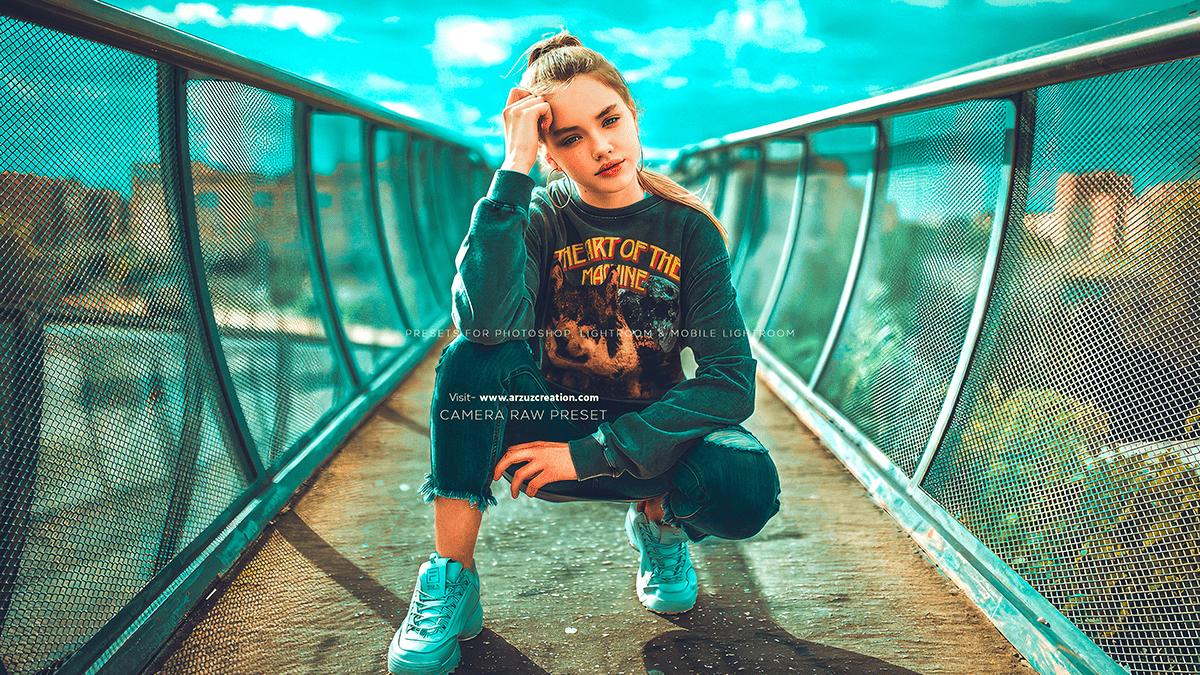
For instance, Color grading Photoshop Camera raw filter. Camera raw filter color grading tutorial. Preset photo editing Photoshop. Cinematic presets for Photoshop 2024.
Above all, Premium presets for Photoshop using a camera raw filter. Outdoor photo editing camera raw presets. In addition, Color outdoor photo editing in Photoshop.

After that, Color grading in Photoshop is the process of adjusting an image’s color, tone, and mood to achieve a desired look or feel. Here’s a basic guide on how to do color grading in Photoshop:
Similarly, Open your image in Photoshop and duplicate the background layer by pressing Ctrl + J (Windows) or Command + J (Mac).
Rename the duplicate layer to “Color Grading” and select it.
Color Grading Photoshop 2024,
Go to Layer > New Adjustment Layer > Color Lookup. This will open the Color Lookup dialog box.
In the Color Lookup dialog box, select the 3DLUT file you want to use for your color grading effect. You can download 3DLUT files online or create your own using software like Adobe After Effects or DaVinci Resolve.
Click here to download this preset file,
Adjust the opacity of the Color Lookup layer to control the intensity of the color grading effect.
You can also use other adjustment layers like Curves, Levels, and Hue/Saturation to fine-tune the color grading effect.
To make the color grading effect more subtle, you can use a layer mask to hide it in certain areas of the image. Select the Color Grading layer, click on the Layer Mask icon at the bottom of the Layers panel, and use a soft-bristled brush to paint over the areas you want to hide the color grading effect.
Click here to watch this video tutorial,
You can also use the Adjustment Brush tool to apply the color grading effect to specific areas of the image. Select the Adjustment Brush tool from the toolbar, set the adjustment you want to apply (like Brightness, Contrast, or Saturation), and paint over the areas you want to adjust.
Learn More, Professional Photo Editing,
To save your color grading settings, click on the Create Preset button at the bottom of the Adjustment Layers panel. This will open the Preset Manager dialog box, where you can name and save your press
You can also use the Preset Manager to load and apply your saved presets to other images.
In conclusion, Remember to always save your image in a high-quality format like TIFF or PSD to preserve the color grading effect.
