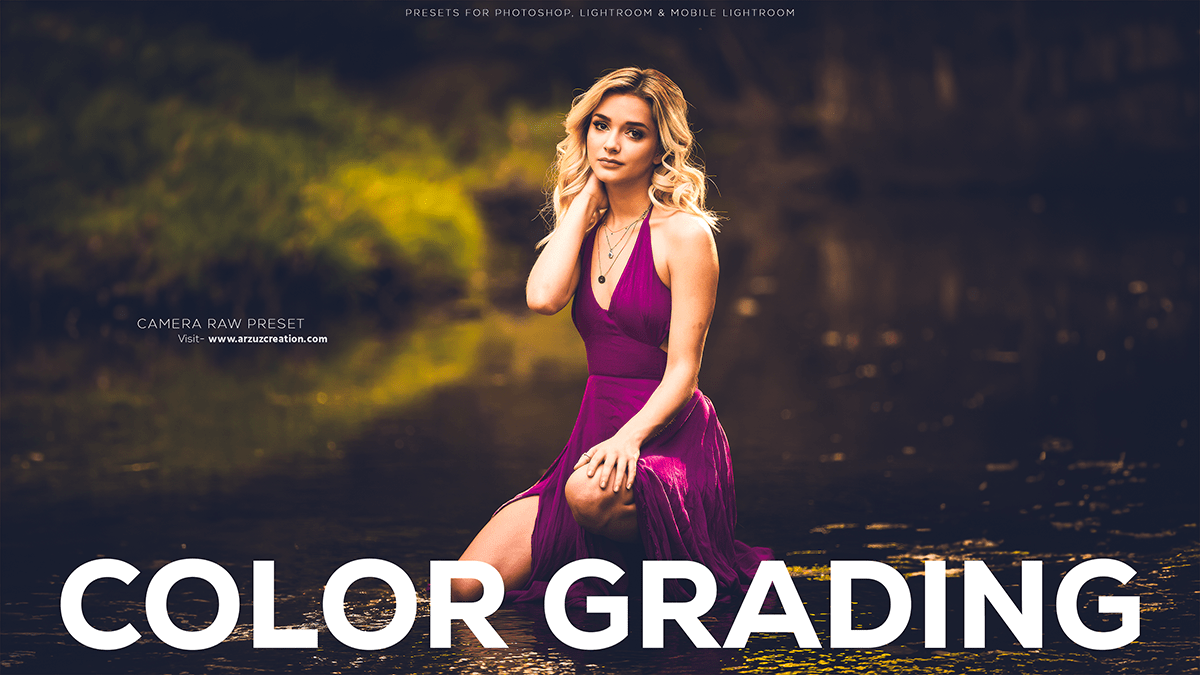
Portrait color grading preset 2024. How to edit outdoor photography & color grading in Adobe Photoshop camera raw filter. Photoshop presets free download.

Therefore, In this Photoshop tutorial, you learn, How to edit outdoor portrait photography. For instance, Photoshop professional photo editing works here step by step.
In other words, Outdoor portrait color grading in Photoshop involves adjusting the color and tone of an image to create a specific mood or style. However, Here’s a general workflow for color-grading outdoor portraits in Photoshop:
Open the image in Photoshop and duplicate the background layer (Ctrl/Cmd + J). This will allow you to make adjustments without affecting the original image.
Portrait Color Grading Preset 2024,
Above all, Apply a Curves adjustment layer (Layer > Adjustment Layers > Curves) to the duplicate layer. This will give you more control over the tonality of the image.
Use the Curve adjustment to adjust the overall brightness and contrast of the image. You can adjust specific tonal ranges, such as shadows, midtones, and highlights.
Click here to download this preset file,
Apply a Hue/Saturation adjustment layer (Layer > Adjustment Layers > Hue/Saturation) to the duplicate layer. This will allow you to adjust the color balance of the image.
Use the Hue/Saturation adjustment to adjust the overall color balance of the image. You can also use it to adjust specific colors, such as greens or blues, to better match the desired mood or style.
Apply a Color Lookup adjustment layer (Layer > Lookup Tables > 3DLUT) to the duplicate layer. This will allow you to apply a specific color grading style to the image.
Click here to watch this video tutorial,
In addition, Choose a color-grading LUT (lookup table) that matches the desired mood or style. You can find many free LUTs online or purchase them from various sources.
Use the Color Lookup adjustment to apply the chosen LUT to the image. This will give it the desired color grading style.
Adjust the opacity and blending mode of the Color Lookup adjustment layer to achieve the desired effect.
Use the Brush tool to make any final adjustments to the image, such as touching up skin tones or adjusting specific areas of the image.
Learn more, About Professional Photo Editing Work,
Save the image in your desired format and resolution.
Remember to always work on a duplicate layer to preserve the original image, and to save often as you work. Happy color grading!
