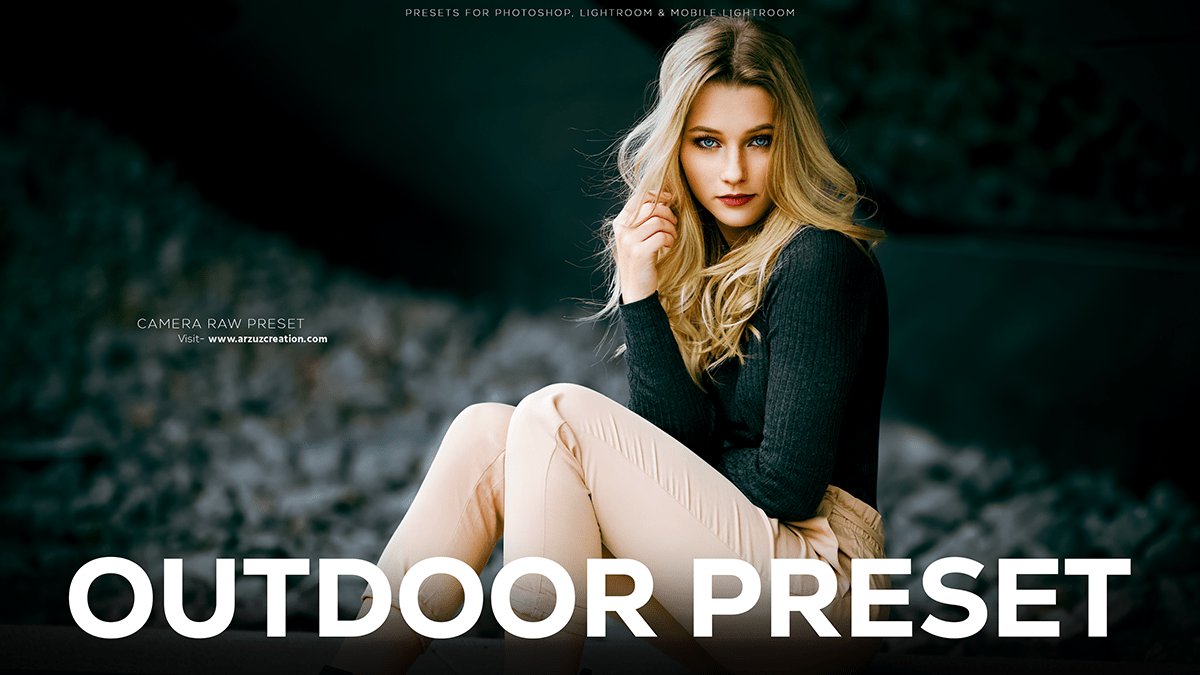
Outdoor photography editing Photoshop. How to edit outdoor portrait photography in Adobe Photoshop. Camera raw filter photo editing tutorial for beginners.

Outdoor photography can be challenging due to varying lighting conditions, harsh shadows, color casts, and other environmental factors. However, with the right editing techniques in Adobe Photoshop, you can enhance your outdoor photos and bring out the best in them. Here are some tips for editing outdoor photography in Photoshop:
Adjust Exposure and Contrast:
Therefore, The first step in editing outdoor photography is to adjust the exposure and contrast levels. This will help you to brighten or darken the image, depending on the lighting conditions. In other words, You can use the Levels or Curves tool to make these adjustments.
Remove Unwanted Elements:
Outdoor photography often involves unwanted elements like power lines, trash cans, or other distractions in the frame. However, Use the Clone Stamp tool or the Spot Healing Brush tool to remove these elements from your image. For instance, This will help you to create a clean and uncluttered frame.
Outdoor Photography Editing Photoshop,
Adjust Color Temperature:
Outdoor photography often involves color casts due to varying lighting conditions. Use the Color Balance tool or the White Balance tool to adjust the color temperature of your image. After that, This will help you to correct any unwanted color casts and create a more natural look.
Click here to download this preset file,
Enhance Details:
Use the Sharpening tool to enhance details in your image. This will help you to bring out the texture and details in your image, making it look more vibrant and alive.
Adjust Saturation and Vibrance:
Use the Saturation and Vibrance tools to adjust the color intensity and saturation levels of your image. This will help you to create a more vivid and lively image. However, be careful not to overdo it as this can make your image look unnatural.
Add Filters:
Use filters like Vignette, Gradient Filter, or Lens Flare to add depth and dimension to your image. This will help you to create a more dynamic and engaging image.
Click here to watch this video tutorial,
Use Layers:
Use layers to make non-destructive edits to your image. This will help you to make multiple edits to your image without affecting the original image. You can also use layer masks to make selective edits to your image.
Save and Export:
Once you have made all the necessary edits to your image, save and export it in the desired format. You can also use the Save for Web tool to optimize your image for the web.
Learn, Professional Photo Editing,
In conclusion, editing outdoor photography in Adobe Photoshop requires a combination of techniques like exposure and contrast adjustment, removal of unwanted elements, color temperature correction, detail enhancement, color saturation adjustment, filter application, layer usage, and saving/exporting the image in the desired format. By following these tips, you can enhance your outdoor photography and create stunning images that capture the beauty of nature.
