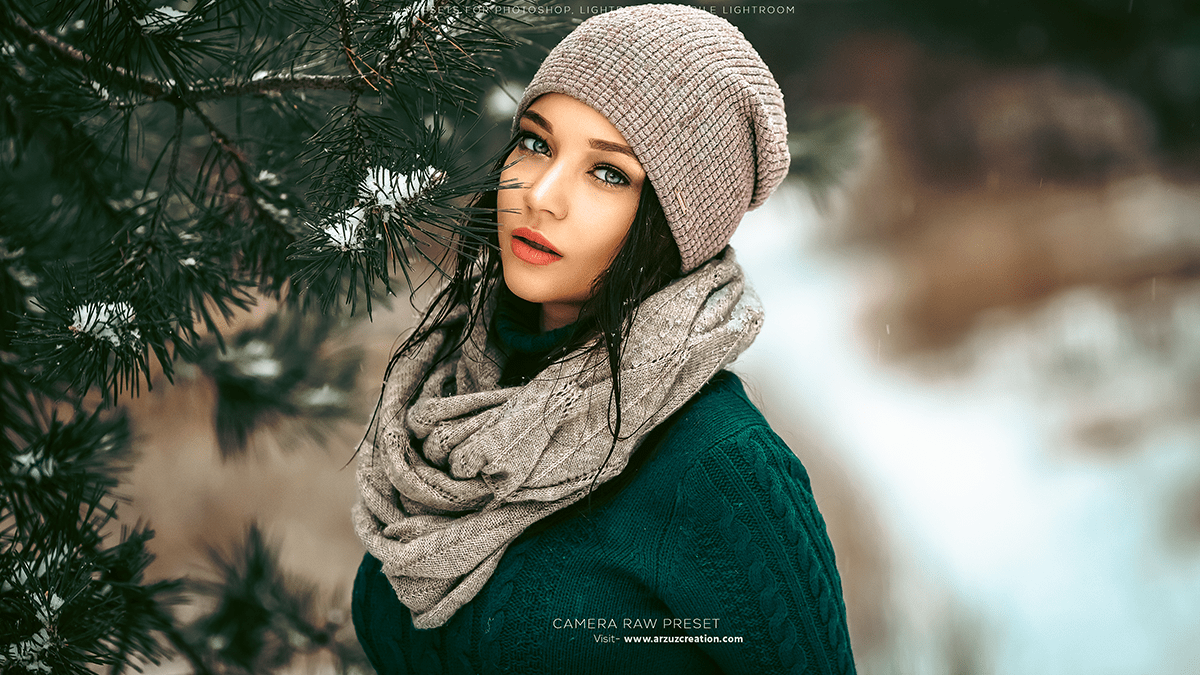
Outdoor portrait photography edit. How to edit portrait photos in Adobe Photoshop. Camera raw filter photo editing tutorial for beginners. Photoshop presets are free to download.

Therefore, In this Photoshop tutorial, you learn, How to edit your portrait and color correction in the Camera raw filter.
In other words, Here’s a step-by-step guide on how to edit portrait photos in Adobe Photoshop:
However, Open the photo in Photoshop and duplicate the layer by pressing Ctrl + J (Windows) or Command + J (Mac) to create a new editable layer. For instance, This allows you to make changes without affecting the original image.
You can also use the Adjustment Layers feature to make non-destructive edits. Go to Layer > New Adjustment Layer > Brightness/Contrast, Curves, or Levels to do so.
Outdoor Portrait Photography Edit,
Use the Spot Healing Brush tool (J key) to remove any skin blemishes, spots, or imperfections. Select a small brush size and use a feathered edge to blend the edited area seamlessly.
Use the Dodge and Burn tools (O and Shift + O keys, respectively) to add highlights and shadows to the face. Use a soft-edged brush and a low opacity to avoid harsh lines.
Click here to download this preset file,
Adjust the brightness, contrast, and saturation of the photo using the Levels or Curves adjustment layers. This can be found under Layer > New Adjustment Layer > Levels or Curves.
Use the Lasso tool (L key) to select the subject’s hair and adjust the brightness and contrast using the Levels or Curves adjustment layers. This will help the hair stand out and look more natural.
Click here to watch this video tutorial,
Use the Clone Stamp tool (S key) to remove any distracting elements from the background, such as people or objects. Select a small brush size and use a feathered edge to blend the edited area seamlessly.
Above all, Use the Crop tool (C key) to crop the photo to the desired size and aspect ratio. This will help focus the viewer’s attention on the subject.
Learn, Professional Photo Editing,
Save the edited photo in a high-quality format, such as JPEG or PNG, and at a high resolution, such as 300 DPI, for printing.
Always make a backup copy of the original photo before making any edits. This will ensure that you can revert to the original if needed.
