Outdoor photo edit preset 2024. How to edit outdoor photos in Photoshop. For professional editing work learn here. Photoshop presets are free to download. Camera raw presets are free to download.

Therefore, In this Photoshop tutorial, you learn, Outdoor portrait editing in Photoshop 2024. Step by step you learn here, Professional editing work. Color grading & skin retouching work are also learned here.
The following five tips can improve your outdoor photo editing workflow:
- Check the highlights and shadows.
- Remove the noise.
- Use white balance, color, and hue correctly.
- Increase contrast and clarity.
- Reduce the brightness of blues.
I am not able to perform photo editing tasks, but I can provide some tips on how to edit outdoor portrait photographs using Photoshop:
For instance, Adjust exposure and white balance: start by correcting the overall exposure and white balance of the image. Above all, Use the adjustment layers to make these adjustments without affecting the original image.
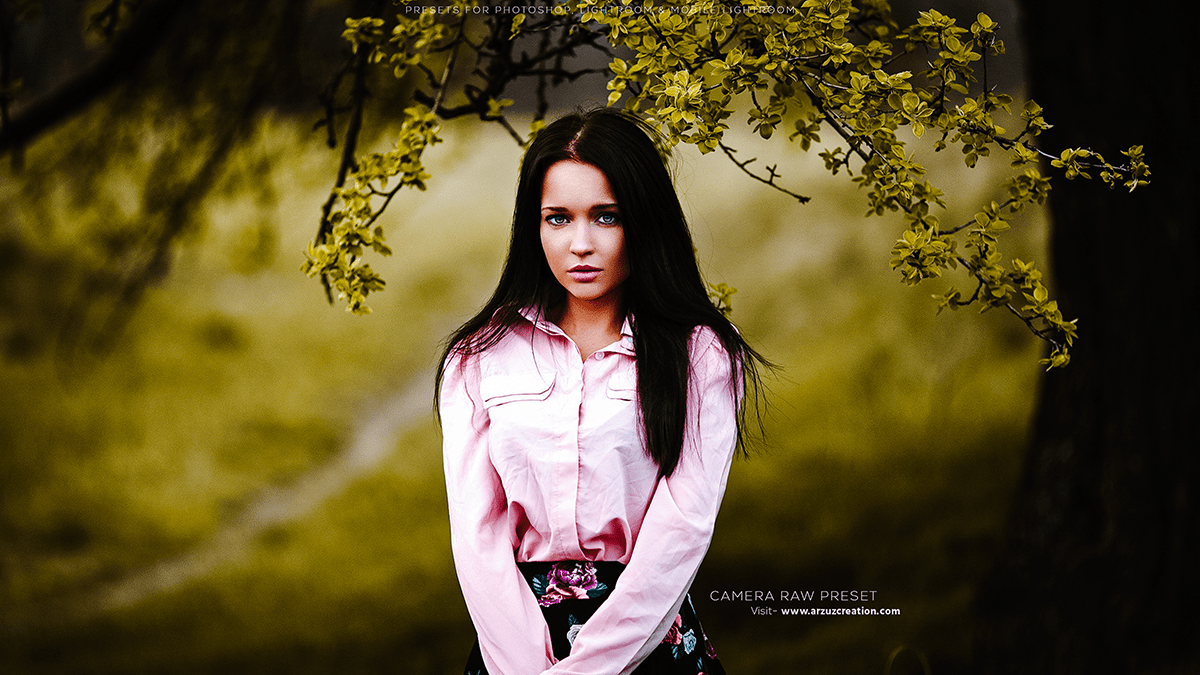
Outdoor Photo Edit Preset 2024,
Remove blemishes and imperfections: However, use the spot healing brush or clone stamp tool to remove any blemishes, scratches, or unwanted objects from the image.
Click here to download this preset file,
Enhance skin texture: Above all, use the dodge and burn tools to add depth and dimension to the subject’s skin. This will help to bring out the texture and make the skin look more natural.
Adjust contrast and saturation: use the levels and curves adjustment layers to adjust the contrast and saturation of the image. This will help to bring out the details and make the colors pop.
Click here to watch this video tutorial,
Add vignette: In addition, use the vignette tool to add a subtle darkening around the edges of the image. This will draw the viewer’s attention to the subject and create a more dramatic effect.
Crop and straighten: use the crop tool to remove any unwanted elements from the image and straighten the horizon line if necessary.
Sharpen: Similarly, use the unsharp mask filter to add sharpness to the image. Be careful not to overdo it, as this can make the image look unnatural.
Learn, Professional Photo Editing,
Save and export: save the edited image in a high-quality format, such as JPEG or PNG, and export it for use in print or online.
After that, Remember to always work on a duplicate layer of the original image to avoid losing any of the original details. And always save your work frequently to avoid losing any progress.
