How to edit portrait photos using Photoshop. Color grading outdoor and color correction tutorial for beginners. Photoshop photo editing tutorial.

Therefore, In this Photoshop tutorial, you learn, How to edit outdoor portrait photography using Adobe camera raw filter. Step by step you learn this photo editing work here.
To edit an outdoor portrait photo in Photoshop, follow these step-by-step instructions:
For instance, Open Photoshop: Launch Adobe Photoshop on your computer.
Open the image: Click on “File” in the top menu and select “Open.” Browse your computer to locate the portrait photo you want to edit, then double-click on it to open it in Photoshop.
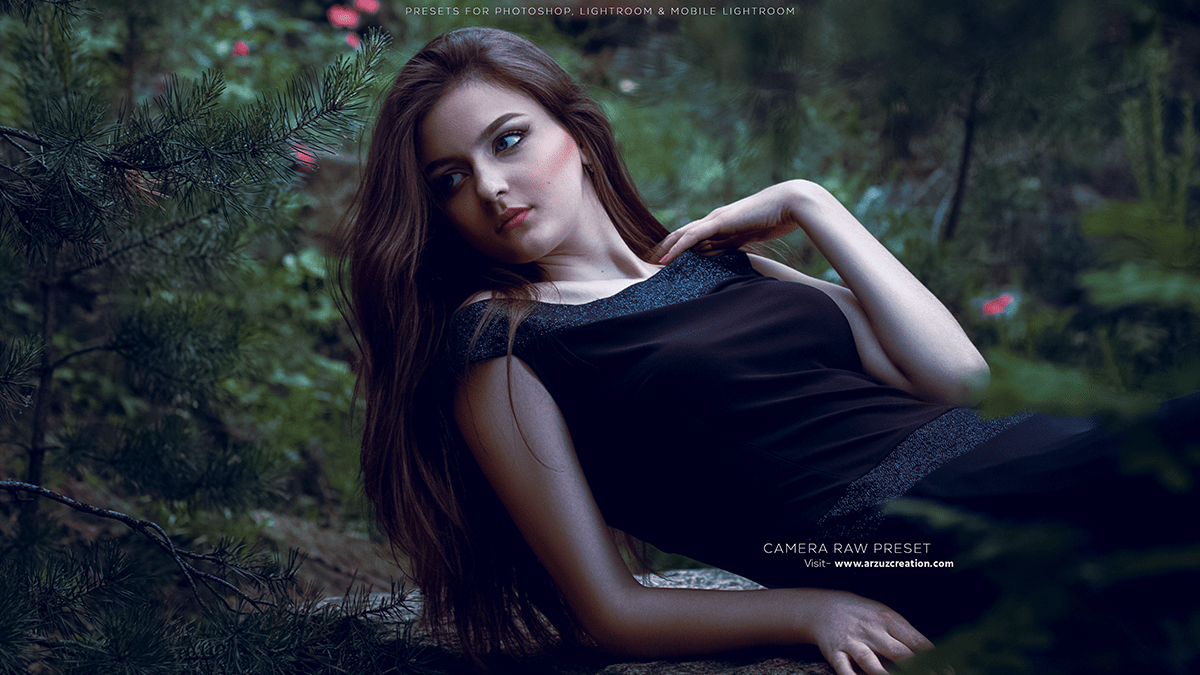
How to Edit Portrait Photos Using Photoshop,
Duplicate the background layer: Click on the “Layer” option in the top menu, then select “Duplicate Layer.” Rename the new layer if you want, and click “OK.” This will create a copy of the original background layer, allowing you to edit it without affecting the original image.
Adjust color and contrast: To enhance the colors and contrast of the image, click on the “Image” option in the top menu, then select “Adjustments.” Choose “Curves” to adjust the tonal range of the photo. Drag the curve to modify the shadows, mid-tones, and highlights as needed. You can also use “Levels” or “Brightness/Contrast” for this purpose.
Click here to download this preset file,
Crop the image: To remove unwanted parts of the photo, click on the “Crop Tool” from the toolbar on the left. Select the area you want to keep, then press “Enter” to apply the crop.
Remove blemishes and imperfections: To remove any blemishes, spots, or imperfections from the portrait, select the “Healing Brush Tool” or the “Spot Healing Brush Tool” from the toolbar. Paint over the unwanted elements, and they will be removed or replaced with texture from the surrounding area.
How to Edit Portrait Photos Using Photoshop,
After that, Enhance skin and eyes: To make the skin look smoother and the eyes brighter, create a new layer above the portrait layer. Similarly, Set the blend mode to “Soft Light” or “Overlay.” Then, using a soft-edged brush with a color similar to the skin tone, gently paint over the skin. For the eyes, use a slightly lighter color to highlight the corners and the whites of the eyes.
Click here to watch this video tutorial,
Add vignette: To create a subtle vignette effect, create a new layer on top of all others. Fill this layer with black (#000000) using the “Paint Bucket Tool.” Set the blend mode to “Multiply” and lower the opacity to around 30-40%. Then, select the “Gaussian Blur” filter from the “Filter” menu in the top bar, and apply a moderate blur to soften the vignette.
Save the edited image: Click on “File” in the top menu, then select “Save As.” Choose the desired file format (e.g., JPEG, PSD) and click “Save” to save your edited portrait photo.
Remember to experiment with different tools and techniques to achieve the desired result. Always save a backup copy of your original image in case you want to revert to it or make further adjustments later.
