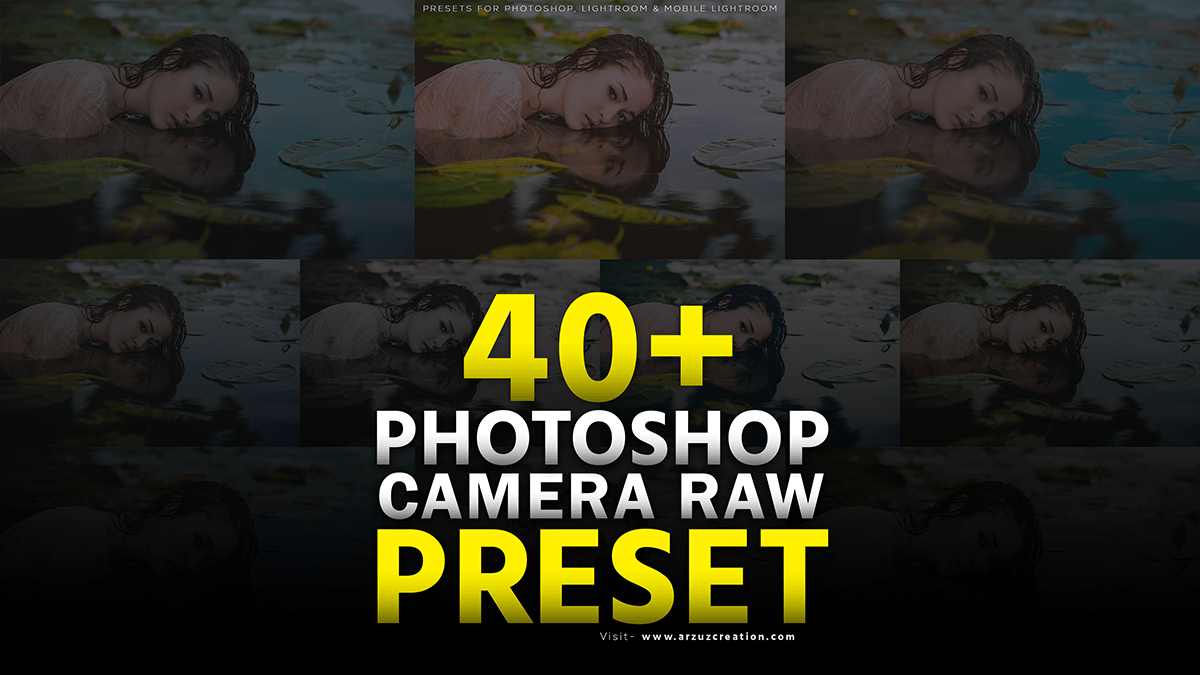
40 Plus Photoshop Presets Free Download. How to Install Camera Raw Presets in Adobe Photoshop.

Therefore, In this Photoshop tutorial, you learn, How to use camera raw XMP files in Adobe Photoshop. Easy to install XMP files on your PC. Step by step I will show you. However, Let’s get started guys.
In other words, To install a Camera Raw Preset in Photoshop, follow these steps:
In addition, First, make sure you have the preset file you want to install. You can find these online or create your own by using or modifying existing presets.
40 Plus Photoshop Presets Free Download,
For instance, Open Adobe Photoshop on your computer.
In Photoshop, open an image that you want to apply the Camera Raw preset to.
Above all, Go to the menu bar at the top of the screen and click on “File.”
From the drop-down menu, select “Browse” and then “Browse in Bridge.” This will open Adobe Bridge, a separate application for organizing and browsing your images.
Click here to download this preset file,
In Adobe Bridge, navigate to the folder where your preset file is saved. It should have a .xmp file extension.
Once you’ve located the preset file, right-click (or Ctrl+click) on it and choose “Install.”
Adobe Bridge will then install the preset. You may see a confirmation message once the installation is complete.
How to Install Camera Raw Presets in Adobe Photoshop,
Close Adobe Bridge and return to Photoshop.
Open an image in Photoshop that you want to apply the new preset to.
Click here to watch this video tutorial,
Go to the menu bar and click on “File.” From the drop-down menu, select “Open as Smart Object in Photoshop.”
After that, Browse and select the image you want to apply the preset to. Click “Open.”
The image will now open in the Camera Raw editor. To apply your newly installed preset, go to the menu bar and click on “Presets.”
From the drop-down menu, select “Previous Conversion.” This will display a list of all the presets you have installed, including the new one.
Learn, Professional Photo Editing,
Scroll through the list and find the preset you just installed. Click on it to apply it to your image.
If you want to further adjust the settings after applying the preset, feel free to make any necessary tweaks in the Camera Raw editor before clicking “Open Image” to finalize the changes in Photoshop.
