How to Color Correction in Photoshop. Learn here, Color Correction Processes in Photoshop Camera Raw Filter. Photoshop Presets.

Therefore, In this Photoshop tutorial, you learn, How to Color correction in Adobe Photoshop camera raw filter.
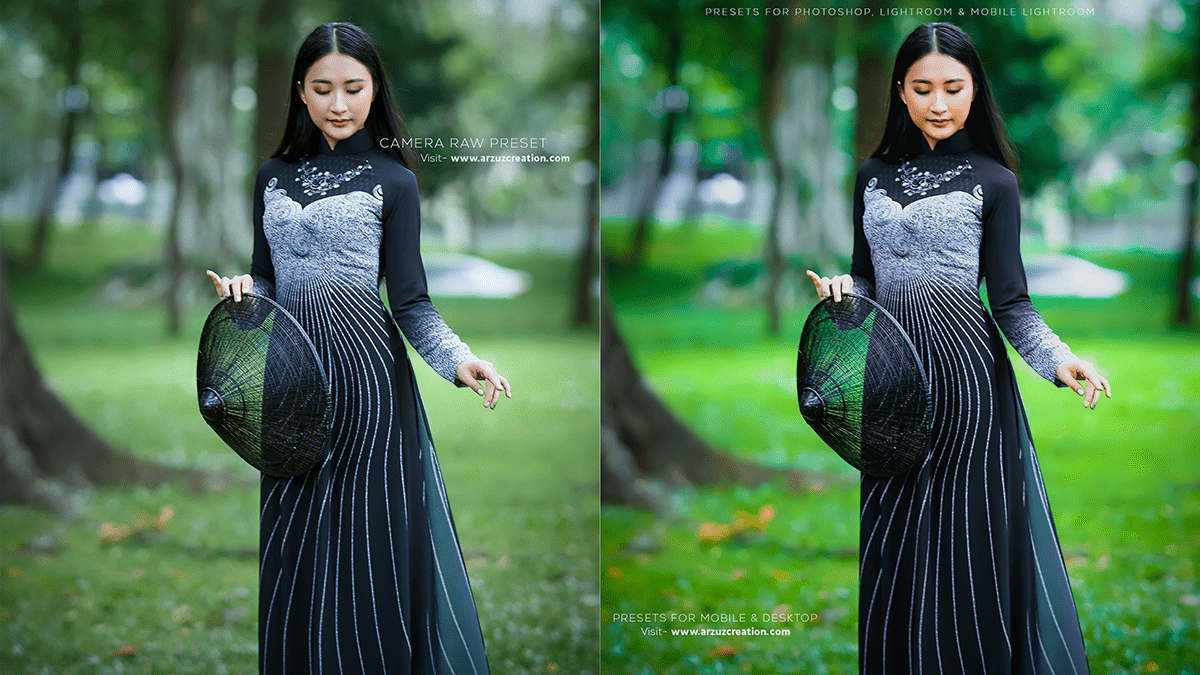
In other words, Color correction for an outdoor photo in Photoshop involves adjusting the image’s colors, brightness, contrast, and saturation to achieve a more balanced and visually appealing result. However, Here’s a step-by-step guide on how to do it:
How to Color Correction in Photoshop, Adobe Camera Raw Filter,
For instance, Open the photo in Adobe Photoshop.
Duplicate the background layer by right-clicking the layer and selecting “Duplicate Layer.” Rename it as “Color Correction” or something similar.
Apply a camera raw filter to the duplicated layer by going to “Filter” > “Camera Raw Filter.” This will open the Camera Raw editor where you can make adjustments.
Above all, In the Camera Raw editor, follow these steps:
Adjust the White Balance: Click on the White Balance tool (the eyedropper) and select a neutral color (like gray or white) in your image. This will help to correct the overall color temperature.
Click here to download this preset file,
Tone Curve: Use the tone curve to adjust the overall contrast of the image. You can either use a preset curve or create your own by adjusting the control points.
Exposure and Contrast: Adjust the Exposure and Contrast sliders to even out the brightness and contrast in the image.
Highlights, Shadows, Whites, and Blacks: Use these sliders to recover details in the tones’ highlights, shadows, and extremes (whites and blacks).
Click here to watch this video tutorial,
Vibrance and Saturation: Adjust these sliders to enhance or reduce the overall color saturation in the image. Be cautious not to oversaturate the colors, as it may look unnatural.
Noise Reduction: If your image has visible noise (graininess), you can use the Luminance slider under the Detail tab to reduce it.
Once you’re satisfied with the adjustments, click “Done” or “Open Image” to apply the changes to your Photoshop document.
Learn, Professional Photo Editing,
After returning to Photoshop, you may want to make additional adjustments using layers, masks, and blending modes to fine-tune the color correction. Remember to save your work regularly.
