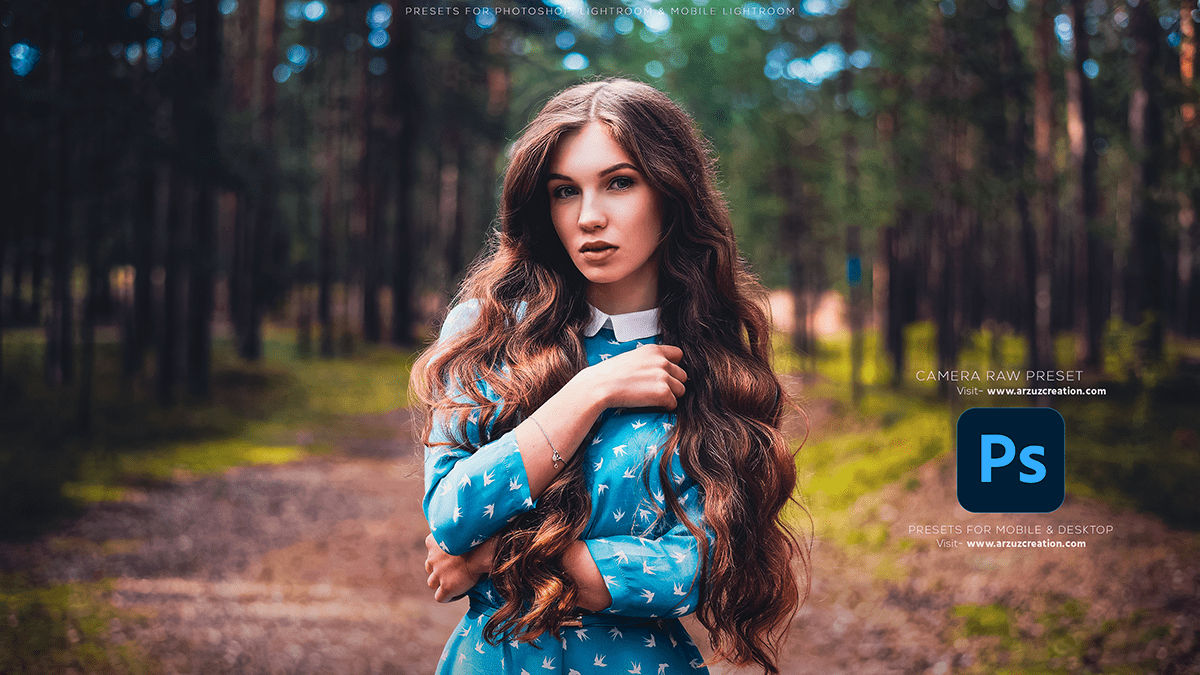
Cinematic look In Photoshop, How to create a cinematic look photo effects in Adobe Photoshop.
Learn here about professional photo editing work. Photo color grading, color correction & skin retouching work. Adobe camera raw filter full editing course. Photoshop presets are free to download.

Therefore, In this Photoshop tutorial, How to create cinematic color grading in Adobe Photoshop camera raw filter.
Cinematic Look In Photoshop, Color Grading,
In other words, Photoshop Cinematic Presets refer to a collection of pre-designed settings, filters, and effects in Adobe Photoshop that can be applied to images to give them a cinematic or movie-like appearance. However, These presets can help enhance the visual appeal and mood of your photographs, making them look more professional and captivating.
To use Photoshop Cinematic Presets, follow these steps:
For instance, Open Adobe Photoshop on your computer.
Above all, Import the image you want to edit by going to “File” > “Open” and selecting the desired photo.
Click here to download this preset file,
In addition, Navigate to the “Presets” panel in the menu on the left side of the screen. If it is not visible, go to “Window” > “Presets” to open it.
In the Presets panel, locate the folder containing the Cinematic Presets. These may be found under “Filters,” “Stylize,” or “Color.”
Browse through the available Cinematic Presets and select the one you prefer. You can preview the effect on your image by hovering over the preset thumbnail.
Click here to watch this video tutorial,
Once you’ve chosen a preset, click on it to apply the effect to your image.
If you want to further customize the look, you can adjust the settings of the applied preset or combine multiple presets to achieve the desired result.
Learn, Adobe Photoshop Lightroom Photo Editing,
Remember that while these presets can significantly enhance your images, it’s essential to use them as a starting point and not rely solely on them. Fine-tuning the settings and making adjustments to suit your specific image is crucial for achieving the best results.
