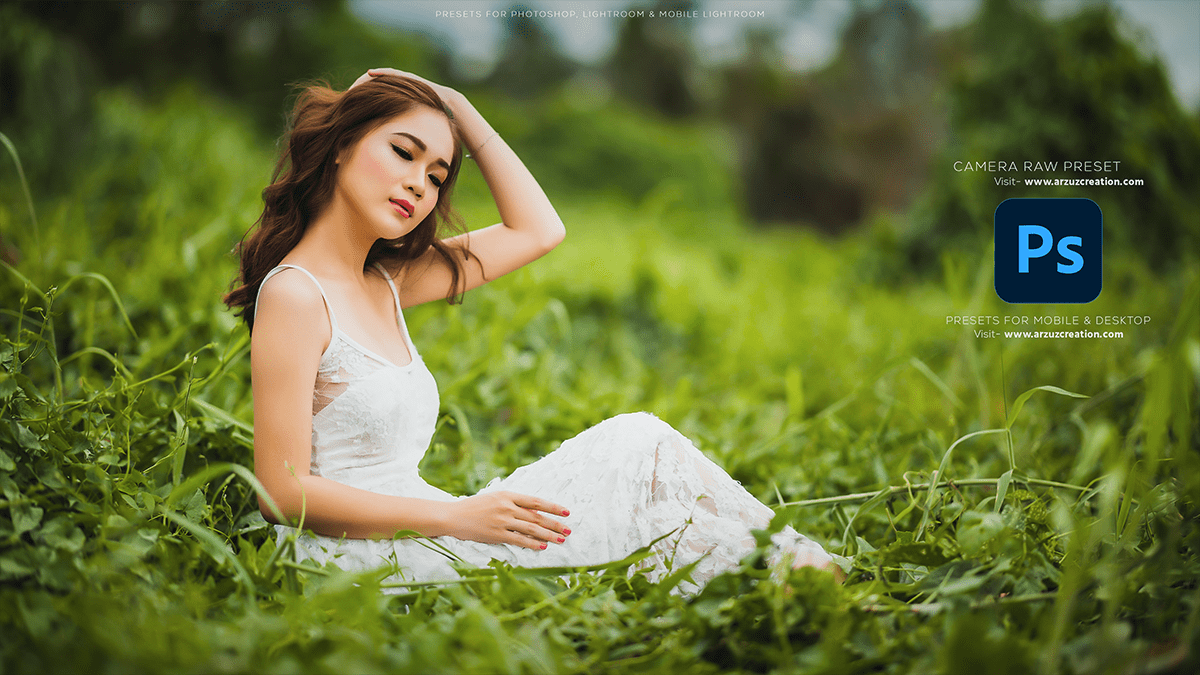
Outdoor photo editing Photoshop. How to edit Outdoor portrait photos like a professional using Adobe Photoshop. Photoshop color grading tutorial.
Therefore, In this Photoshop tutorial, you learn, How to edit professional photo editing in Adobe Photoshop.

Outdoor Photo Editing Photoshop,
Above all, Editing outdoor portrait photos in Photoshop can enhance the image’s overall appearance, color balance, and clarity. Here’s a step-by-step guide on how to do it:
Open the Image in Photoshop: After that, Launch Adobe Photoshop and open the outdoor portrait photo you wish to edit.
Duplicate the Background Layer: Click on the “Background” layer in the Layers panel, then go to Layer > Duplicate Layer. In other words, Rename the new layer to “Adjustments” and click OK. This step allows you to work on the image without affecting the original background layer.
Apply Basic Adjustments:
a. Levels: Click on the “Adjustments” layer in the Layers panel, then go to Layer > New Adjustment Layer > Levels. In the Levels dialog box, adjust the sliders under the histogram to correct the overall brightness and contrast of the image.
b. Curves: In addition, Add a Curves adjustment layer (Layer > New Adjustment Layer > Curves) to fine-tune the tonal range and contrast of the image.
c. Color Balance: Add a Color Balance adjustment layer (Layer > New Adjustment Layer > Color Balance) to adjust the overall color tones in the image.
Click here to download this preset file,
Outdoor Photo Editing Photoshop, Adobe Lightroom,
Adjust Color and Saturation:
a. Select the “Adjustments” layer in the Layers panel, then go to Image > Adjustments > Hue/Saturation. Adjust the Hue, Saturation, and Lightness sliders to modify the colors in the image.
b. Add a Selective Color adjustment layer (Layer > New Adjustment Layer > Selective Color) to further refine the color tones in specific color ranges.
Enhance Skin Tones:
a. Create a new layer above the “Adjustments” layer and fill it with a skin-tone color that matches the subject’s skin. Lower the layer’s opacity to around 30-40%.
b. Apply a Hue/Saturation adjustment layer to the skin-tone layer to fine-tune the skin color.
Click here to watch this video tutorial,
Sharpen the Image:
a. Create a new layer above the “Adjustments” layer and name it “Sharpening.”
b. Select the subject using a selection tool, such as the Quick Selection Tool or the Lasso Tool.
c. Go to Filter > Sharpen > Smart Sharpen, and adjust the settings to enhance the sharpness of the subject while minimizing noise.
d. Apply a Layer Mask to the “Sharpening” layer by clicking the “Add Layer Mask” button at the bottom of the Layers panel. Then, paint with black on the mask to reveal the sharpening effect only on the subject.
Camera Raw Presets Free Download,
Final Touches:
a. Adjust the overall brightness and contrast using the Dodge and Burn tools (O key) on a new layer with a soft brush.
b. Remove any unwanted elements or blemishes using the Spot Healing Brush or the Clone Stamp Tool.
c. Apply any final adjustments as needed.
Learn, Professional Photo Editing,
Save the Final Image: Once you’re satisfied with the edits, save the image as a new file to preserve the original photo. Go to File > Save As and choose a file format suitable for your needs, such as JPEG or PSD.
Remember, editing should be done with care to maintain the subject’s natural appearance and the overall authenticity of the image.
