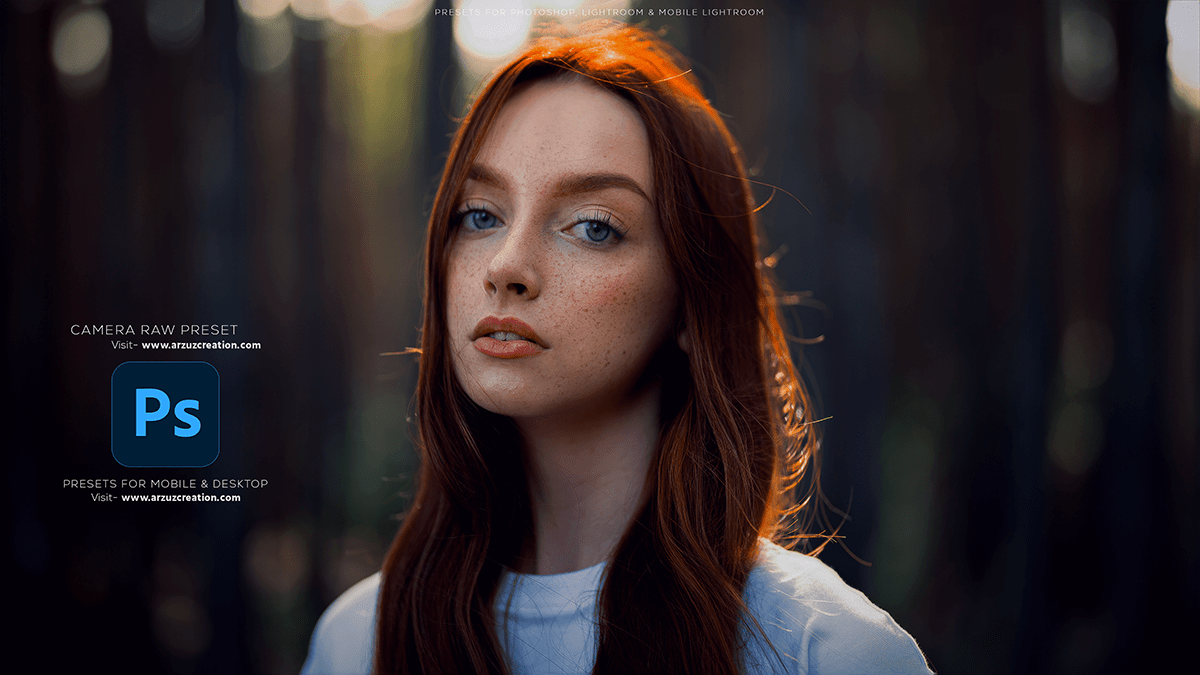
Outdoor photo color correction. How to edit outdoor portrait photos and color correction in Photoshop. However, Step by step learn photo editing. Photoshop presets.
Therefore, In this Photoshop tutorial, you learn, How to do professional photo editing using a Photoshop camera raw filter. Learn, this professional photo editing step by step.

Outdoor Photo Color Correction,
In other words, To edit an outdoor photo in Photoshop step by step, follow these guidelines:
Open the Image:
First, open the photo you want to edit in Adobe Photoshop. For instance, You can drag and drop the image file onto the Photoshop window or go to File > Open and navigate to the location of your image file.
Duplicate the Background Layer:
Above all, Before making any edits, duplicate the background layer by right-clicking on the layer in the Layers panel and selecting “Duplicate Layer.” This will allow you to revert to the original image if needed.
Adjust White Balance and Color Temperature:
To ensure accurate colors and correct the white balance, go to the menu bar and select “Image” > “Adjustments” > “Color Balance.” Adjust the sliders under the “Picture” tab to balance the colors according to your preference.
Click here to download this preset file,
Enhance Contrast and Brightness:
To enhance the overall contrast and brightness, go to “Image” > “Adjustments” > “Brightness/Contrast.” Adjust the sliders to your liking. You can also use the Levels or Curves adjustment layers for more precise control over contrast and brightness.
Adobe Illustrator Graphic Design, Outdoor Photo Color Correction,
Adjust Sharpness and Clarity:
To make the image appear sharper, add a new layer above the background layer and fill it with 50% gray. Change the blending mode of this layer to “Luminosity.” Then, apply a high-pass filter by going to “Filter” > “Other” > “High Pass.” Adjust the radius to sharpen the image. Finally, merge the high-pass layer with the background layer by right-clicking and selecting “Merge Down.”
Click here to watch this video tutorial,
Remove Unwanted Objects or Distractions:
For instance, Use the Spot Healing Brush Tool or the Clone Stamp Tool to remove any unwanted objects or distractions from the image. Zoom in to ensure a smooth and natural-looking result.
Adobe Photoshop Lightroom Photo Editing,
Add Vibrance and Saturation:
To add more life to the colors in your image, go to “Image” > “Adjustments” > “Vibrance” or “Saturation.” Adjust the sliders to your preference.
Apply Filters or Effects:
You can apply various filters or effects to give your image a specific look or feel. Go to “Filter” and explore the different options available, such as “Artistic,” “Brush Strokes,” “Distort,” “Noise,” “Render,” “Sketch,” or “Stylize.” Experiment with different filters and adjust their settings to achieve your desired outcome.
Adjust Sky and Landscape Separation:
In addition, To make the sky and landscape appear more distinct, create a new layer above the background layer and use a soft black-edged brush to paint over the horizon. After that, This will help separate the sky and landscape.
Learn, Professional Photo Editing,
Save Your Work:
Once you’re satisfied with your edits, save your image by going to “File” > “Save As” and choosing the desired file format (e.g., JPEG, PNG, TIFF). Make sure to save a copy of your original image as well, in case you want to revisit your edits later.
Remember, editing should be done with care and respect for the original image. Always strive to maintain the integrity of the photo while enhancing its visual appeal.
