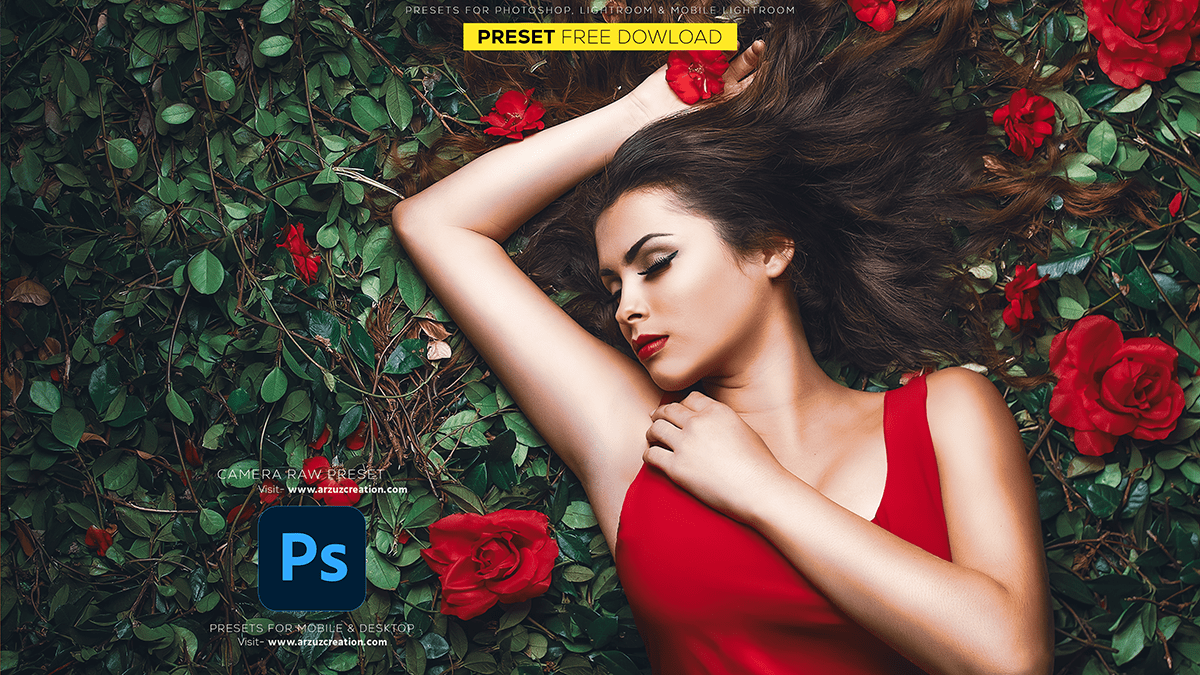
Professional Editing Camera Raw Filter Tutorial.
The Camera Raw Filter is a powerful tool in Adobe Photoshop primarily used for editing and enhancing raw images captured by digital cameras. It allows for extensive adjustments to exposure, color temperature, clarity, and much more, all before the image is processed into a final format.

Professional Editing Camera Raw Filter Tutorial,
Here are some tips for using the Camera Raw Filter professionally:
Non-Destructive Editing: The Camera Raw Filter operates as a non-destructive adjustment layer in Photoshop, allowing you to make changes without permanently altering the original image data. This means you can always go back and tweak your edits later.
Basic Adjustments: Start with basic adjustments such as exposure, contrast, highlights, shadows, whites, and blacks. These adjustments help to balance the overall tone and contrast of the image.
White Balance: Correct the white balance to ensure accurate color representation in your image. You can adjust the temperature and tint sliders to make the image warmer or cooler based on your preferences.
Detail Enhancement: Utilize the sharpening and noise reduction sliders to enhance the details in your image. Be cautious not to over-sharpen or over-smooth, as it can result in artifacts.
HSL/Grayscale Panel: Use the Hue, Saturation, and Luminance (HSL) panel to fine-tune specific colors in your image. This allows you to adjust individual color hues, saturation levels, and luminance values for precise color control.
Lens Corrections: Enable lens corrections to remove lens distortions such as chromatic aberration and vignetting. This helps in improving the overall quality and clarity of your image.
Graduated Filters and Radial Filters: Apply graduated or radial filters to adjust specific areas of your image selectively. This is useful for creating localized adjustments such as adding contrast or exposure to specific regions.
Presets and Profiles: Experiment with presets and profiles to apply different looks to your image quickly. You can also create custom presets for efficient workflow based on your editing style.

Adobe Lightroom Photo Editing,
Workflow Integration: Incorporate the Camera Raw Filter into your overall editing workflow in Photoshop. You can use it as a standalone filter on individual layers or as a smart filter for non-destructive editing.
Practice and Experimentation: The key to mastering the Camera Raw Filter is practice and experimentation. Try different adjustment settings and techniques to understand how each parameter affects your image.
By utilizing the Camera Raw Filter effectively, you can achieve professional-grade editing results and enhance the visual impact of your photographs.
