Photoshop Clone Stamp Tool Tutorial,
Therefore, The Clone Stamp tool in Photoshop is a powerful feature used for duplicating parts of an image. It allows you to sample pixels from one part of an image and paint them onto another part. This is especially useful for removing unwanted elements, repairing damaged areas, or creating seamless textures.

In other words, Here’s a step-by-step guide on how to use the Clone Stamp tool:
However, Open Your Image:
- Open the image you want to edit in Photoshop.
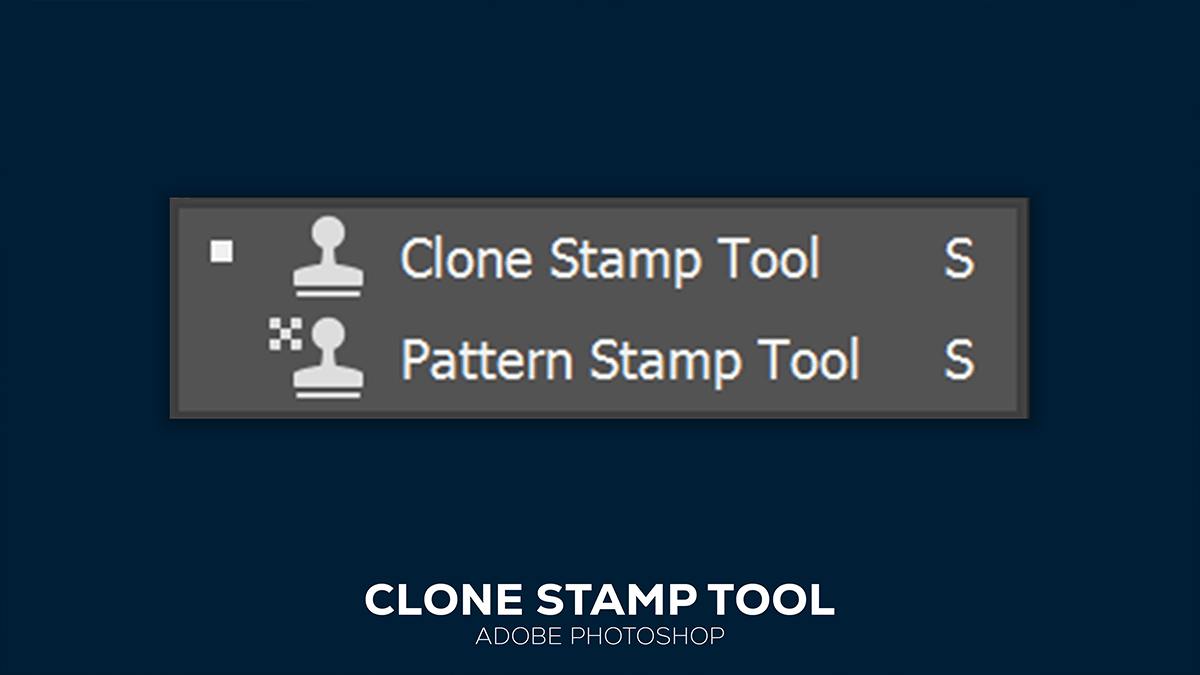
For instance, Select the Clone Stamp Tool:
- Above all, You can select the Clone Stamp tool from the toolbar on the left side of the screen. It looks like a rubber stamp. Alternatively, you can press the
Skey on your keyboard to quickly select it.
In addition, Set the Brush Size and Hardness:
- At the top of the screen, you’ll see options for adjusting the brush size and hardness. Choose a brush size that suits the area you are working on. A softer brush edge (lower hardness) is often better for blending, while a harder edge can be useful for precise cloning.
Camera Raw Filter Color Correction,
Color Grading,
Presets,
Choose a Sample Source:
- Hold down the
Altkey (Option key on Mac) and click on the area of the image you want to sample from. This sets the source point from which the Clone Stamp tool will copy pixels.
Clone the Image:
- Move your cursor to the area you want to paint the cloned pixels onto and click or drag to start cloning. The tool will copy pixels from the sample source to the destination area. As you move the cursor, the sample source moves as well, maintaining a relative position.
Adjust Settings if Necessary:
- You can adjust the opacity and flow settings at the top of the screen to control how much of the sample is applied with each stroke. Lower opacity can help you blend the cloned area more seamlessly with the surrounding pixels.
Professional Editing, Clone Stamp Tool,
Use Alignment Options:
- In the options bar, you’ll find an option for Aligned. When checked, the sample source will move with your strokes. When unchecked, the sample source will reset to the original point each time you release the mouse button.
Work on Layers:
- To keep your edits non-destructive, consider working on a new layer. Create a new layer and make sure “Sample All Layers” is checked in the options bar. This way, your cloning work is done on a separate layer, leaving the original image untouched.
Refine Your Work:
- Zoom in to work on details and use a smaller brush size for precision. Switch between different sample points if necessary to achieve a natural look. You can also use other tools, such as the Healing Brush or Patch Tool, in conjunction with the Clone Stamp tool to refine your edits.
Color Grading Adobe Photoshop Camera Raw Filter,
Adobe Lightroom Editing,
Lr Presets,
Save Your Work:
- Once you are satisfied with your edits, save your work. Consider saving in a format that preserves layers (like PSD) if you want to make further adjustments later.
By following these steps, you can effectively use the Clone Stamp tool in Photoshop to edit and enhance your images.
